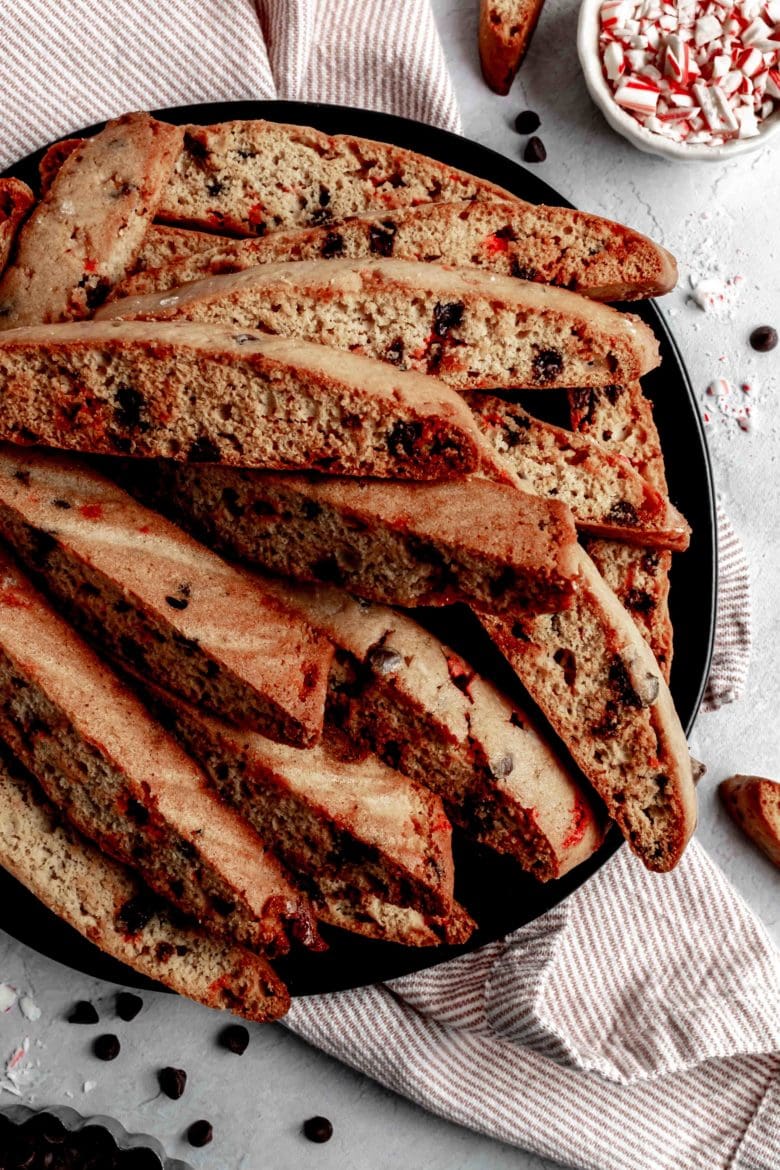
Packed with crushed candy canes and mini chocolate chips, these crispy chocolate peppermint biscotti are the perfect festive treat to accompany your holiday coffee and tea!
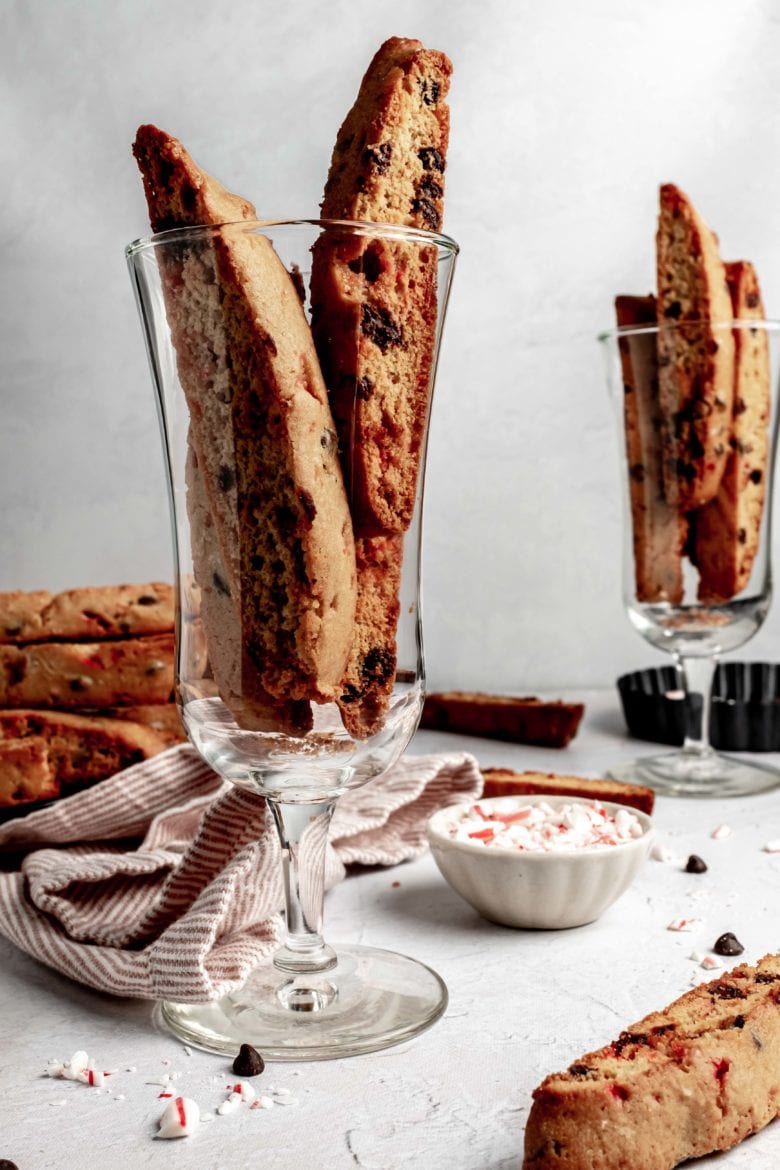
I’ve been eating these chocolate peppermint biscotti for breakfast all week! They’re addictively crunchy and super dunkable, which makes them the perfect accompaniment to my morning coffee. Plus, they’re made with my favorite holiday flavor combo: chocolate and peppermint from crushed candy canes. A great way to start off your day feeling festive!
chocolate + peppermint
Let’s start with our mix-ins for these deliciously crunchy treats!
For the chocolate I used mini chocolate chips. Regular-sized chocolate chips or even chocolate cut up into small pieces would work just as well. And while I used milk chocolate for this version, dark chocolate chunks are also great in these biscotti!
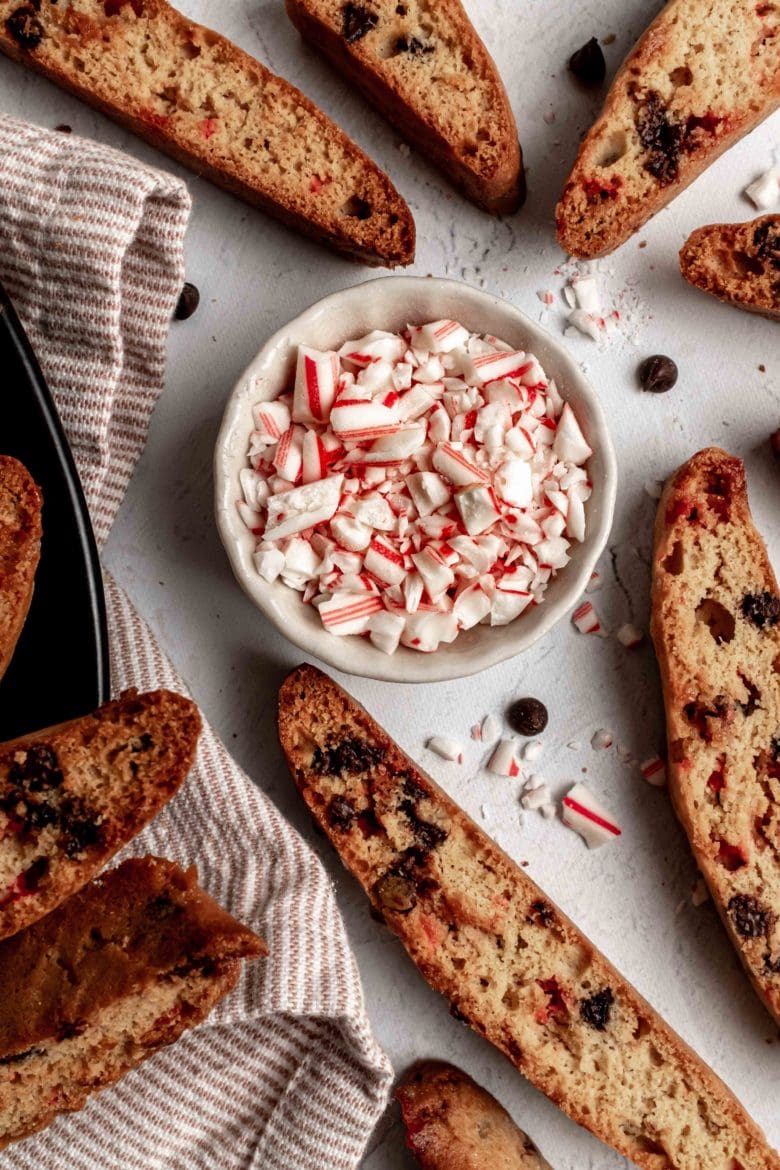
In this recipe I used crushed up mini candy canes for the peppermint flavor, but any other crushed up peppermint candy would be just fine. To get the right consistency, I like to place the candies in a plastic ziplock bag and then use the smooth side of a mallet to crush them. The candy doesn’t have to be finely crushed — I actually even prefer to have quite a few larger pieces in there. They melt into the dough creating little pools of peppermint goodness!
And while I considered adding a dash of peppermint extract, in the end I decided to leave it out completely. It’s easy to overdo it with peppermint extract and these biscotti have a great peppermint taste without any additional flavoring. That being said, if you do want a more concentrated flavor, I would go with just ¼ teaspoon of peppermint extract.
making biscotti dough
To make this biscotti dough you’ll need just flour, sugar, eggs, butter, vanilla extract, baking powder and salt. While traditional biscotti recipes tend to call for only eggs as a binding ingredient, I also add a bit of butter. This creates biscotti with a slightly softer texture — they’re still wonderfully crispy and crunchy, just not hard.
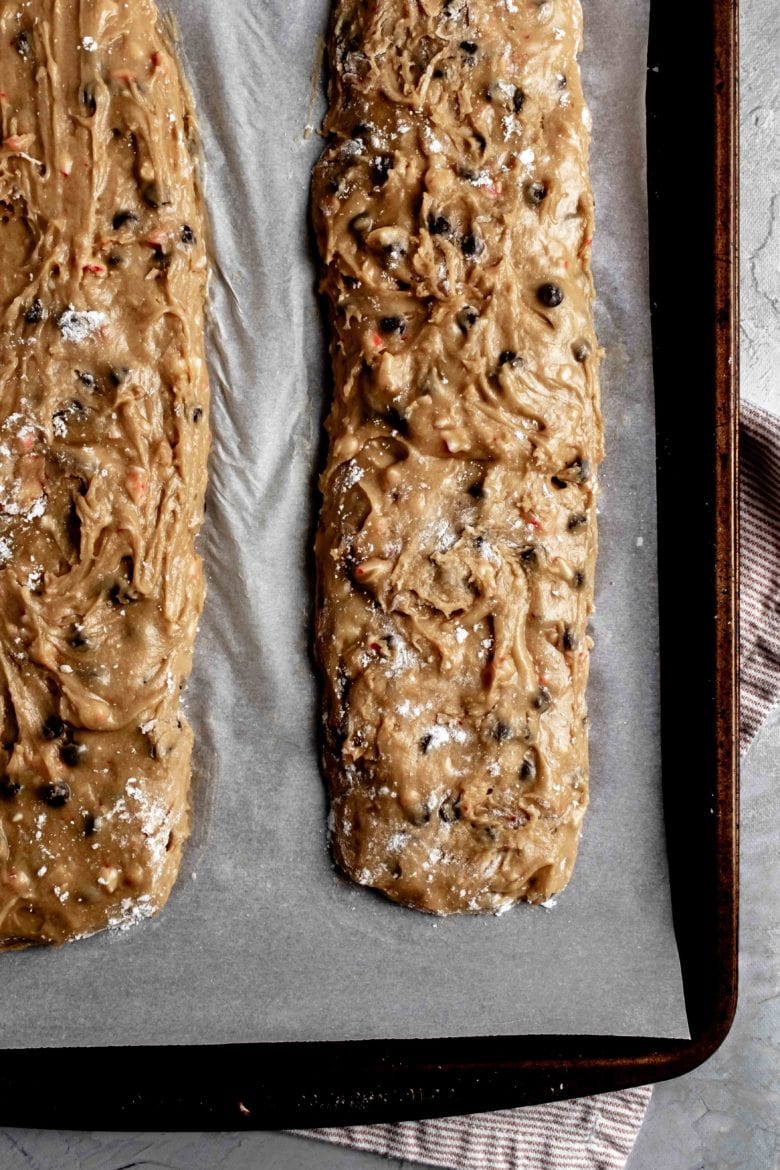
After mixing up the dough and folding in your chocolate and peppermint, you can begin forming the biscotti into logs. While I’ve provided the dimensions I used, they really aren’t super important. You could make one large log or form the biscotti into two smaller logs for more cookies (albeit smaller servings).
Because the dough can be a bit sticky, I find it easiest to drop the dough onto a baking sheet by the spoonful in a rough log form. Then I use well-floured hands to shape it up a bit.
baking chocolate peppermint biscotti
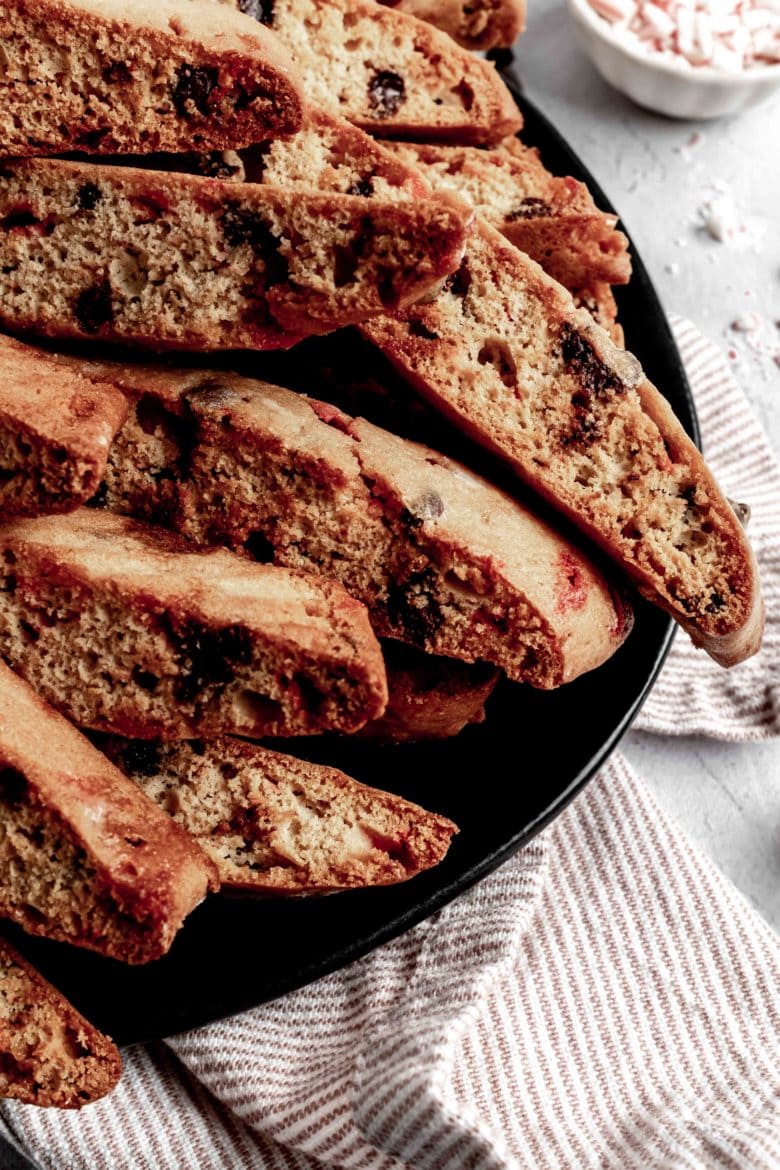
While biscotti in Italian refers to any type of cookie, in the States we tend to reserve the word specifically for these twice-baked treats! The dough is first baked in log form, then sliced and baked again to give the cookies their characteristic crispiness.
Start by baking your biscotti logs at 350 F (180 C) for about 25 minutes or until just starting to turn brown. Then remove them from the oven and let them cool for about 10 minutes. Transfer the biscotti to a cutting board and cut them into slices at an angle. Return them to the baking sheet (cut-side up) and bake for an additional 10 minutes. Flip and bake for another seven minutes or even a few minutes longer if you want them extra crispy!
For more holiday baking inspiration, make sure to check out these recipes!
- chocolate dipped honeycomb
- gingerbread cupcakes + cinnamon cream cheese frosting
- chocolate dulce de leche cookies
- zimtsterne | german cinnamon star cookies
- pryaniki | russian honey spice cookies

chocolate peppermint biscotti
- Total Time: 1 hour
- Yield: 30
- Prep Time: 20 minutes
- Cook Time: 40 minutes
- Cuisine: global
Ingredients
- 5 tablespoons (70 grams) unsalted butter, softened
- ¾ cup (150 grams) brown sugar
- 3 large eggs
- 1 teaspoon vanilla extract
- 2 cups (250 grams) all purpose flour, spooned and leveled*
- 1 teaspoon baking powder
- ½ teaspoon kosher salt
- ⅓ cup (60 grams) candy canes, crushed (or other peppermint candies)
- ⅓ cup (65 grams) mini chocolate chips
Instructions
- Preheat the oven to 350 F (180 C). Line a baking sheet with parchment paper.
- Using an electric mixer, cream the softened butter and brown sugar until light and fluffy.
- Add the eggs one at a time, mixing after each addition.
- Mix in the vanilla extract.
- In a separate bowl, whisk together the flour, baking powder and salt. Gradually add the flour mixture to the wet mixture and combine until smooth.
- Fold in the crushed candy canes and mini chocolate chips.
- Form the dough into two logs (approximately ¾ inch or 2 cm tall) on the prepared baking sheet, making sure to leave a few inches between each log. Because the dough is quite sticky, I find it easiest to drop spoonfuls of the dough into a rough log form and then use well-floured hands to shape it into a log.
- Bake for 20-25 minutes or until slightly brown. Remove from the oven (but don’t turn off the oven).
- Allow the logs to cool for 10 minutes. Remove to a cutting board and cut into slices at an angle (approximately ¾ inch or 2 cm thick).
- Return the slices to the baking sheet, cut-side down. Bake an additional 10 minutes, flip over and bake for 7 minutes on the other side.
- Allow the biscotti to sit for 10 minutes then remove to a wire rack to cool completely. Best eaten within 3 days.
Notes
Spooned and leveled: Scooping a measuring cup into a flour container can result in much more flour than intended, which can affect the success of your biscotti. To get a more accurate measurement, use a spoon to lightly scoop flour into the measuring cup until it’s completely full. Then run the back of a knife over the cup to gently scrape off any excess.
This post may contain affiliate links through which we may earn a small commission at no additional cost to you. We only recommend products that we genuinely love and would use ourselves.