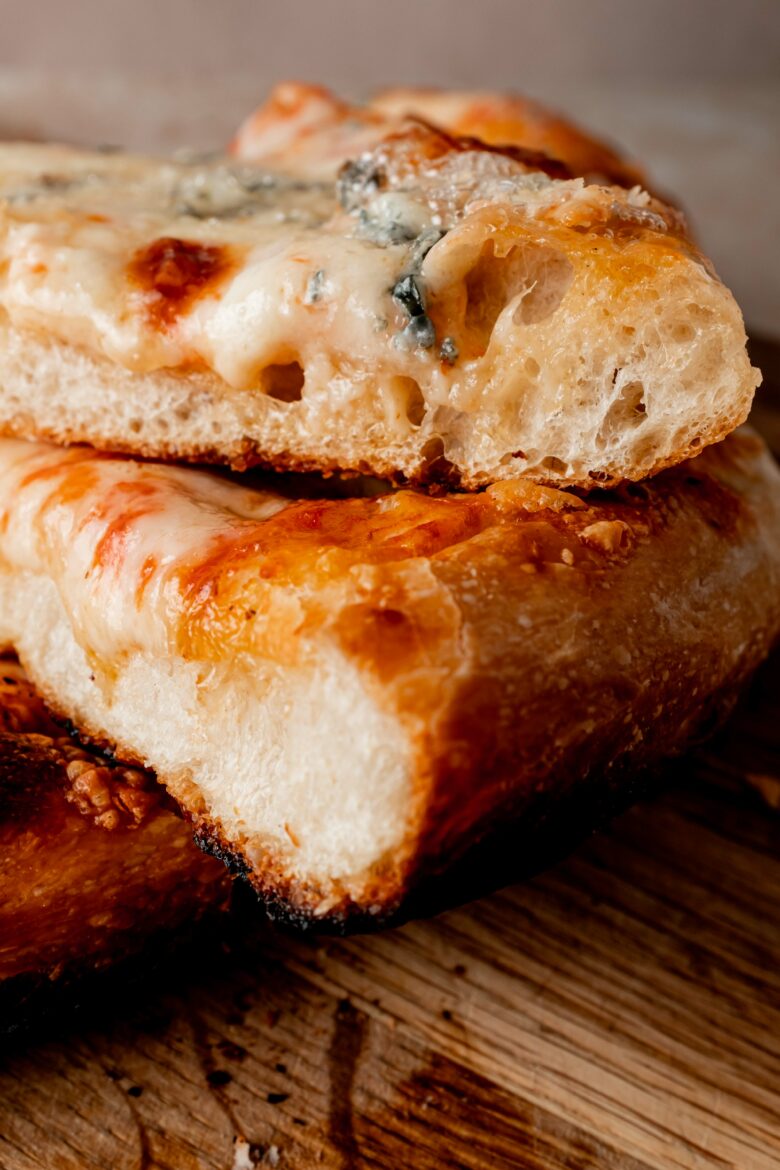
What’s the secret to the most delicious homemade pizza dough you’ve ever had? It’s all about the poolish! The magical pre-ferment adds incredible flavor and texture to the pizza dough and is easy to make.
This easy Poolish Pizza Dough recipe will take your homemade pizza to the next level! Incorporating poolish (a simple pre-ferment) into your dough will enhance the flavor and texture of your crust, making it both crispy and chewy!
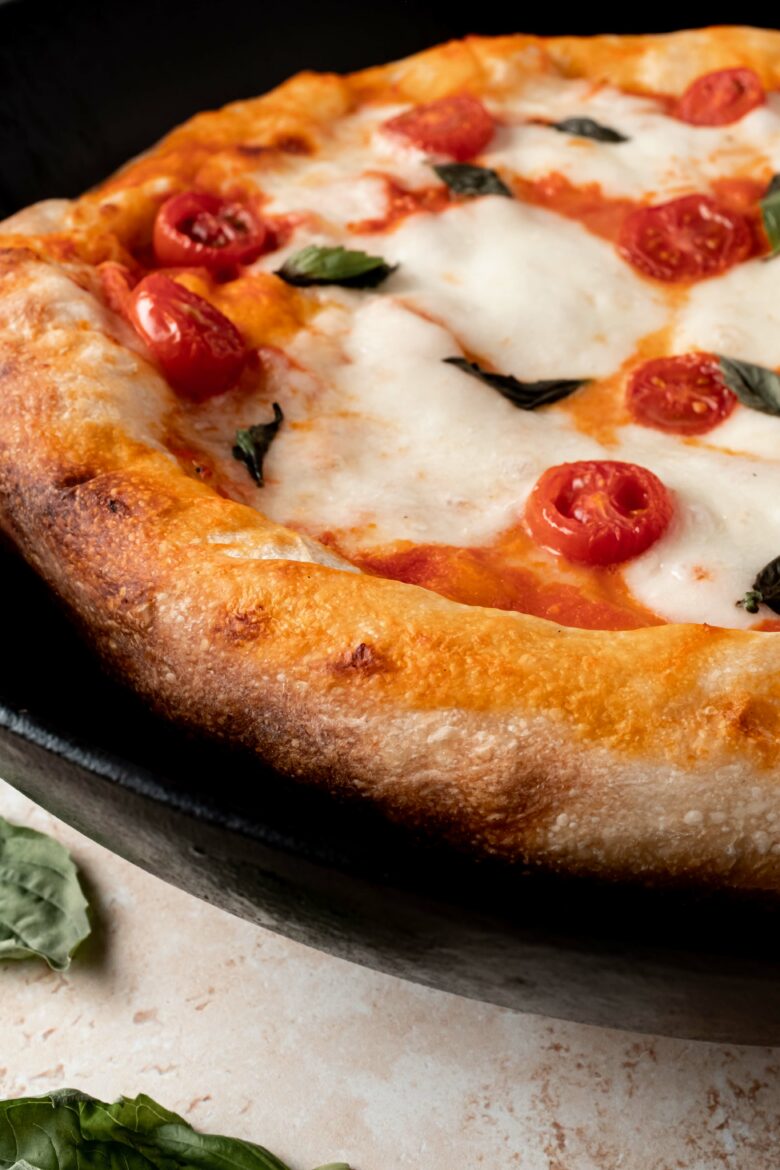
Simply mix together flour, water and yeast and let it ferment overnight. Combine the mixture with the rest of your dough ingredients, let it rise and then build your pizza. And if you really want to make the most of this poolish pizza dough recipe, try it with our Cast Iron Skillet Pizza!
What is poolish?
Before we get to the poolish pizza dough, let’s back up a bit. What exactly is poolish?
Poolish is a type of pre-ferment with Polish origins that can be used in bread recipes. It’s made by mixing together equal parts of flour and water (we call this 100% hydration) with a small amount of store-bought yeast. The mixture then ferments for a period of time, generally 8-20 hours.
During the fermentation period, the mixture rises and becomes bubbly. It’s then mixed into the remaining dough ingredients, resulting in a more flavorful and complex final product.
Why should I use poolish for pizza dough?
With poolish pizza dough, you can achieve the characteristics of a long-fermented dough in a relatively short amount of time, requiring minimal effort on your part!
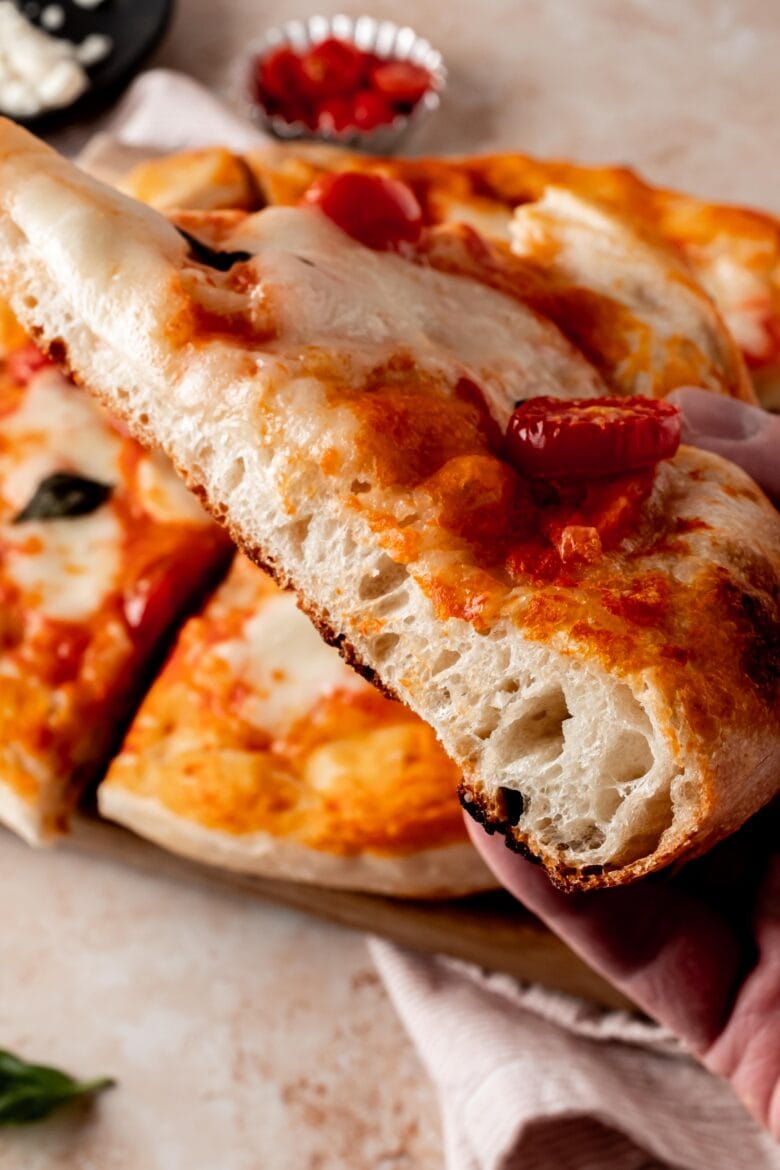
The fermentation process improves the flavor and texture of the dough, and contributes to a lighter and more open crumb.
Another benefit? The fermentation process also breaks down complex starches and proteins. This makes the pizza dough easier to digest, which is great for people with mild gluten intolerance.
Recipe ingredients
This poolish pizza dough recipe consists of two parts: the poolish and the actual pizza dough, which incorporates the poolish.
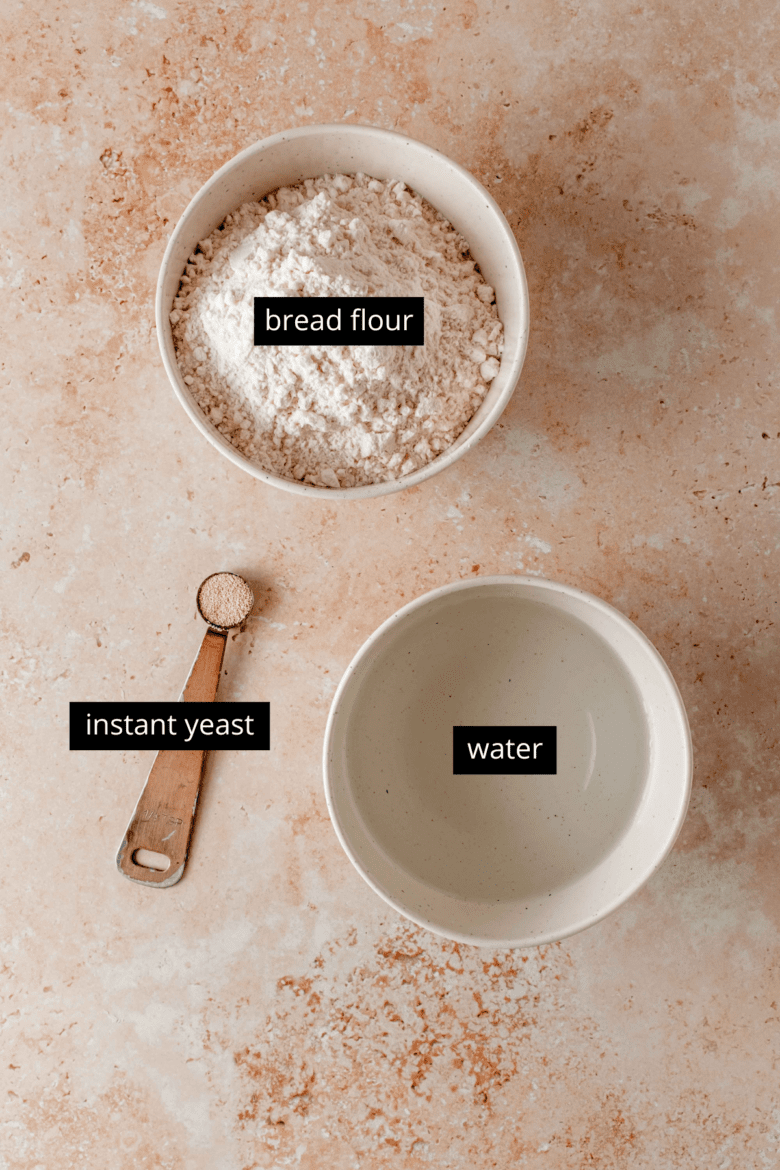
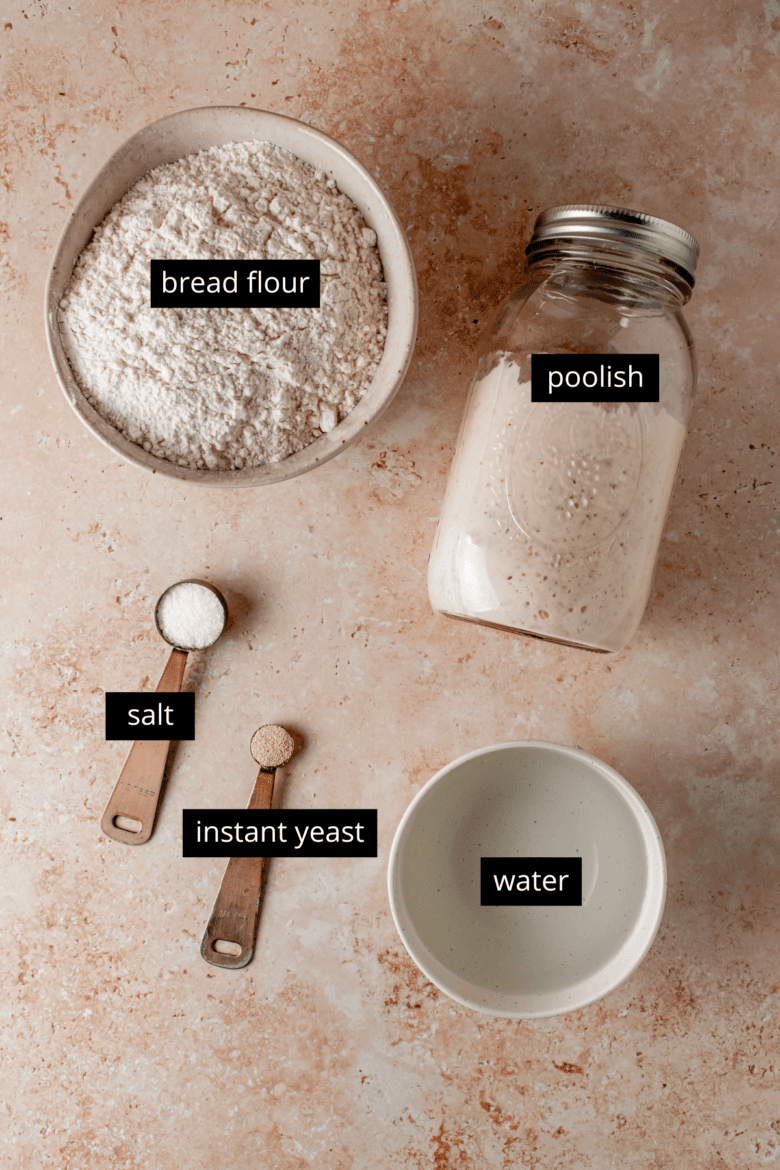
Poolish ingredients
- Bread flour
- Instant yeast
- Cold water
Poolish pizza dough ingredients
- Poolish
- Bread flour
- Instant yeast
- Kosher salt
- Lukewarm water
Step by step instructions
Poolish pizza dough is easy to make! Follow these step by step photos and instructions for a visual guide!
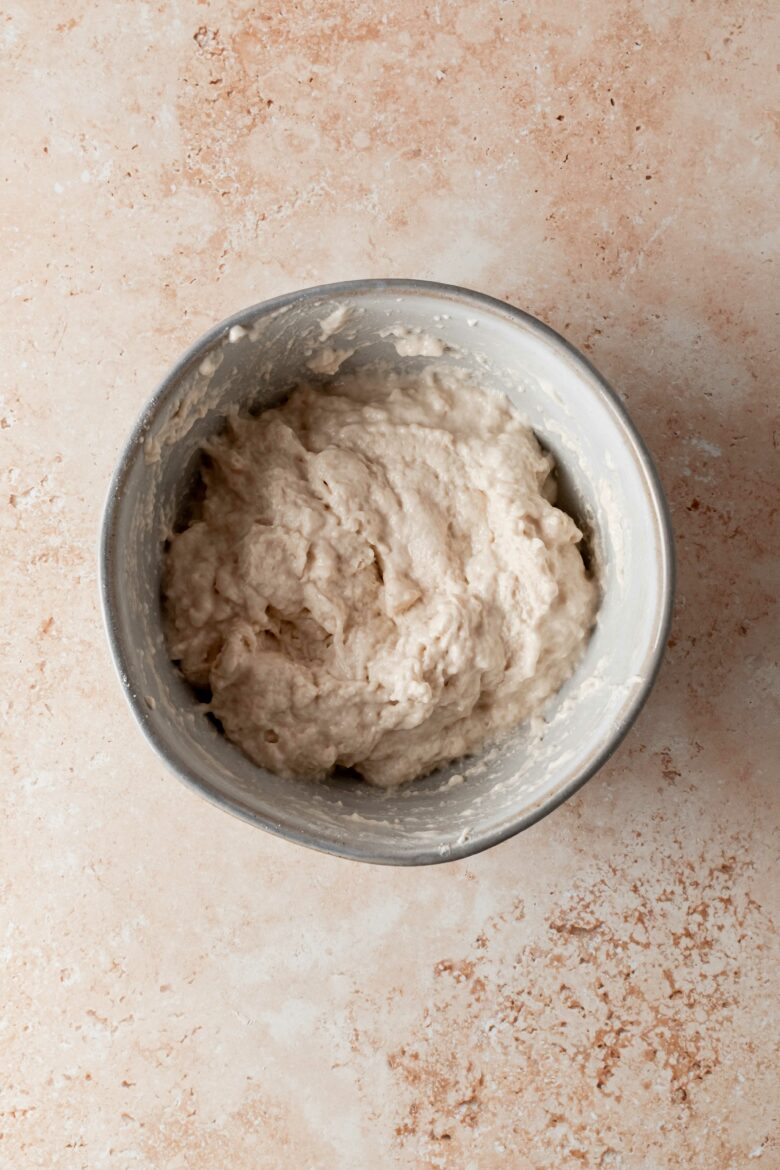
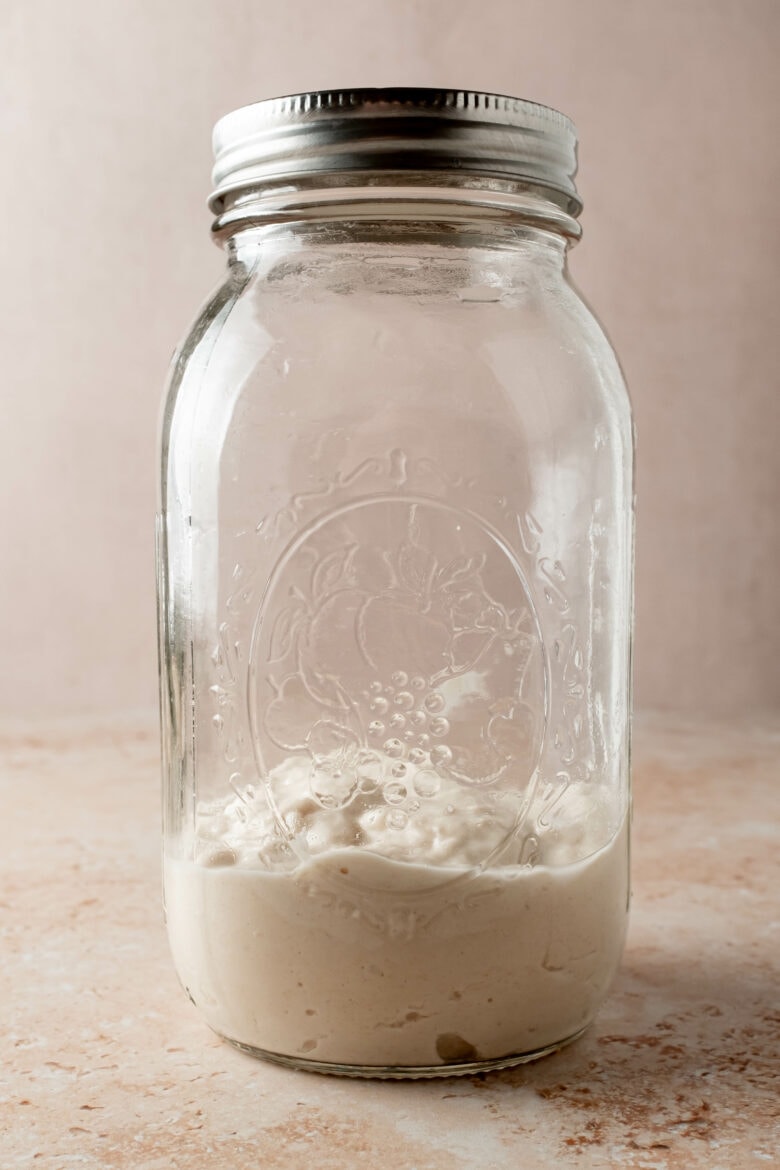
Step 1: Make the poolish. Combine equal parts bread flour and water along with a pinch of instant yeast.

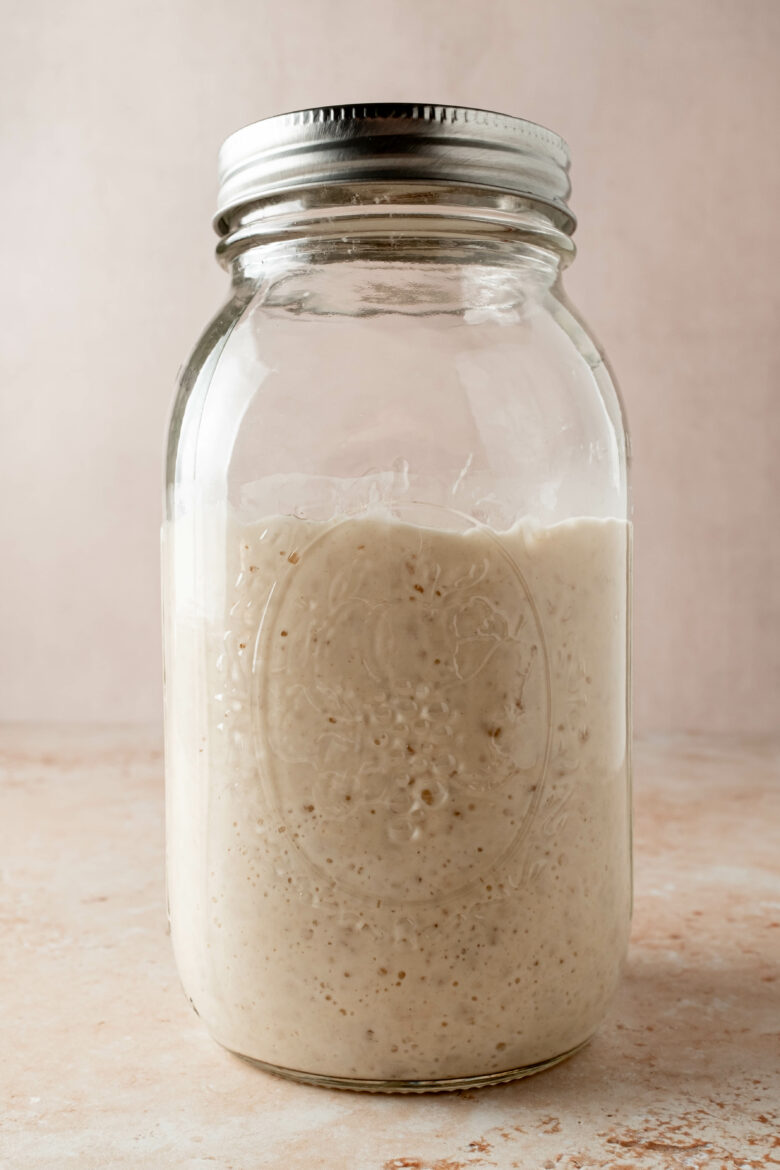
Step 2: Let the poolish sit overnight. The mixture will rise up and develop a bubbly texture.
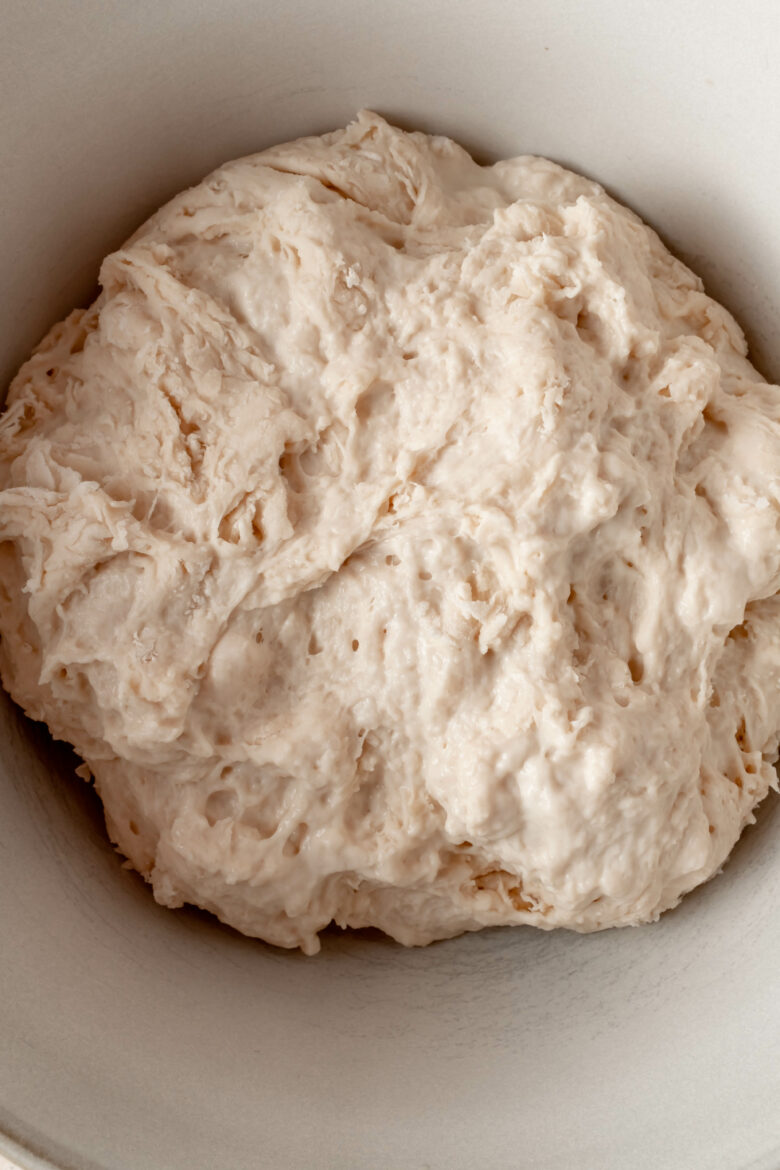
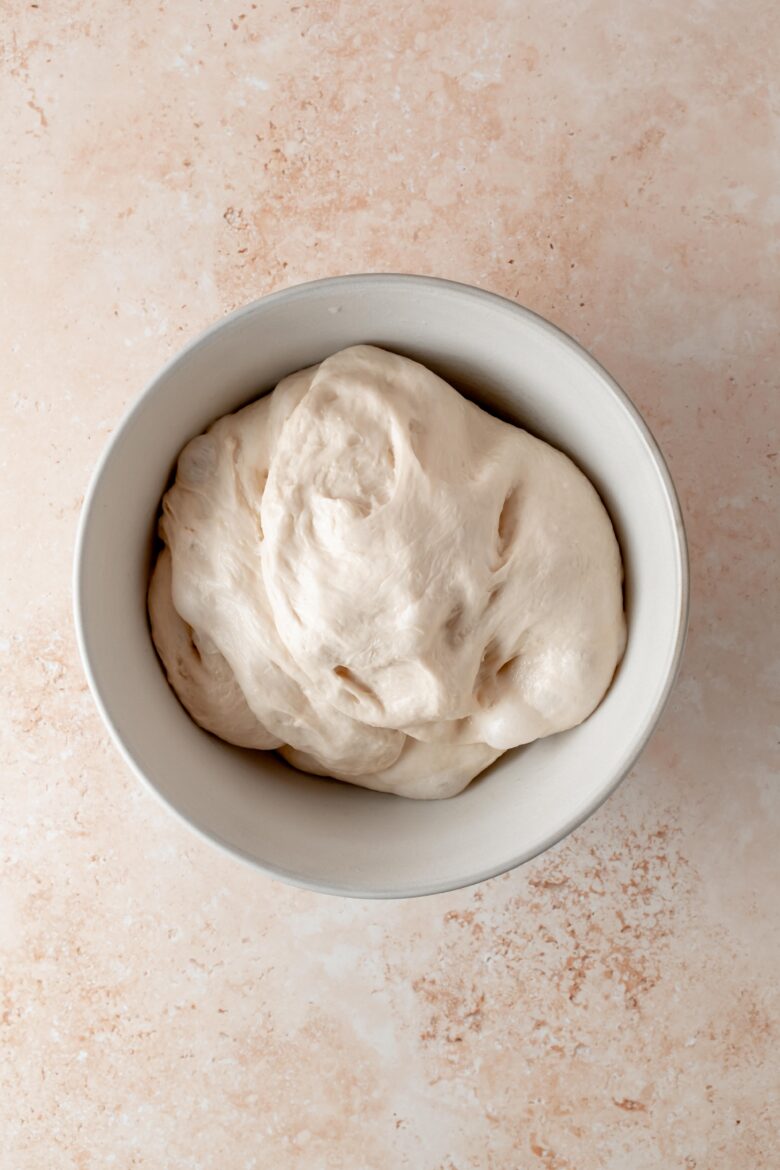
Step 3: Make the poolish pizza dough. Combine the poolish with the remaining dough ingredients. Place the dough in a greased bowl and cover with plastic wrap.
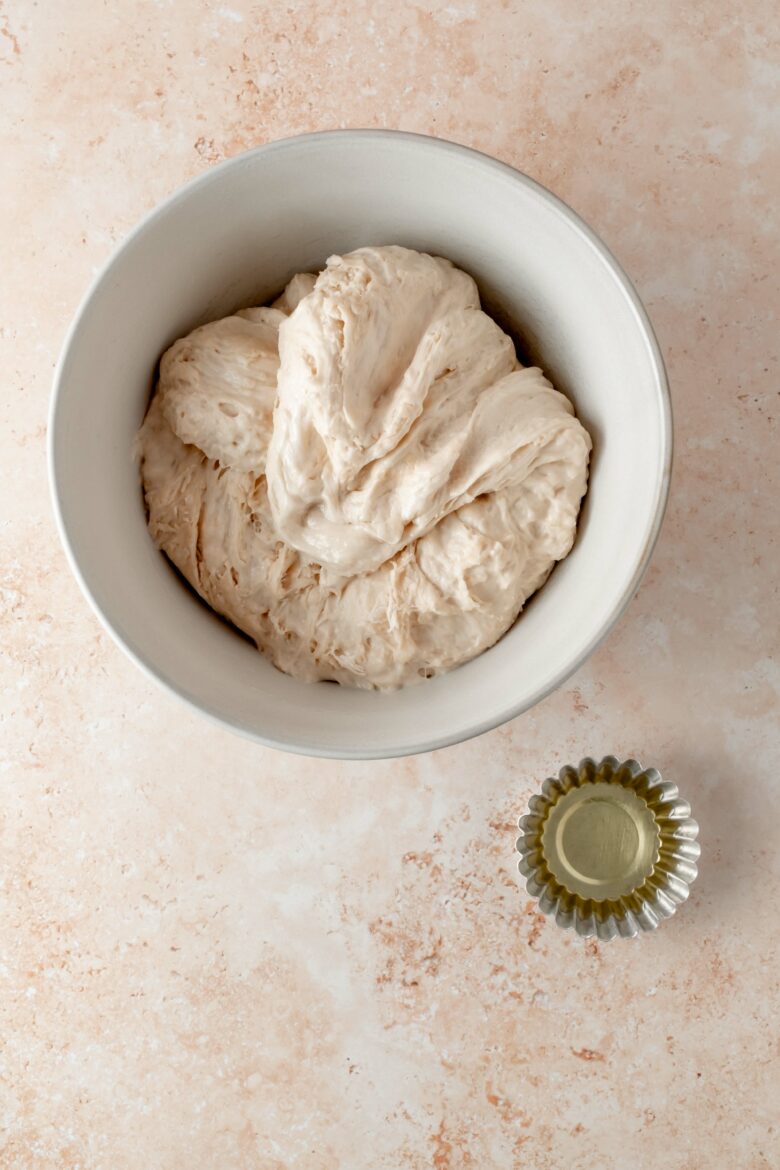
Step 4: Stretch and fold the dough. Let the dough rest for 30 minutes. Then pull out a quarter of the dough from the bottom of the ball and fold it over the top. Rotate the ball 90 degrees and repeat three times.
Step 5: Continue stretching and folding. Gently stretch and fold the dough every 30 minutes until you’re ready to bake.
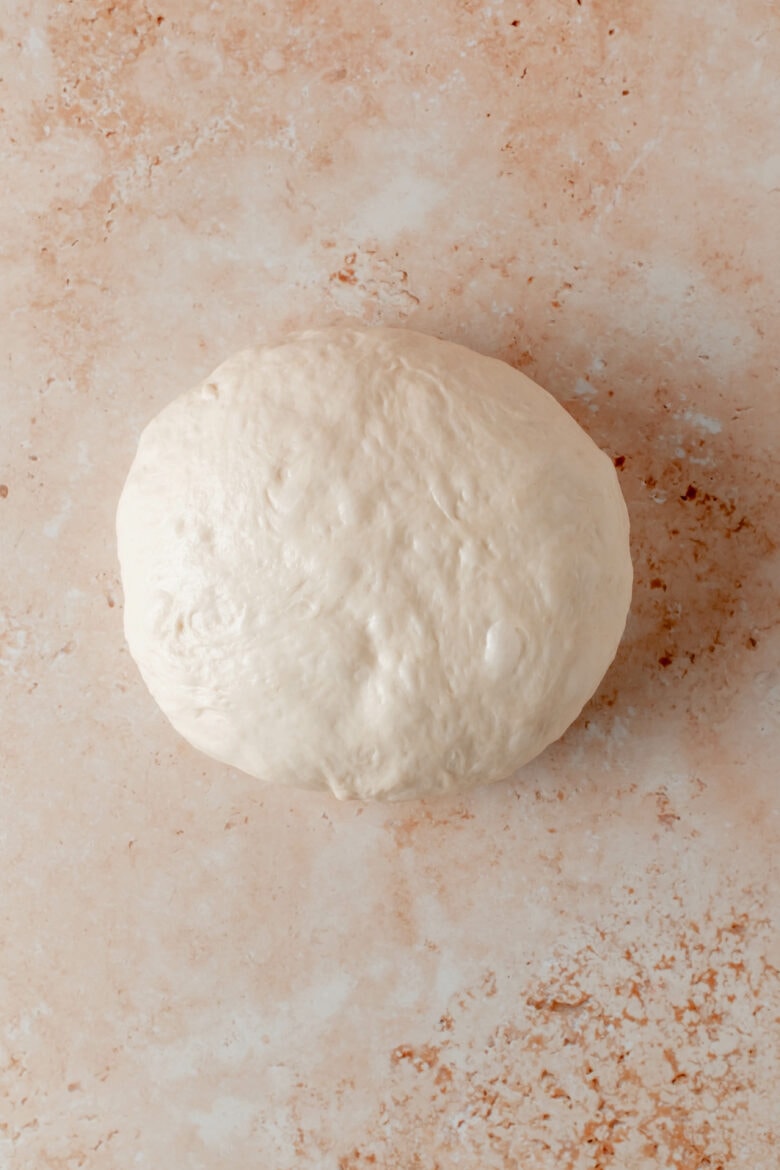
Step 6: Bake. Divide the dough into two balls, shape and bake!
Storage and freezing
Unused poolish pizza dough balls can be stored in the refrigerator for up to 3 days. Place the dough in a covered and lightly greased bowl, making sure there is room for some expansion. Before using, allow the dough to sit covered at room temperature for 2-3 hours.
To freeze the pizza dough, prepare the pizza dough all the way up until it’s ready to be shaped. Separate into dough balls and freeze in zip-top bags for 1-2 months. Thaw the pizza dough overnight in the fridge. Once thawed, let it come to room temperature for about 1-2 hours before shaping and baking.
Expert tips and tricks
Kneading the dough
Rather than kneading the poolish pizza dough, stretch and fold it periodically to develop the gluten. Kneading the dough results in a more uniform texture and tighter crumb. However, gently stretching and folding the dough produces larger air pockets and a more irregular texture. This leads to a puffier pizza with an open and airy crumb.
Dough hydration
Hydration refers to the ratio of water to flour used in the dough. While our poolish is 100% hydration (150 g water and 150 g flour), our final poolish pizza dough is 70% hydration (375 g water and 525 g flour). Our final dough measurements include both the ingredients from the poolish and the dough.
Why does it matter? A dough with a higher hydration level (such as our 70% pizza dough) will be more wet and sticky, This can make it more difficult to handle, but it also results in a more open and airy crumb with a crispy crust. Perfect for pizza!

Shaping the pizza
Because extra flour can make your dough tough, we recommend using a bit of olive oil instead of flour to grease your fingers and work surface when working with poolish pizza dough
To shape the pizza, begin by dividing the dough into two halves and forming each into a ball. Flatten the first portion into a disc. Use your fingertips to gently press the dough down and out. Start at the center of the disc and work towards the outer edge. Aim to make a 12-inch (30 cm) circle, leaving a half-inch (1.5 cm) of dough around the edge untouched.
If your dough is springing back, cover it with a kitchen towel and give it 5-10 minutes to rest before continuing. Repeat several times if needed. This will allow the gluten to relax, making it easier to stretch.
Baking
Achieving a balance between oven heat and dough hydration is crucial. Because we’re working with a high hydration pizza dough (70%), this recipe is perfect for home ovens which can generally only reach 450-500°F (230-260°C). The extra water in the poolish pizza dough recipe ensures the pizza won’t dry out before it finishes cooking.
And if it’s summer and you don’t want to crank up the heat in your kitchen, this pizza dough is also an excellent candidate for grilling. Just stretch it into a cast iron skillet, add toppings and fire up the grill! Check out our cast iron skillet pizza here!
Depending on your baking method and temperature, the pizza will cook in 10-15 minutes. To check if your pizza is ready, use a spatula to lift up the crust. It should be crispy and golden brown.
Poolish Pizza Dough: FAQs
Both are types of pre-ferments used in bread making. Poolish is made of flour, water and store-bought yeast. The fermentation period is relatively short (less than a day). Sourdough starter is made with just flour and water. The mixture is naturally fermented by wild yeast and bacteria already in the environment. It ferments for a longer period of time and requires more maintenance.
Poolish pizza dough differs from other pizza doughs in that it uses a pre-ferment (poolish), which can result in a more complex flavor and chewy texture.
You probably won’t want to use poolish that has fermented for over 24 hours. The flavor will be sour and unpleasant and the dough won’t rise as well. You can tell your poolish has over-fermented if it has an overly sour smell or it has collapsed back into itself.
You can store unused dough balls in the refrigerator for up to 3 days. Place the dough in a lightly greased bowl and cover, making sure there is room for the dough to expand. Before using, allow the dough to sit covered at room temperature for 2-3 hours.

And if you use this poolish pizza dough recipe, don’t forget the sides! Here are some of our favorites:
- Easy Cucumber Tomato Salad
- Greek Farro Salad
- Roasted Radishes and Potatoes + Creamy Dill Kefir Dressing
- Grilled Radishes + Herb Butter Baguette

Poolish Pizza Dough Recipe
- Total Time: 20 hours 35 minutes
- Yield: 2 lbs (900 grams)
- Prep Time: 20 minutes
- Inactive Time: 20 hours
- Cook Time: 15 minutes
- Category: dinner
- Method: baking
- Cuisine: italian
Ingredients
Poolish Pre-Ferment
- 150 grams bread flour
- 1 gram (¼ teaspoon) instant yeast
- 150 grams cold water
Pizza Dough
- poolish (see above)
- 375 grams bread flour
- 1 gram (¼ teaspoon) instant yeast
- 10 grams kosher salt
- 225 grams lukewarm water
Instructions
Poolish (1 day in advance)
- In a mixing bowl, whisk together the bread flour (150 g) and instant yeast (1 g).
- Add the cool water (150 g) and mix together until a shaggy dough forms.
- Cover with plastic wrap and let sit at room temperature overnight (at least 12 hours and up to 20 hours). The poolish will rise and become bubbly with a loose batter-like texture.
Pizza Dough (3 hours before baking)
- In a mixing bowl, combine the bread flour (375 g), instant yeast (1 g) and salt (10 g).
- Pour the lukewarm water (225 g) around the edges of the poolish (this helps to loosen it). Then pour the water and poolish mixture into the dry ingredients. Use a spatula to mix until a shaggy dough forms.
- Transfer the dough to a greased bowl. Cover with plastic wrap and let rest for 30 minutes.
- Dip your fingertips in olive oil to prevent sticking. Pull up a handful of the dough (about ¼ of the dough) from the bottom of the ball. Stretch and fold it over and into the center. Rotate the ball 90 degrees and repeat 3 times.
- Cover the dough, allow to rest 30 minutes and then repeat step 4. Repeat every 30 minutes (about 3 more times) until you’re ready to bake the dough.
- Punch down the dough, divide in half and form into two balls. Each ball will make a 12-inch (30 cm) round pizza.
Notes
Storing: Place unused pizza dough balls in a lightly greased bowl and cover, leaving room for the dough to expand. Refrigerate dough for up to 3 days. Before using the dough, allow it to sit covered at room temperature for 2-3 hours.
Baking: This is our favorite dough to make cast iron skillet pizza. Check out the recipe here for the full instructions.
Nutrition
- Serving Size: 1 slice
- Calories: 163.58
This post may contain affiliate links through which we may earn a small commission at no additional cost to you. We only recommend products that we genuinely love and would use ourselves.
8 comments
Hi does it have to be bread flour?
Hi! You can use all purpose flour, but the texture will be a bit different. The crust will be softer, more dense (you’ll get less of a rise) and less chewy. If you try it, I would recommend adding a bit less water (by 2-3 tablespoons) to the dough.
I made this a couple of days ago and thought it tasted excellent! I doubled the recipe, but kept everything the same. I was using the 00 flour like I always do.
This was extremely wet and sticky though when I went to flatten it out, and I didn’t know if that was normal or if it was due to my doubling the recipe or even the fact that it was super humid that day.
I added some more flour as I was flattening them out and that helped the stickiness, but it was still a little difficult to work with.
I cooked it in my wood fired pizza oven (700-800° F) and they all puffed up nicely and cooked through without being gooey, so I’d say it was a win. Any tips on the stickiness though?
I’m so glad you liked it! Because 00 flour has lower water absorption than bread flour, the dough will come out quite a bit stickier. Instead of 225g of water for the final dough, try starting with 190-200g of water.
If using 00 flour, I also would recommend shaping it using well-floured hands and dipping both sides of the shaped dough in flour before stretching. Definitely let me know if you give it a try again!
Thanks for the tip! I adjusted the final dough’s water to 190g and that made a huge difference. That was just about perfect, so I might try tweaking the final water just a bit more the next time, but it really was a lot easier to work with this time and not very sticky at all.
Do you use a rolling pin or anything to flatten it out, or do you just press it down and form with your hands?
This definitely got high praise from my family last night, so I think I’ve found my standard pizza dough for our weekly pizza night!!
I’m so happy to hear that!! I always use my hands to flatten the dough. If it’s not stretching enough, I cover it with a kitchen towel and come back to it in 10-20 minutes after it has a bit more time to relax.
Absolutely the best pizza dough – poolish is the best kept secret ! This recipe is now the only one I will make… thank you !
Thank you so much, Shirley! I’m so happy you liked it! 🙂