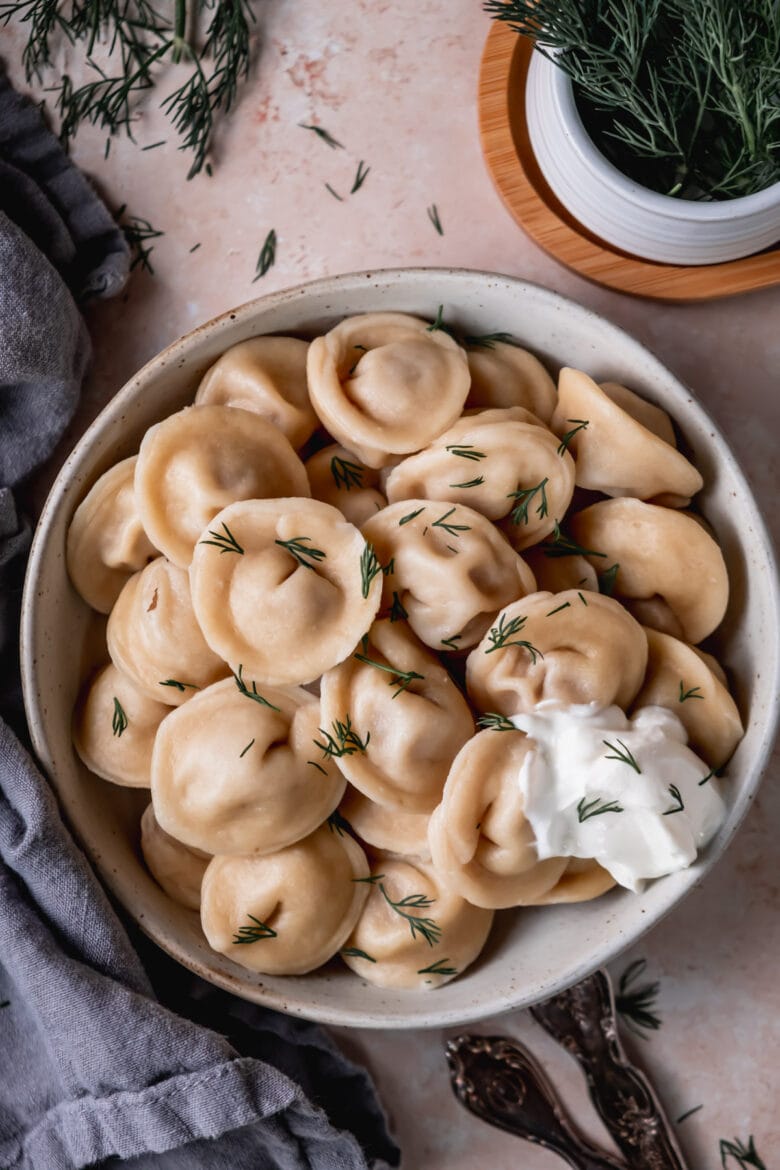
Made with simple ingredients, these meat-filled Russian Pelmeni (пельмени) are the ultimate comfort food!
This recipe for meat-filled Russian Pelmeni, also called Siberian Pelmeni, is simple and no-frills, yet full of flavor and incredibly addicting. Pelmeni are a great addition to soups and just as delicious on their own with a side of sour cream and fresh dill!
Recipe ingredients
These Russian Pelmeni are made with simple ingredients:
Dough ingredients
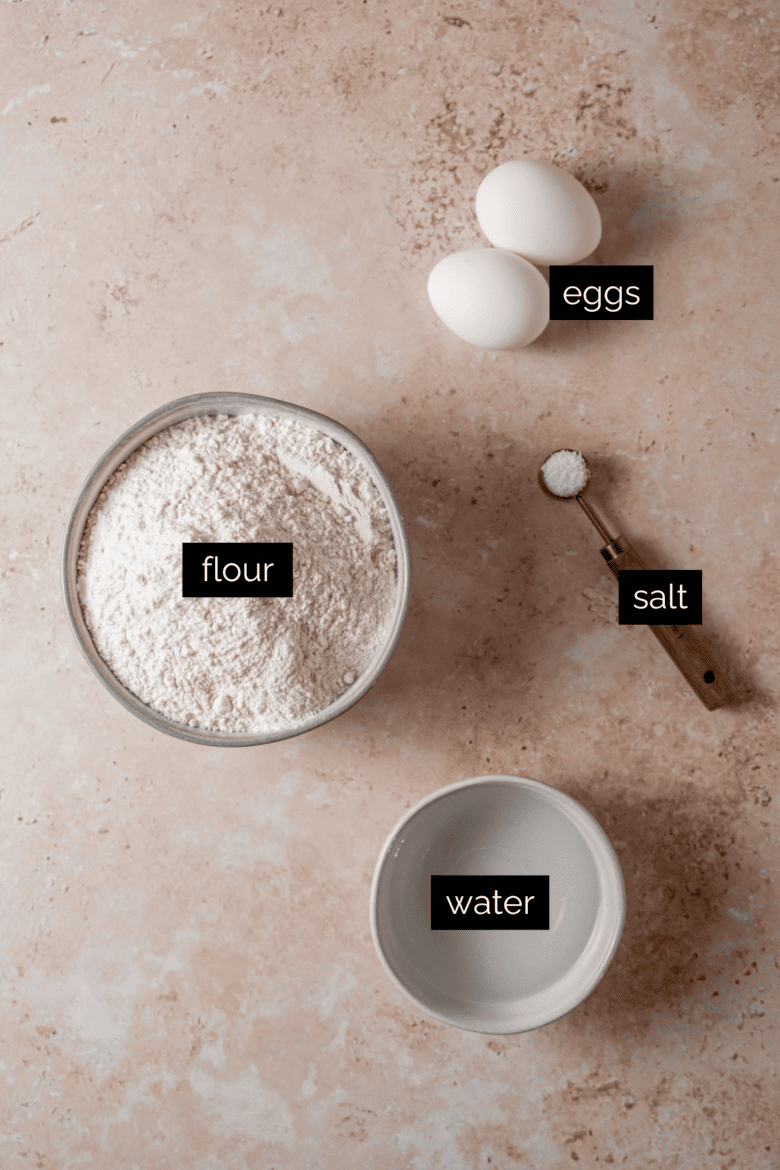
- All purpose flour: If possible, use a kitchen scale to measure the flour. This will help ensure you don’t scoop too much flour, which can result in a tougher dough.
- Kosher salt: Salt enhances the flavor of the Pelmeni dough.
- Eggs: Eggs help the dough bind together and contribute to the richness of the dough.
- Warm water: If your dough is dry and crumbly even after kneading, try adding an additional tablespoon or two of water.
Filling ingredients
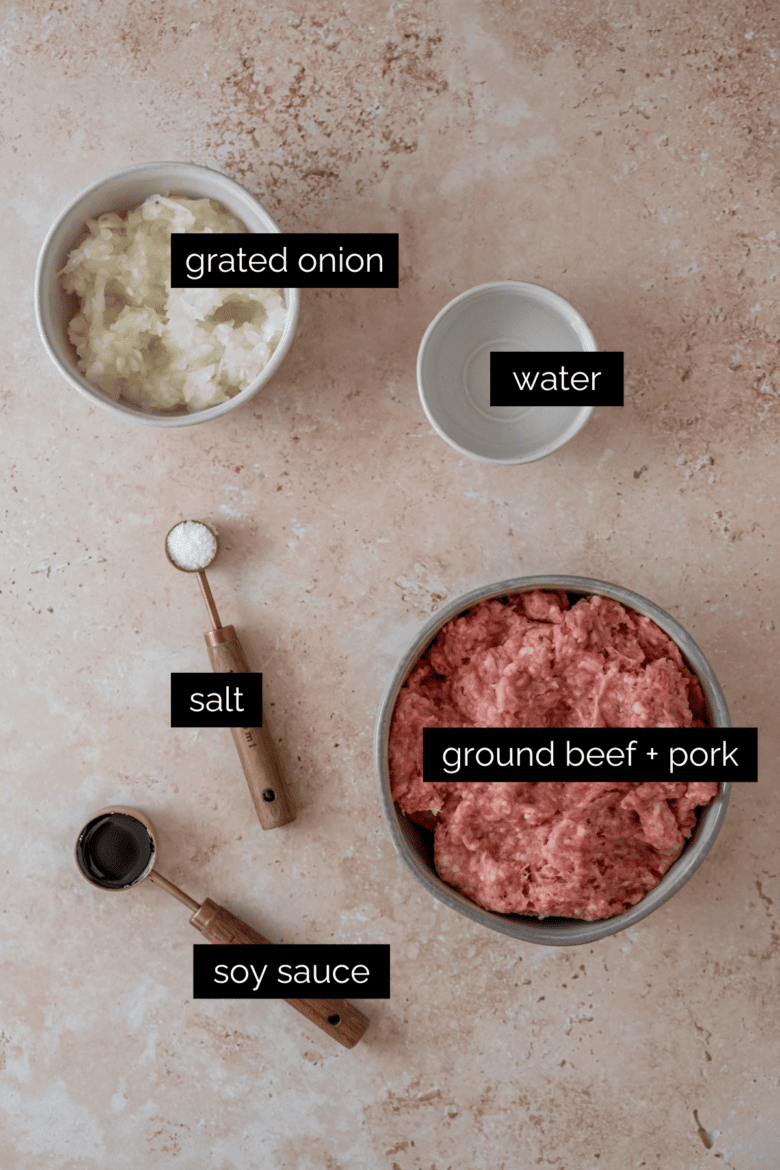
- Ground meat: I like to use a 50/50 mixture of ground beef and pork, but you can just as easily use one or the other.
- Yellow onion: Grate the onion on the large holes of a box grater and include the liquid in the filling.
- Kosher salt: Salt not only enhances the flavor of the filling, but also contributes to texture and creates a more smooth mixture.
- Soy sauce: Soy sauce isn’t a traditional element, but adds a deeper flavor to the Pelmeni. Feel free to leave it out and add a bit more salt if desired.
- Ice cold water: Adding a bit of ice cold water when mixing the Pelmeni filling prevents the fat in the meat from melting, which results in a smoother (and juicier) texture!
Step by step instructions and photos
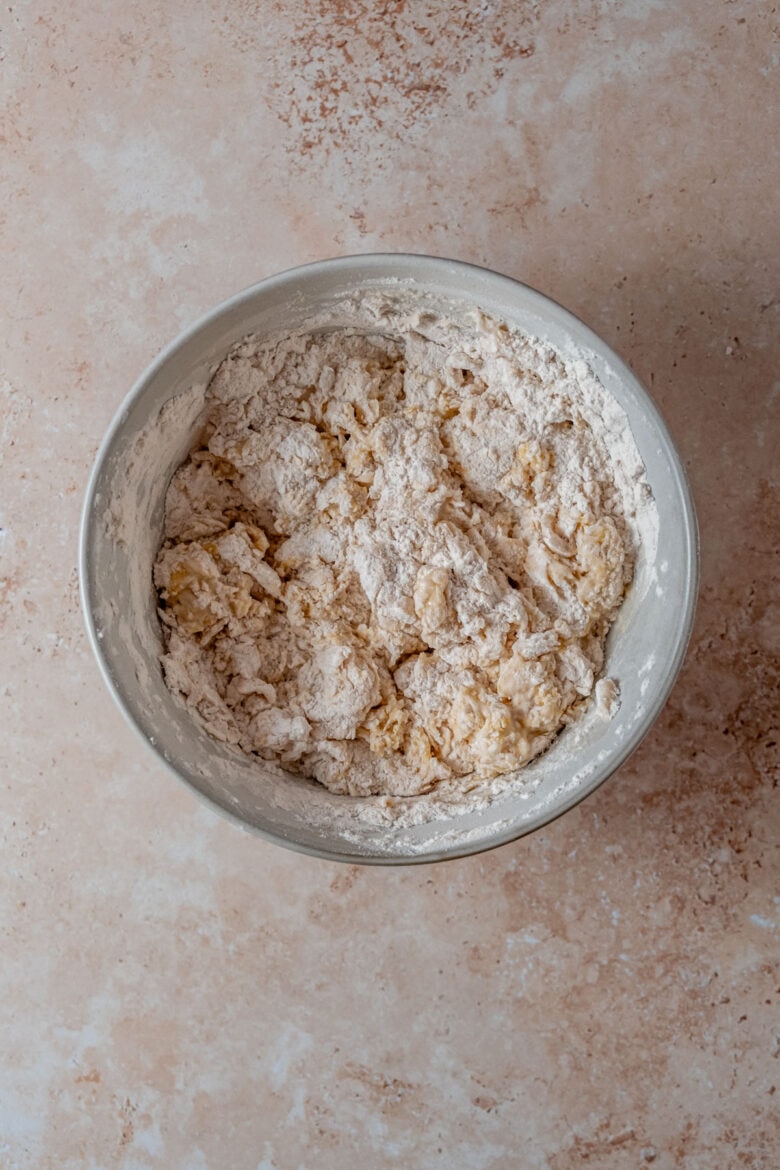
Step 1: Make the dough. The Pelmeni dough can be made in the bowl of a stand mixer or by hand. If by hand, you’ll need to knead the dough for 15-20 minutes.
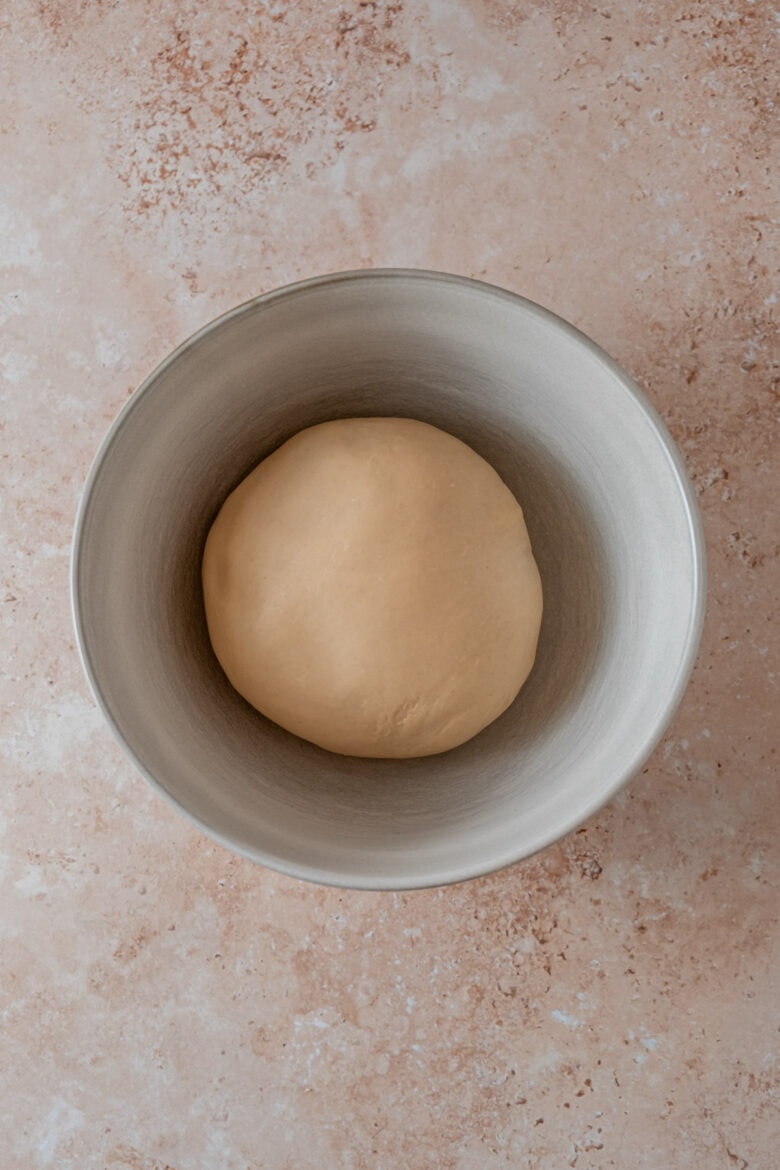
Step 2: Let the dough rest. Let the dough rest for at least one hour at room temperature. Don’t skip this step! It’s essential to making the dough easy to roll out.
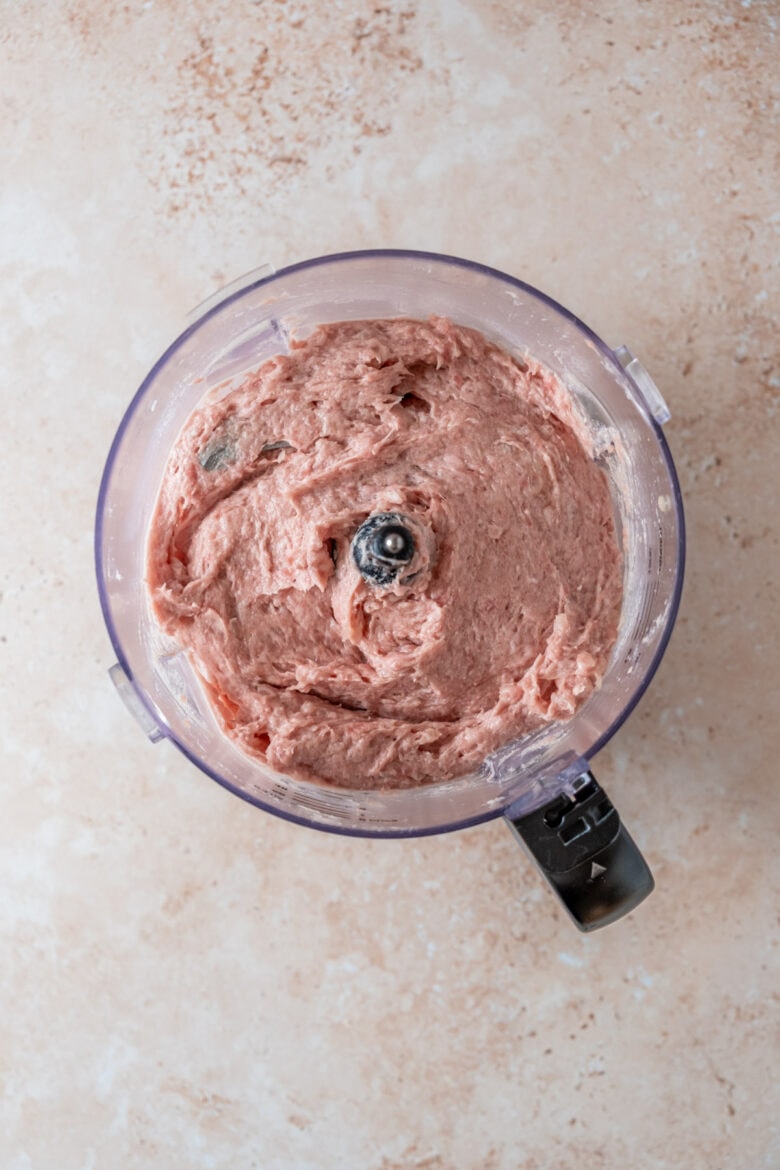
Step 3: Make the Pelmeni filling. Place all of the filling ingredients in a food processor and pulse until smooth. Alternatively, you can use a handheld mixer or stand mixer with a paddle attachment.
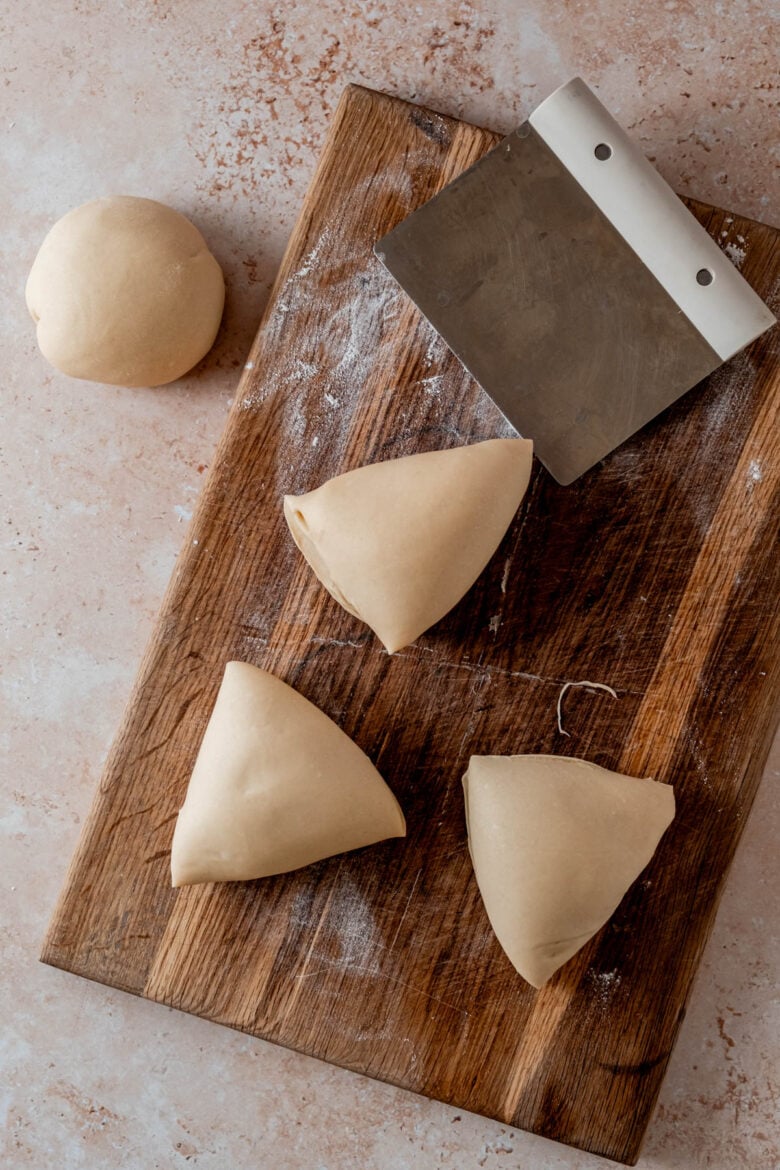
Step 4: Separate the dough into four portions. Make sure to keep the dough covered when you’re not working with it. This will prevent it from drying out.
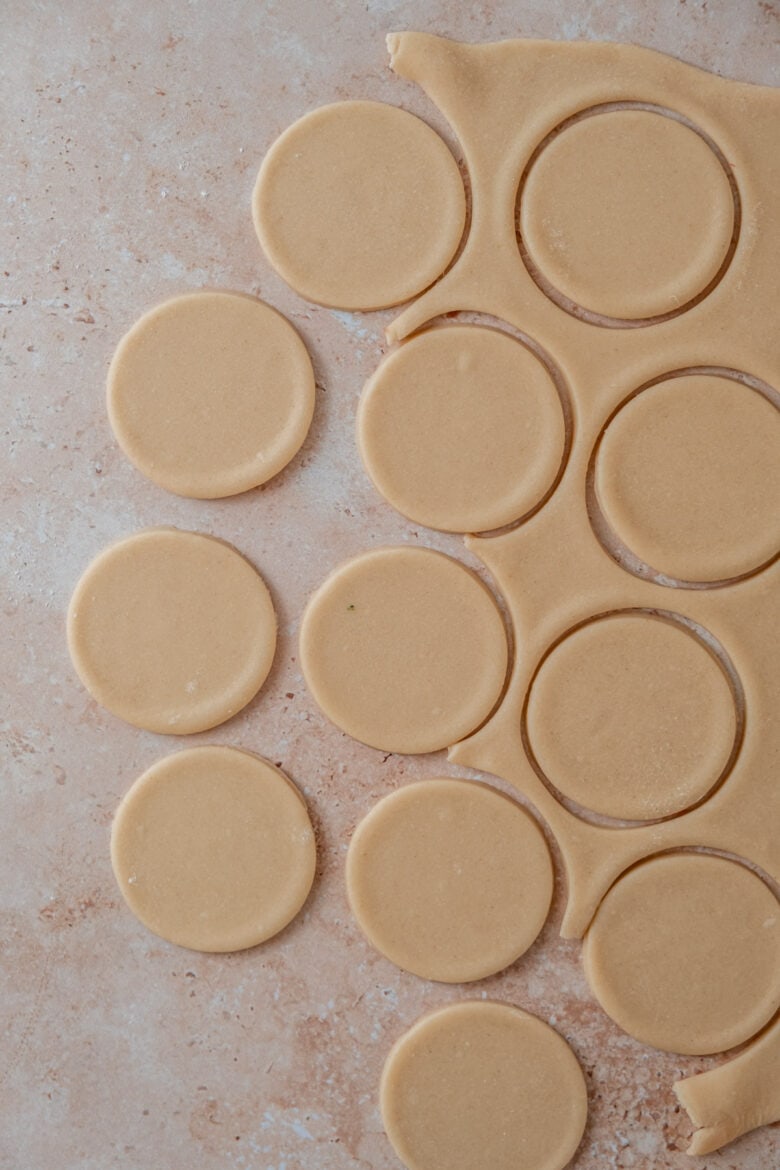
Step 5: Roll out the dough and cut out rounds. The dough should be very thin — somewhere between 1/8 and 1/16 inch (1.5 – 3 mm). Use a 2-inch (5 cm) cookie cutter or rim of a glass to cut out the rounds.
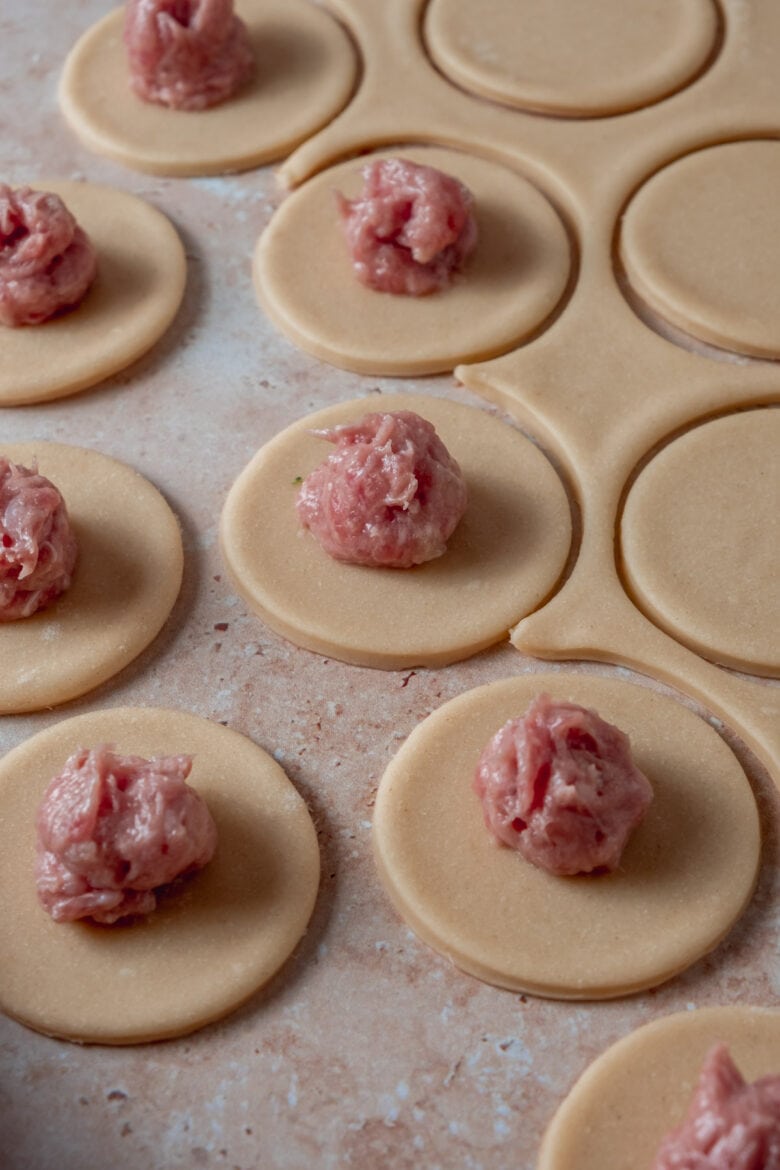
Step 6: Place the filling on the dough. You’ll need 1-2 teaspoons of dough for each dumpling. I like to use a piping bag fitted with a wide round tip, but you can also use a spoon.
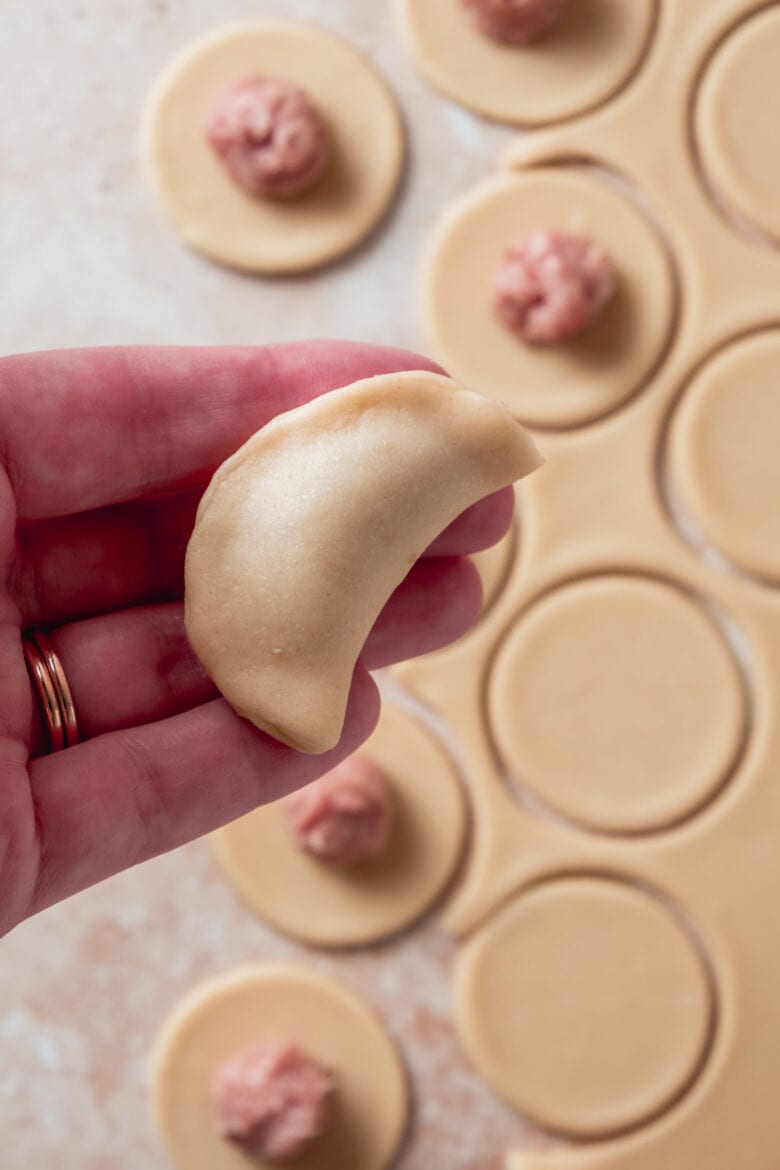
Step 7: Fold the Pelmeni in half and pinch to seal. If your dough is a bit dry, you can wet the edges to make it easier to seal.
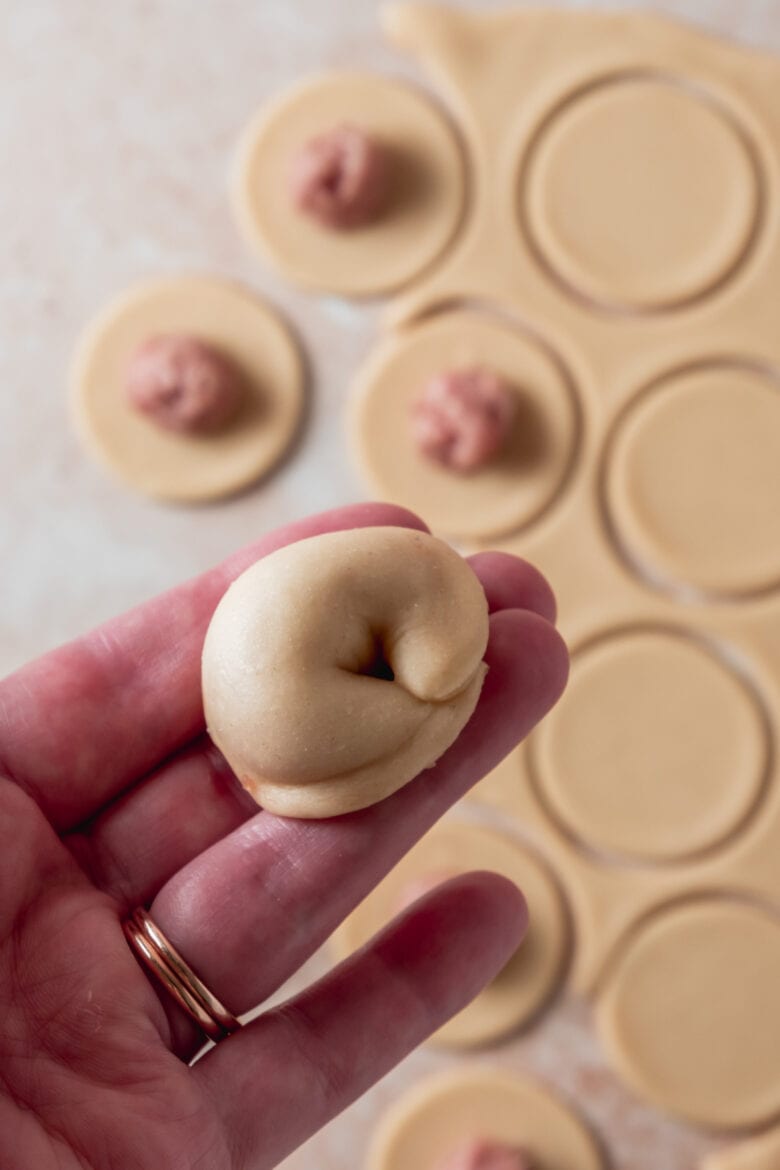
Step 8: Bring the edges of the Pelmeni together. Pinch the edges together to form a tortellini shape.
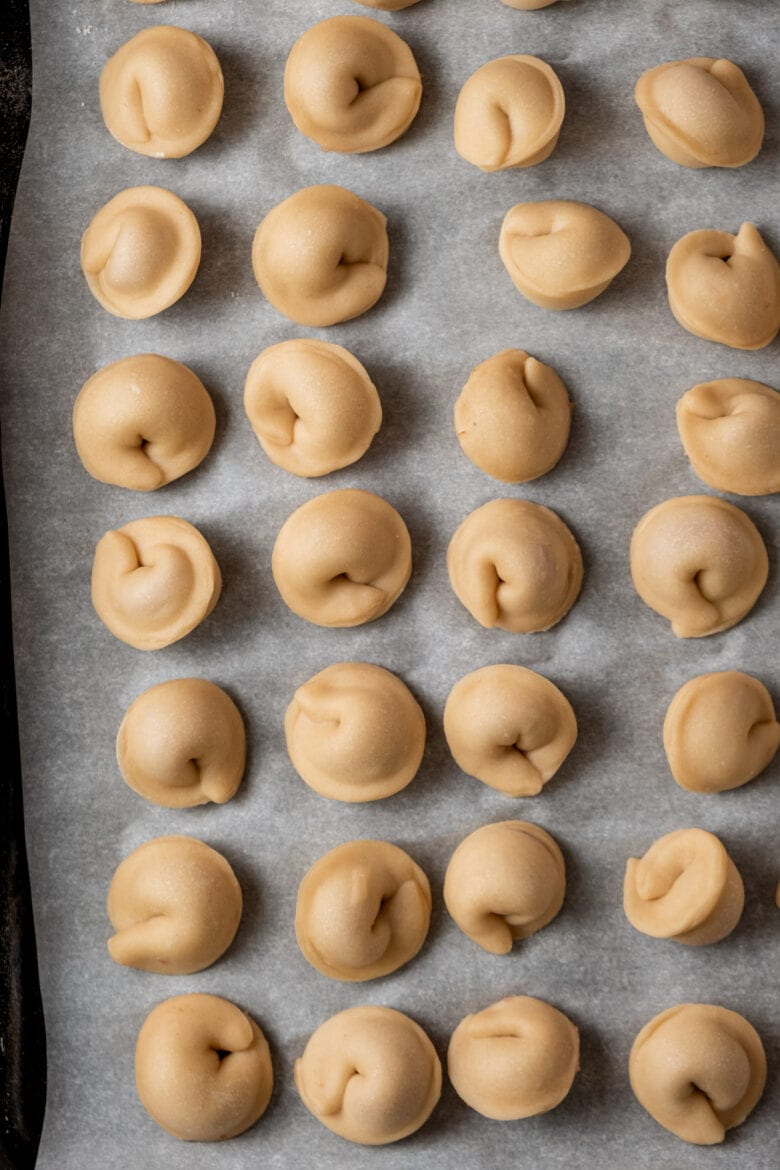
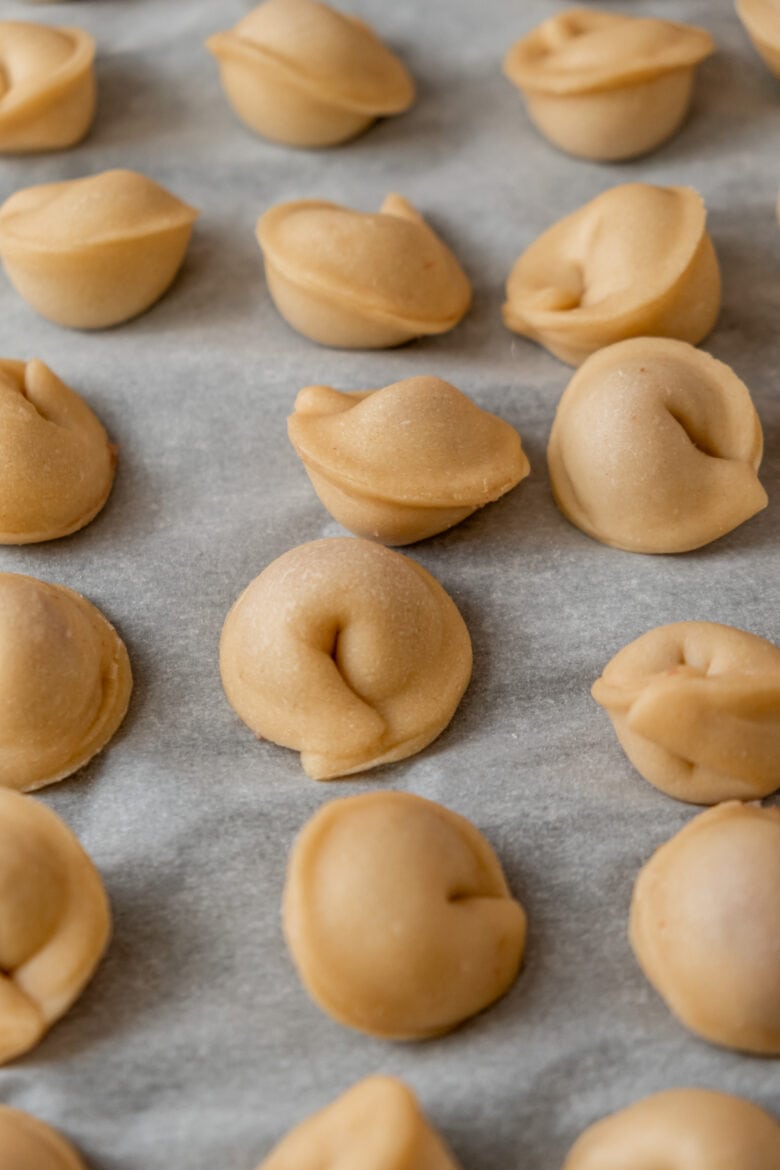
Step 9: Freeze (optional). I don’t recommend storing uncooked Pelmeni in the refrigerator, as they can get soggy. You can either freeze them or cook immediately. Place the Pelmeni on a baking sheet dusted with flour and place in the freezer until frozen solid. Then transfer to a zip-top bag and store in the freezer.
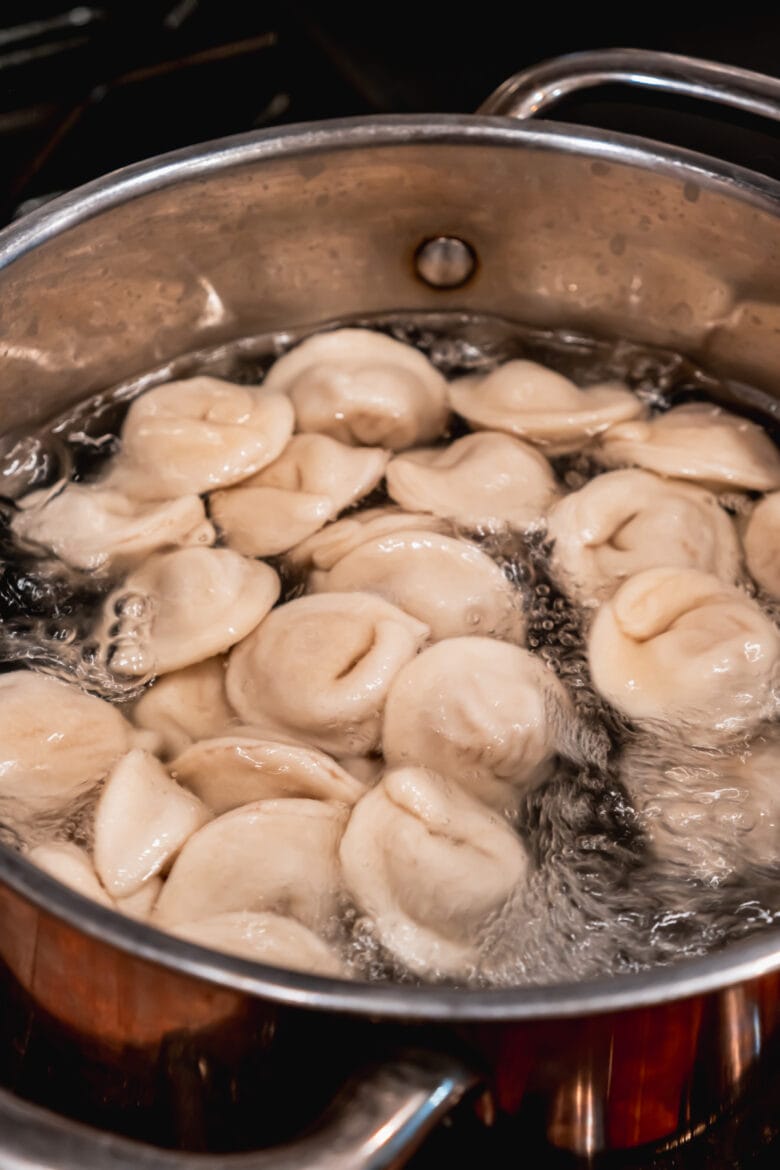
Step 10: Cook and enjoy! Place the Pelmeni in a pot of salted boiling water. Make sure to keep the water at a gentle boil — a vigorous boil will result in tough dough. Cook for 2-3 minutes after the Pelmeni float to the top and enjoy!
Storage and freezing
Leftover cooked Russian Pelmeni will keep stored in an airtight container in the fridge for 3-5 days.
Any uncooked Pelmeni should be stored in the freezer. Line a baking tray with parchment paper or dust with flour – or do both! Place the formed Pelmeni on the tray and place in the freezer for 1-2 hours or until frozen solid. Make sure the Pelmeni aren’t touching to prevent sticking.
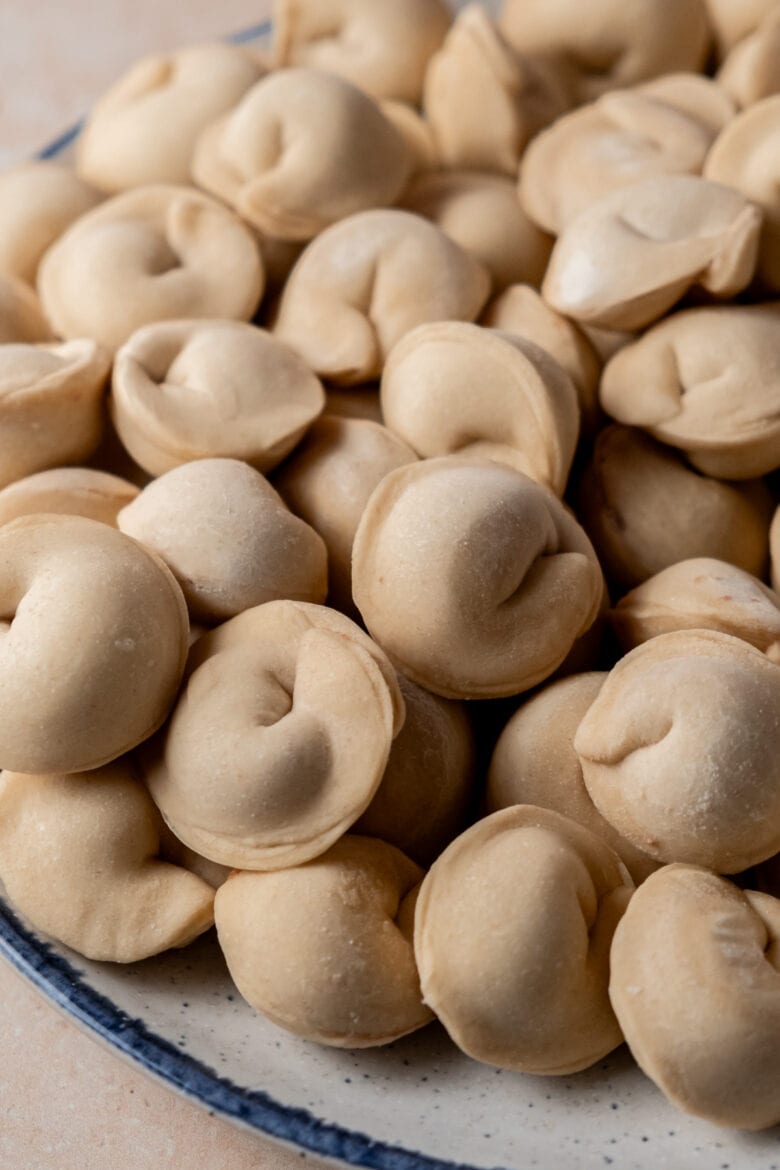
Once the Pelmeni harden, you can place them in a freezer bag and store for up to three months. This is the perfect recipe to make in bulk and keep around for quick lunches and dinners!
Expert tips and tricks
- Let the dough rest before rolling it out. This gives the dough time to fully hydrate and allows the gluten in the dough to relax, making it easier to roll out.
- Roll out the dough as thin as possible. This helps the Pelmeni cook more evenly and makes for the best filling to dough ratio!
- Cut out the Pelmeni rounds with minimal space in between. This minimizes leftover scraps so you don’t have to re-roll the dough too many times. I typically limit re-rolling to once because the dough becomes tougher with each attempt.
- Cook the Pelmeni in gently boiling water. Reduce heat if the water is vigorously boiling. To keep the dough from becoming tough, try to cook the Pelmeni in gently boiling water.
Recipe variations
- Make larger Pelmeni. Pelmeni are traditionally quite small, which is why I use a 2-inch (5 cm) cookie cutter to make the dumplings. But I’ve also tested this recipe with larger cookie cutters (2.5 and 3 inches) and they worked just as well — it makes less dumplings, but also takes less time!
- Use a different meat. I love the combination of ground pork and beef, but ground lamb, chicken or turkey would also work well in these Russian Pelmeni.
- Pan fry in butter. This is best way to enjoy cold leftover Pelmeni! Add some butter to a skillet and fry your Pelmeni until warmed through.
- Serve in broth or soup. Nothing beats Pelmeni boiled in chicken broth on a cold day! You can also add Pelmeni to your favorite vegetable soup for a hearty addition!
FAQs
Pelmeni are Russian dumplings characterized by a filling wrapped in thin dough. They most likely originated in Siberia and are now one of the dishes most often associated with Russian cuisine.
Yes, you can use a pelmenitsa (a mold made especially for forming Pelmeni) with this recipe.
Yes! If you’re not cooking your Pelmeni immediately, freezing is the best storage option. Transfer formed Pelmeni to a pan lined with parchment paper and lightly dusted with flour. Place in the freezer until frozen solid. Transfer to a zip-top bag and store in the freezer for up to 3 months.
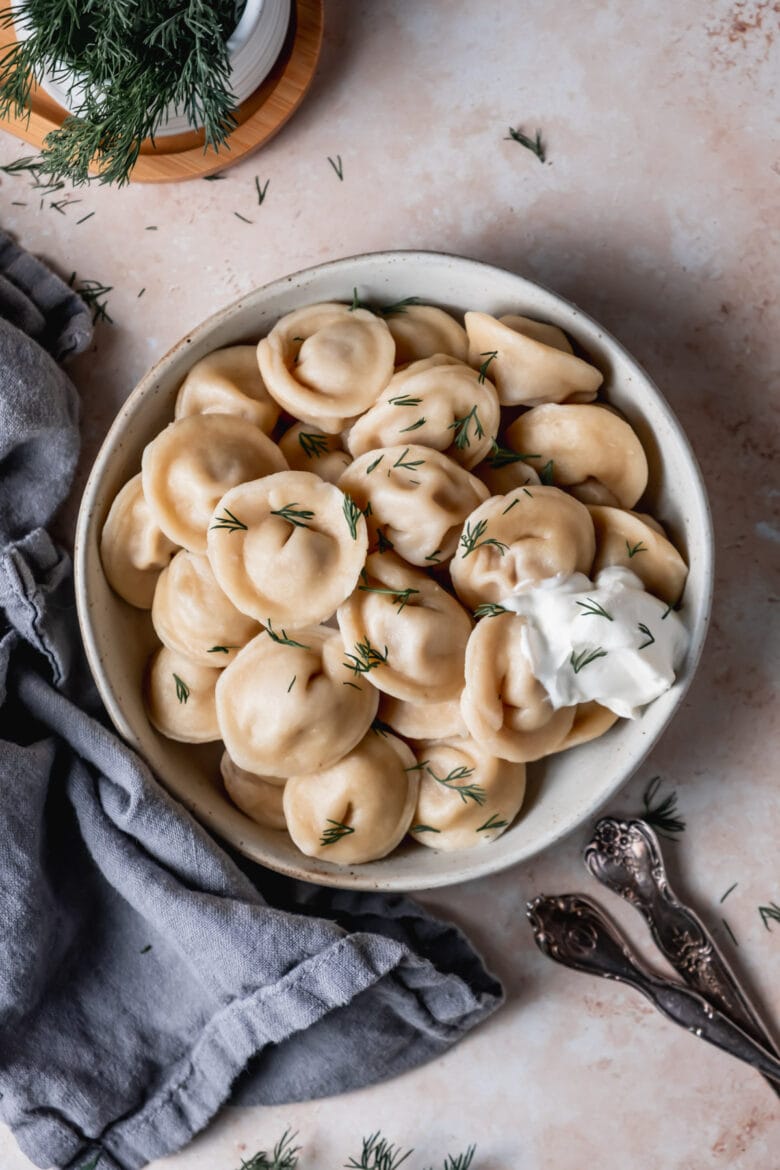
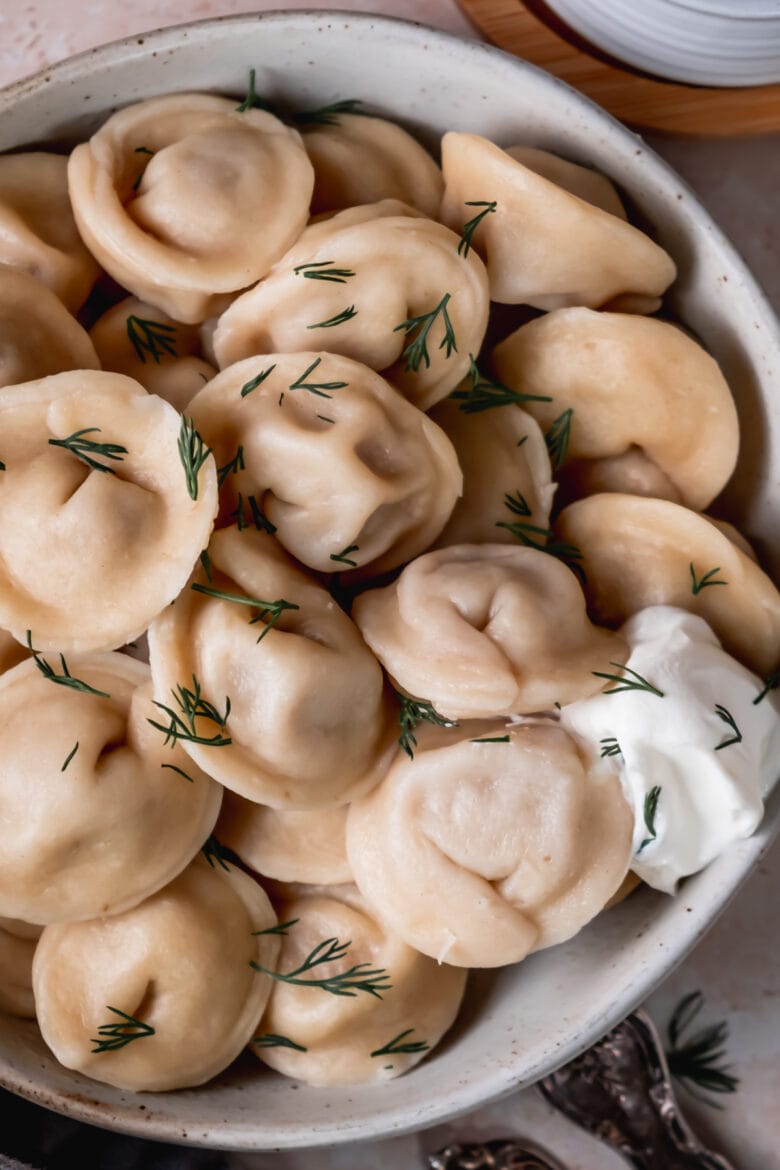
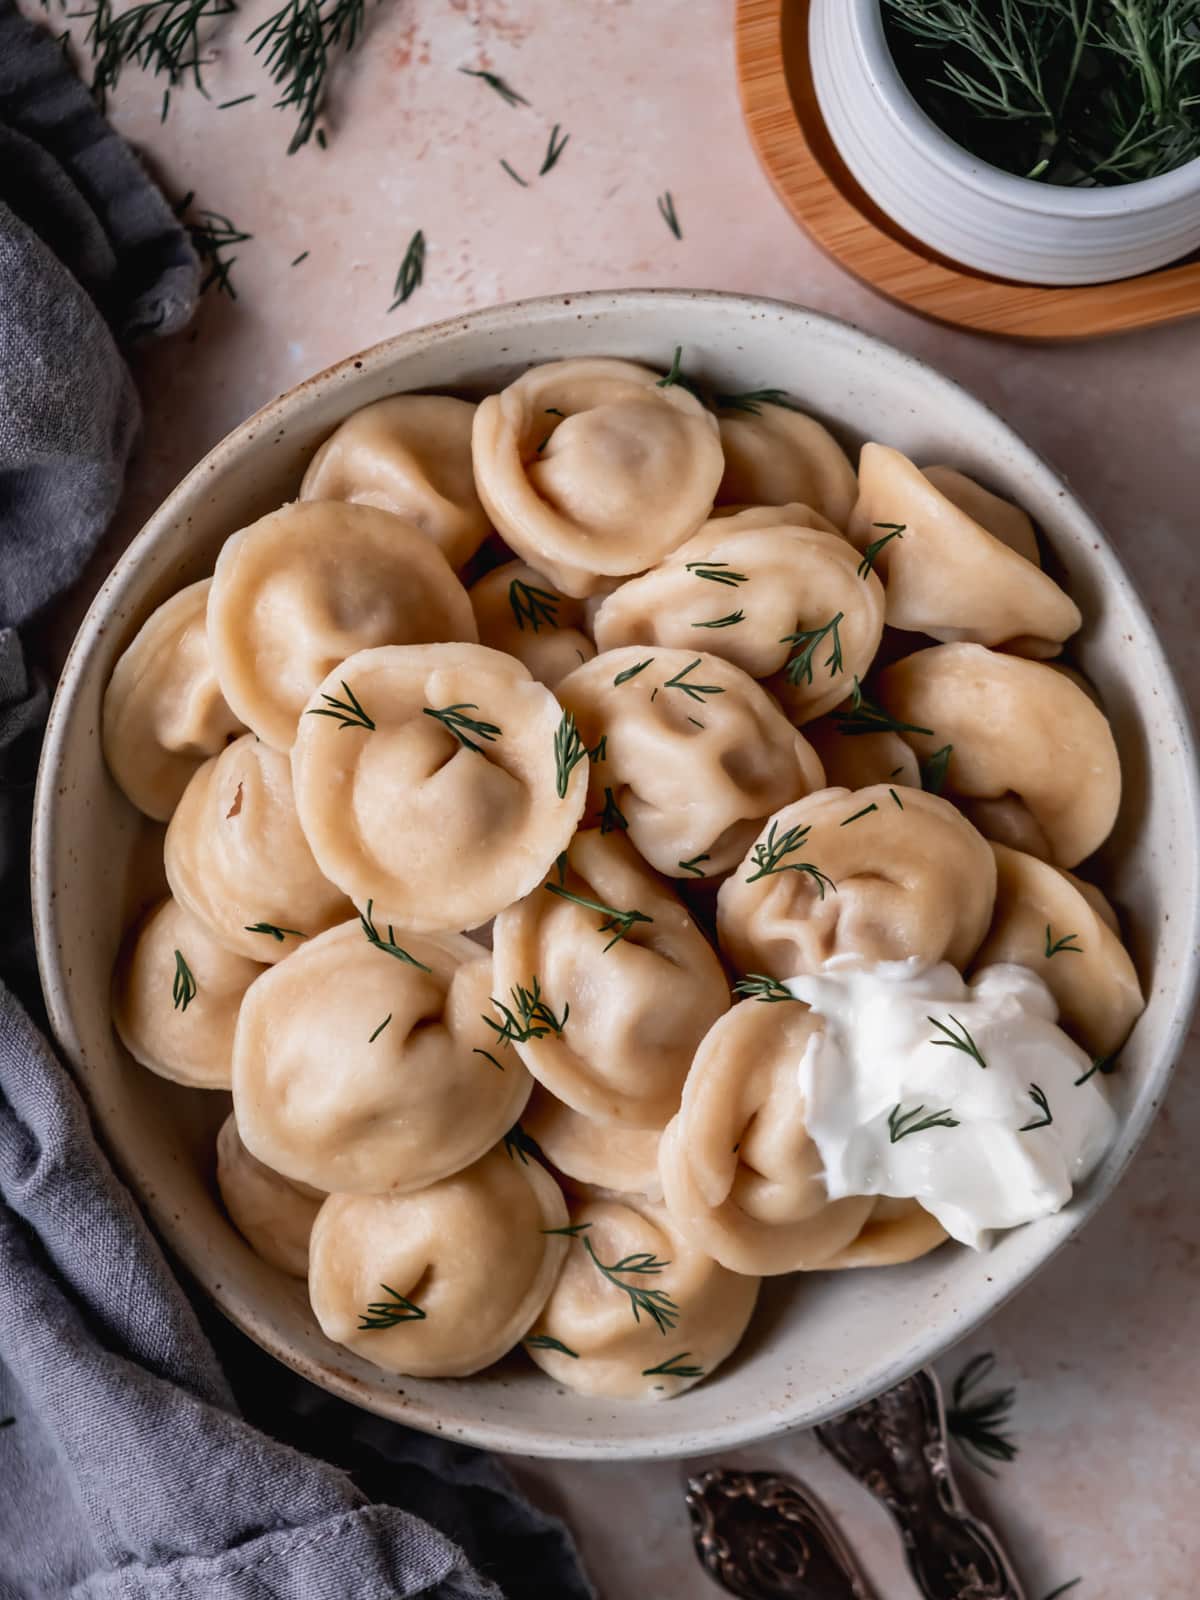
I love Russian Pelmeni with a dollop of sour cream and sprinkling of fresh dill, but you can also serve them in warm broth or even cook them in soup!
Loving this Russian Pelmeni recipe? For more of our favorite Russian and Ukrainian-inspired recipes, make sure to check out these posts:
- Beef Borscht Recipe
- Pampushky – Ukrainian Garlic Rolls
- Russian Honey Cake Medovik
- Sharlotka Apple Cake
- Cranberry Mors Drink
Pelmeni Recipe (Russian Meat Dumplings)
- Total Time: 1 hour 10 minutes
- Yield: 100 Pelmeni
- Prep Time: 1 hour
- Cook Time: 10 minutes
- Category: Dinner
- Method: Dumplings
- Cuisine: Russian
Ingredients
Pelmeni Dough
- 3.5 cups (440 grams) all purpose flour, spooned and leveled*
- 1 teaspoon kosher salt
- 2 large eggs
- ¾ cup (180 ml) warm water
Filling
- ½ pound (225 grams) ground pork
- ½ pound (225 grams) ground beef
- ½ yellow onion, grated with liquid
- 1 tablespoon soy sauce
- 1 teaspoon kosher salt
- ¼ cup (60 ml) ice water*
For Serving (optional)
- sour cream
- fresh dill
Instructions
Pelmeni Dough
- In the bowl of a stand mixer fitted with a dough hook, mix together the flour and salt.
- Add the eggs and mix briefly.
- Pour in warm water and mix until the dough begins to form. Continue mixing on medium speed for 10 minutes or until the dough is smooth and elastic. You can also mix the dough by hand, but you will need to knead it for 15-20 minutes.
- Wrap the dough in plastic wrap or place in a covered bowl. Let the dough rest at room temperature for one hour.
Filling
- Place all filling ingredients together in a food processor and pulse until smooth. Alternatively, place all ingredients in the bowl of a stand mixer fitted with a paddle attachment and mix until well combined.
Assembly
- Line a baking sheet with parchment paper and dust with flour. Set aside.
- Separate the dough into four portions. Make sure to keep the dough covered when not using to keep it from drying out.
- Lightly flour your work surface and roll out one portion of dough into a thin layer (about 1/16 inch or 1.5 mm).
- Cut out 2-inch (9 cm) circles using a cookie cutter or cup. Form the scraps into a ball, roll out again and cut out additional rounds. You should get about 25 Pelmeni from each portion of dough for a total of 100 Pelmeni.
- Place about 1-2 teaspoons of filling into the center of each dumpling. Fold in half and press together to seal. Grab both corners of the dumpling and pinch together. Place the Pelmeni on the prepared baking sheet.
Cooking
- Bring a large pot of salted water to boil. Keep the water at a gentle boil. Too vigorous of a boil will toughen the dough.
- Add the Pelmeni. Once the Pelmeni float to the top, boil an additional 2-3 minutes or until the meat is fully cooked. Transfer to a platter with a slotted spoon.
- Serve with sour cream and fresh dill.
Notes
Measuring Flour: I highly recommend using a kitchen scale to measure flour. If measuring by volume, use the spoon and level method to avoid over-measuring the flour. Lightly spoon flour into the measuring cup until it’s completely full. Then run the back of a knife over the cup to gently scrape off any excess.
Ice water: Fill a cup with cold water and 4-6 ice cubes. Let it sit for several minutes, then discard the ice cubes and measure 1/4 cup (60 ml) of cold water.
Storage: Leftover cooked Pelmeni will keep in an airtight container in the fridge for 3-5 days.
Freezing instructions: Line a baking sheet with parchment paper and dust with a tiny bit of flour. Place the Pelmeni on the baking sheet in a single layer. Transfer to the freezer for 1-2 hours or until frozen solid. Once frozen, you can store them in a freezer-safe zip-top bag. Pelmeni can be frozen for up to 3 months.
This post may contain affiliate links through which we may earn a small commission at no additional cost to you. We only recommend products that we genuinely love and would use ourselves.