originally published 12.15.2020
Made with deliciously seasoned sushi rice and salmon that is broiled to perfection in just minutes, these salmon rice bowls are both hearty and healthy! Add your favorite veggies, drizzle with a bit of soy sauce and enjoy!
Because we spent most of December indulging in all sorts of holiday cookies, candies and cupcakes, we’ve been trying to make dinners that are a bit more on the nutritious side. While a hearty salad will generally do the trick during the summer months, the cold winter days have us craving something with a bit more warmth. These soy glazed salmon rice bowls with deliciously seasoned sushi rice have become our favorite solution — they’re full of flavor, well-balanced and packed with fresh veggies!
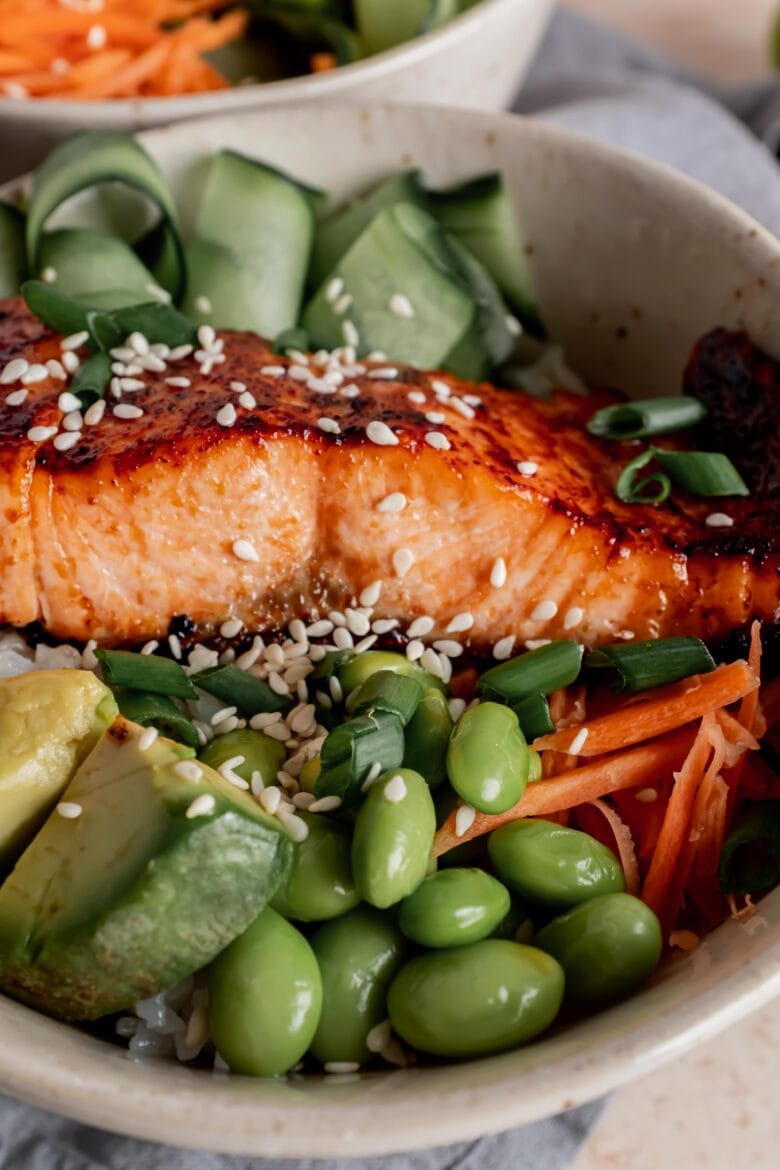
how to broil salmon
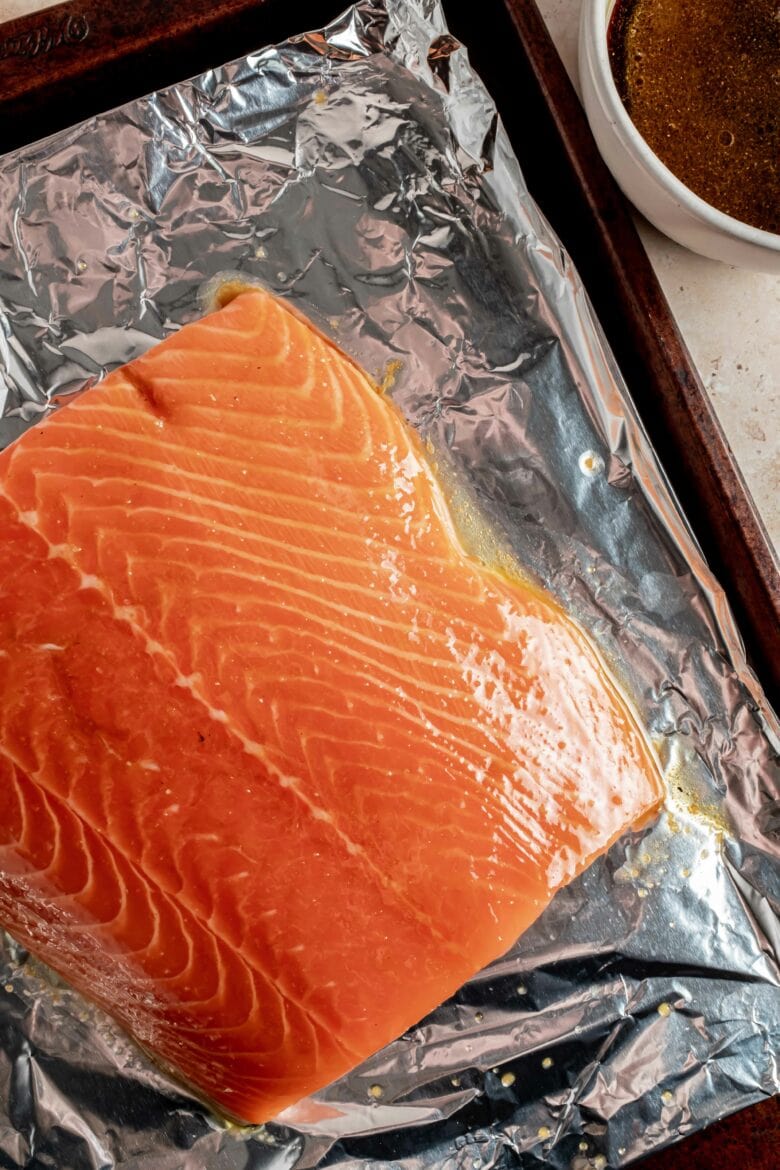
Broiling has recently become our go-to method for cooking salmon. It creates an incredibly crispy, seared crust while the inside remains tender and juicy! To get the perfect broiled salmon, you just need to place the oven rack about 10 inches (25 cm) from the heating element, brush the salmon with your favorite glaze or seasonings and you’re ready to go! We generally leave our salmon in the oven for about 10-15 minutes to get a medium-cooked finish (about 130 F | 55 C if using a thermometer), but you can do a few minutes less if you prefer medium-rare.
If you have a really thick piece of salmon, it may start to get too crispy before the inside is finished cooking. To prevent the salmon from burning, just turn off the broiler and let the fish sit in the hot oven until cooked through. Two or three minutes should definitely be enough!
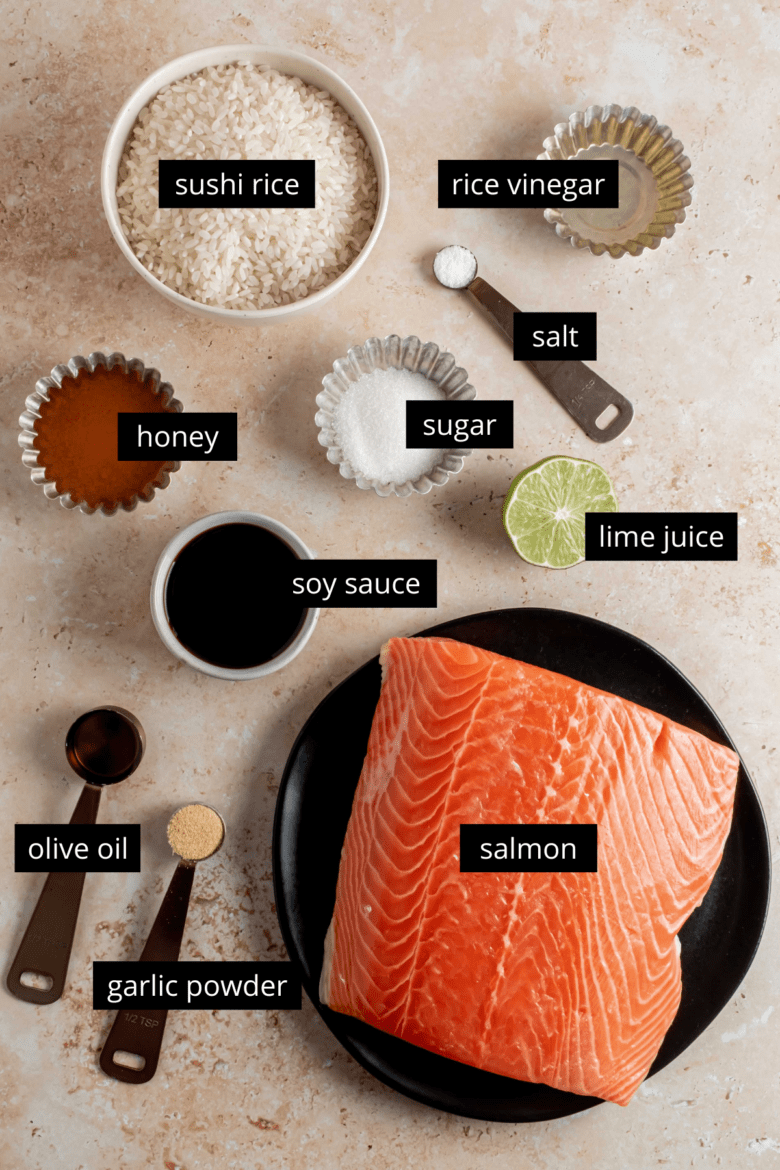
For these salmon rice bowls, we use an easy soy glaze made up of soy sauce, honey, lime juice, garlic powder and olive oil. Just mix all ingredients together and generously brush onto the salmon. I actually like to brush a second layer of the glaze onto the salmon halfway through the cook time, but that’s completely optional!
sushi rice
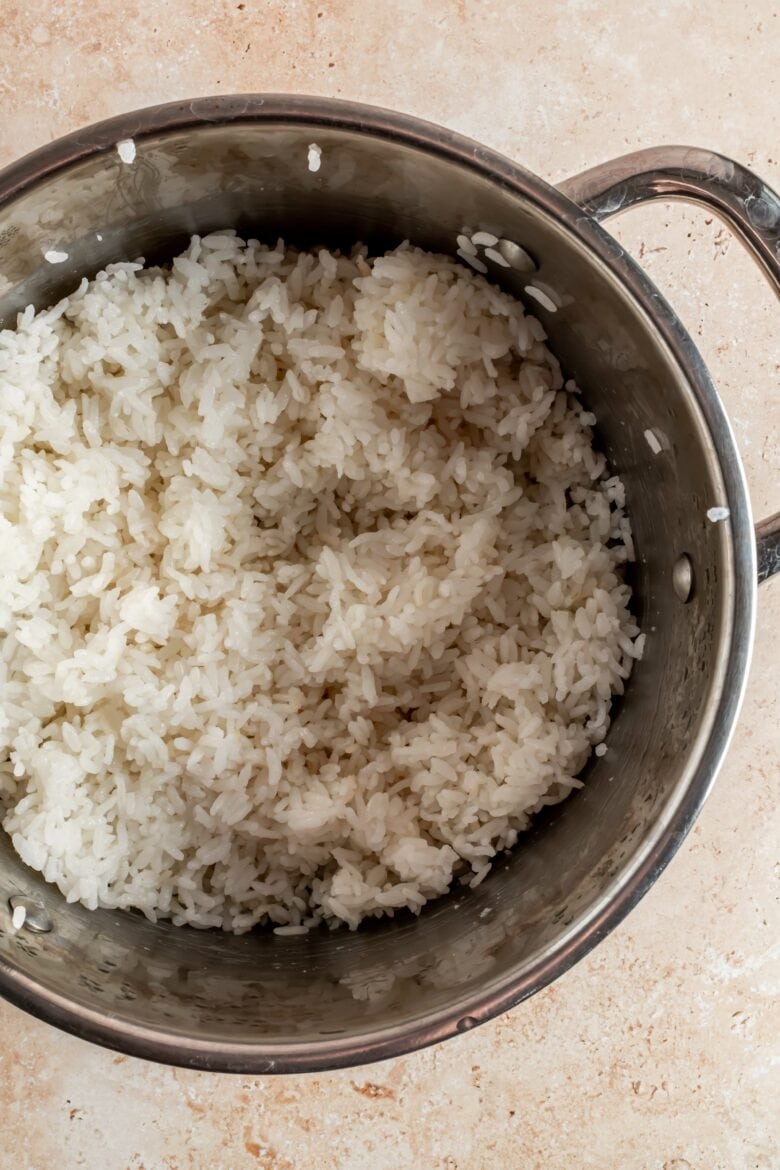
And now for the base of our salmon rice bowl — sushi rice! This rice is super easy to make and so incredibly fresh. While Japanese short-grain rice (sushi rice) is great for this recipe, I actually used calrose rice and it worked wonderfully. If you decide to use a different type of rice, just make sure to cook it according to package instructions.
While your rice is cooking you can whip up the seasoning, which is made with just rice vinegar, sugar and a pinch of salt. You can heat up the mixture on the stovetop or in the microwave in 10 second increments. It doesn’t need to be too hot, just warm enough so that the sugar dissolves. Toss the mixture with the rice when it’s finished cooking and that’s it!
the veggies
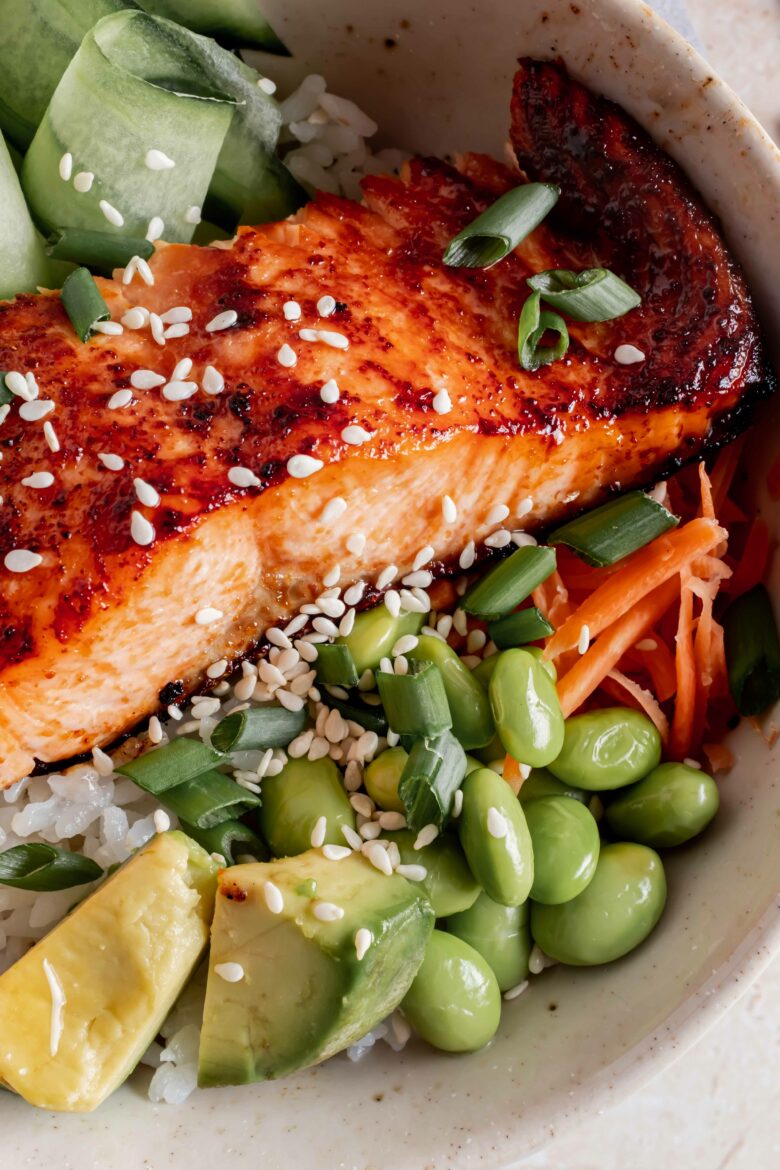
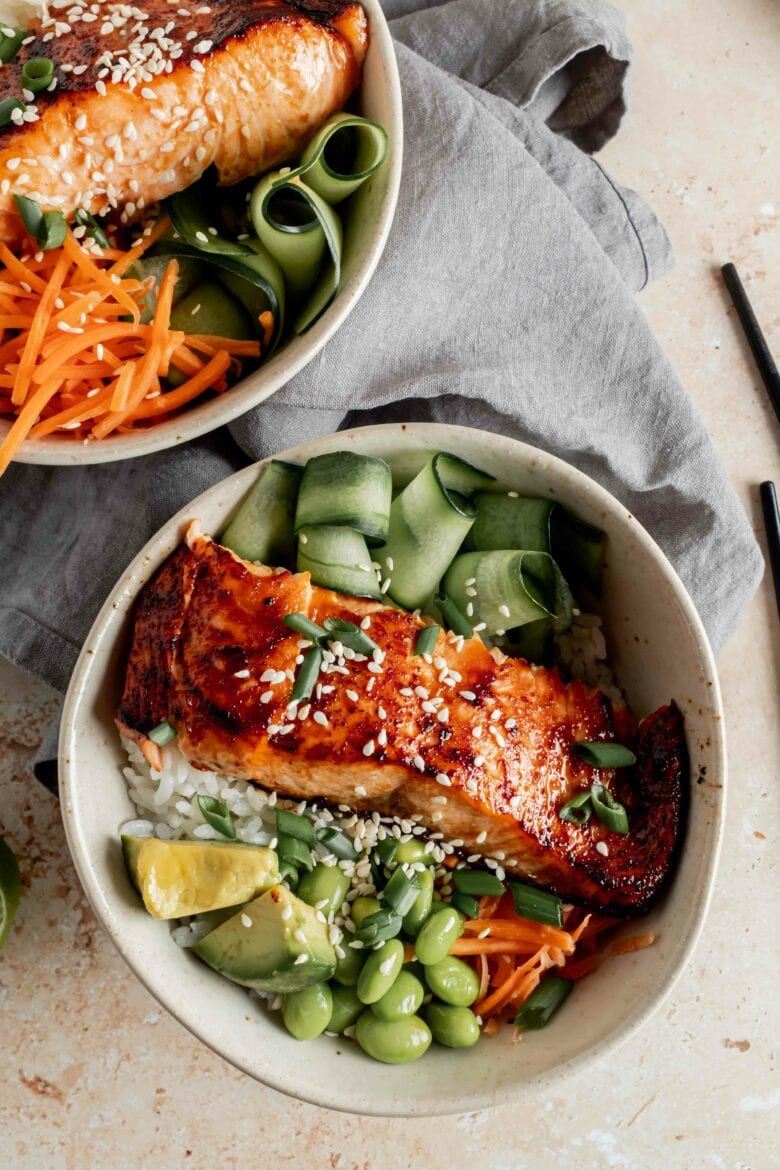
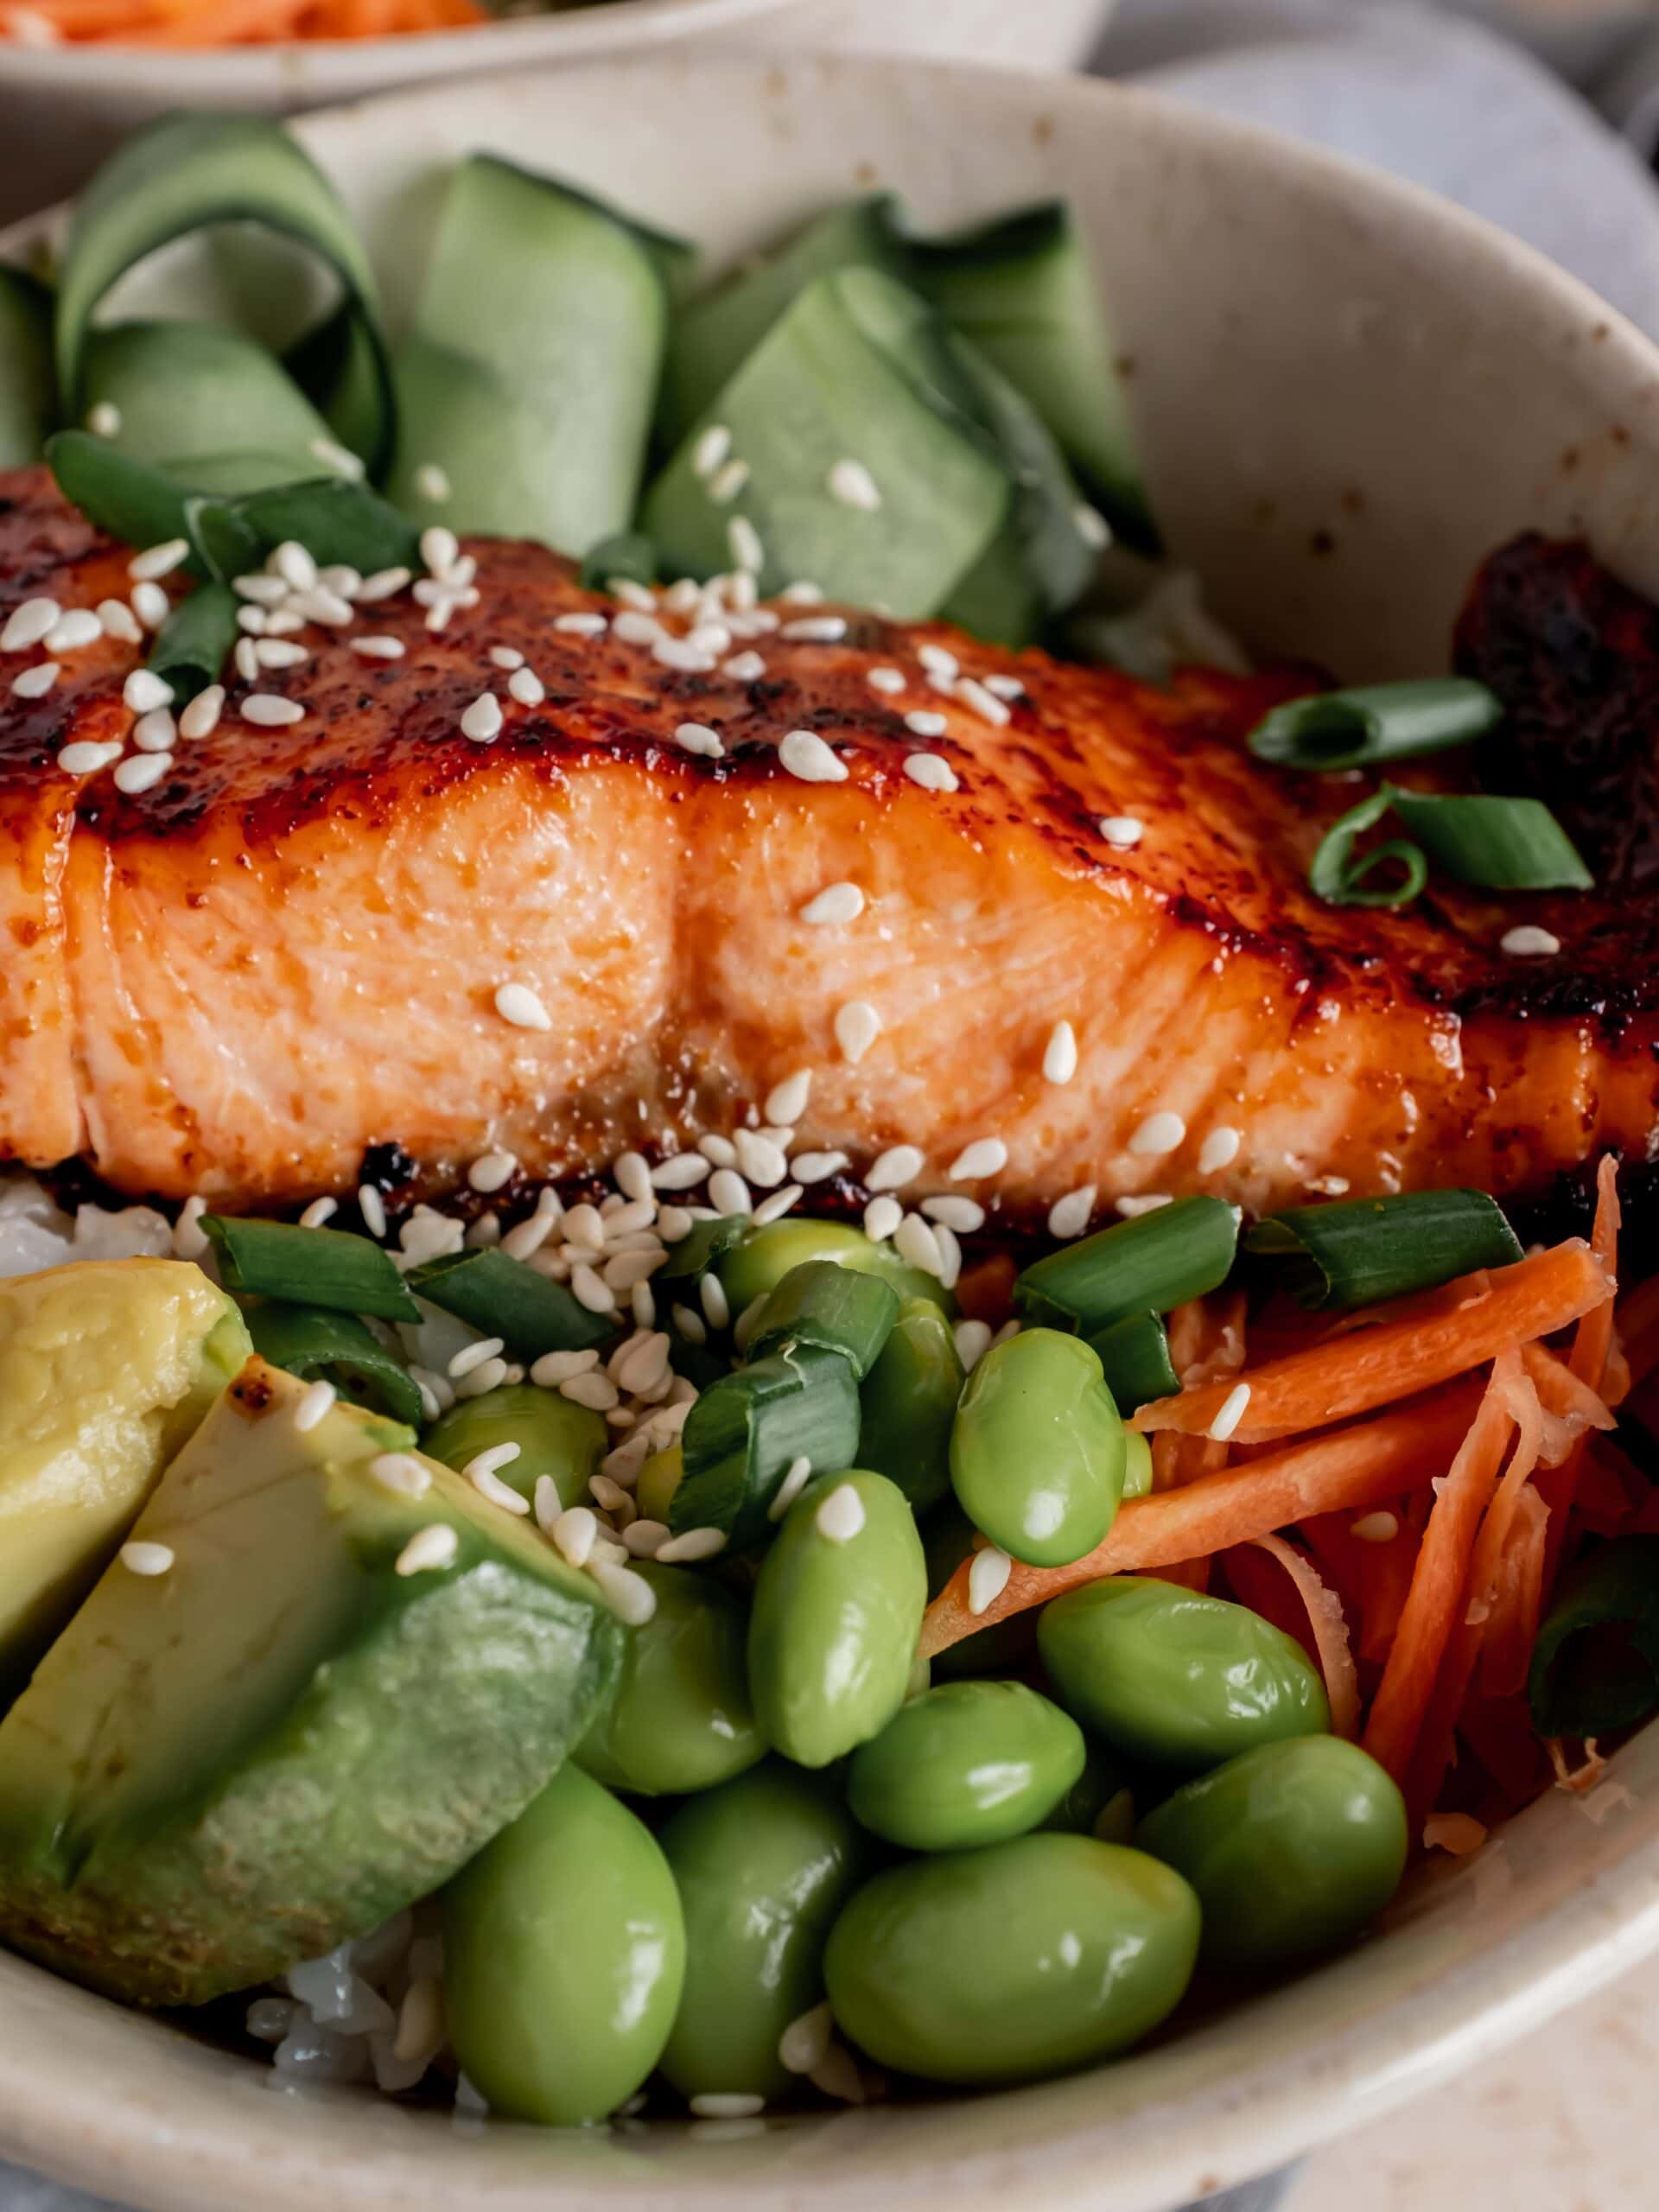
Alright, now that the salmon is perfectly seared and the rice is seasoned and ready, it’s time to top off our bowls with your favorite veggies! We opted for edamame seasoned with just a bit of salt, avocado and cucumber with a garnish of green onions and sesame seeds. Other great add-ins would be carrots, red cabbage or even roasted vegetables like broccoli and brussels sprouts. Lastly, I like to drizzle each bowl with a bit of toasted sesame oil and soy sauce, but that’s completely optional — the salmon and rice are already so full of flavor!
salmon rice bowls: FAQs
If you don’t have a broiler you can cook the salmon at 475F (245C) until cooked through (about 10 minutes).
We use Calrose rice for this recipe as it’s easiest to source where we live and we love the flavor. Japanese short-grain rice (sushi rice) would also work well!
The best part of this recipe is that it can become an entire meal by adding your favorite veggies right to the bowl! We suggest avocado, edamame, shredded carrots and slices of cucumber!
And if you’re looking for more warming and healthy(ish) meals for your weekly recipe rotation, make sure to give these a try!
- chickpea and lentil curry
- spicy salmon cakes + cilantro lime aioli
- chicken sheet pan dinner with beets and carrots + herby yogurt sauce
- leek and salmon soup
- homemade runzas
- german maultaschen
- grilled salmon
salmon rice bowls
- Total Time: 45 minutes
- Yield: 3
- Prep Time: 15 minutes
- Cook Time: 30 minutes
- Category: dinner
- Method: broil
- Cuisine: japanese
Ingredients
sushi rice
- 1.5 cups (300 grams) sushi rice (calrose rice works well)
- 2 cups (480 ml) water
- 3 tablespoons rice vinegar
- 1.5 tablespoons granulated sugar
- ¼ teaspoon kosher salt
soy glazed broiled salmon
- 1 pound (450 grams) salmon fillets
- ½ teaspoon garlic powder
- 4 tablespoons soy sauce
- 3 tablespoons honey
- 1 tablespoon lime juice
- 1 tablespoon olive oil
garnishes (optional)
- veggies: avocado, edamame, cucumber, green onion
- garnishes: extra soy sauce, toasted sesame oil, toasted sesame seeds
Instructions
sushi rice
- Rinse the rice under cold water until the water runs clear.
- Add the rice to a pot with the water and a pinch of salt. Bring the mixture to a boil and then reduce the heat to low. Cover the pot and simmer for 20 minutes or until the rice is tender. Remove from heat and let the rice sit covered and undisturbed for 10 minutes.
- In a small saucepan, add the rice vinegar, sugar and salt.* Heat over medium heat and stir until the sugar dissolves. Remove from heat and set aside to cool.
- When the rice has finished cooking, toss it with the vinegar mixture.
soy glazed broiled salmon
- While the rice is cooking, make the salmon. Preheat the broiler and line a baking sheet with foil. Place the oven rack approximately 8-10 inches (20-25 cm) from the top of the oven.
- In a small bowl, mix together the garlic powder, soy sauce, honey, lime juice and olive oil. Toss the salmon with the mixture to coat evenly or use a brush to glaze the salmon.
- Place the salmon skin-side down on the prepared baking sheet and broil for 10-15 minutes or until the internal temperature reaches 130 F (55 C). Brush on an additional layer of the glaze halfway through (optional).
salmon rice bowl assembly
- Layer each bowl with rice, a piece of salmon and your favorite veggies. Drizzle soy sauce and sesame oil over the top if desired.
Notes
Sushi rice seasoning: Instead of using your stovetop, you can also microwave the sushi rice seasoning in 10 second increments. It doesn’t need to be hot, just warm enough so that the sugar dissolves.
This post may contain affiliate links through which we may earn a small commission at no additional cost to you. We only recommend products that we genuinely love and would use ourselves.