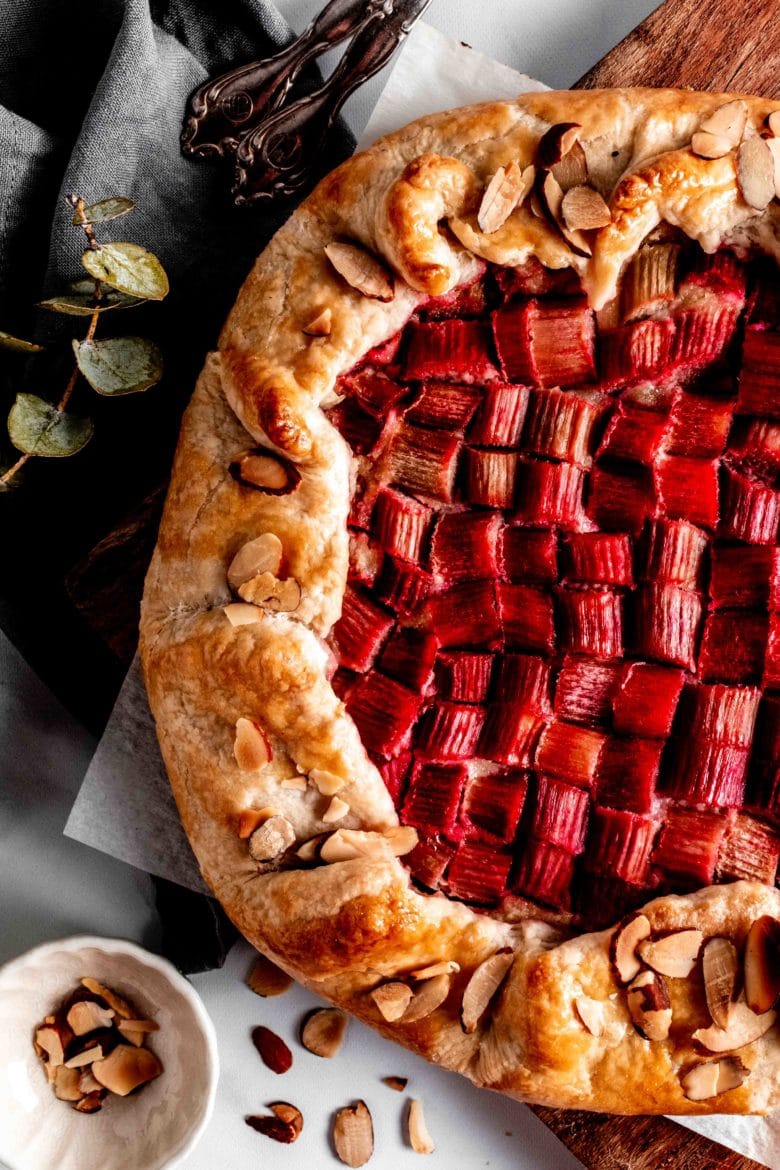
Crispy, flaky crust is layered with sweet frangipane and tart rhubarb to create this beautifully balanced dessert. Easy and so delicious, our frangipane rhubarb galette is a rustic showstopper!
We’re getting towards the end of rhubarb season and we still haven’t shared our favorite rhubarb galette! It features a layer of frangipane (a delicious almond-flavored cream made with only a handful of ingredients) topped with a single layer of fresh rhubarb. It’s slightly sweet, yet refreshingly tart — the perfect easy summer dessert!
Easy Galette Dough
The dough for this galette is super easy and the only thing to remember is to make sure it stays cool so the butter doesn’t melt completely. If ever in doubt, just place it back in the fridge for 15 minutes and then start working with it again.
Let’s start with the butter. You’ll want to grate the butter or cut it into small cubes — this is much easier to do if you place it in the freezer for 15 minutes beforehand. Then start working the butter into a mixture of flour, sugar and salt with a pastry cutter (a pair of forks would work too). Your dough is ready when it resembles coarse crumbs and still has flecks of butter in it.
Now add about half of the (really cold) water and a few teaspoons of apple cider vinegar. Start mixing and gradually add the rest of the water as needed until the dough begins to form. Then just turn out the dough onto your counter and knead it a few times until it comes together. Wrap it in plastic wrap and let it chill for an hour before rolling out.
Making the Galette
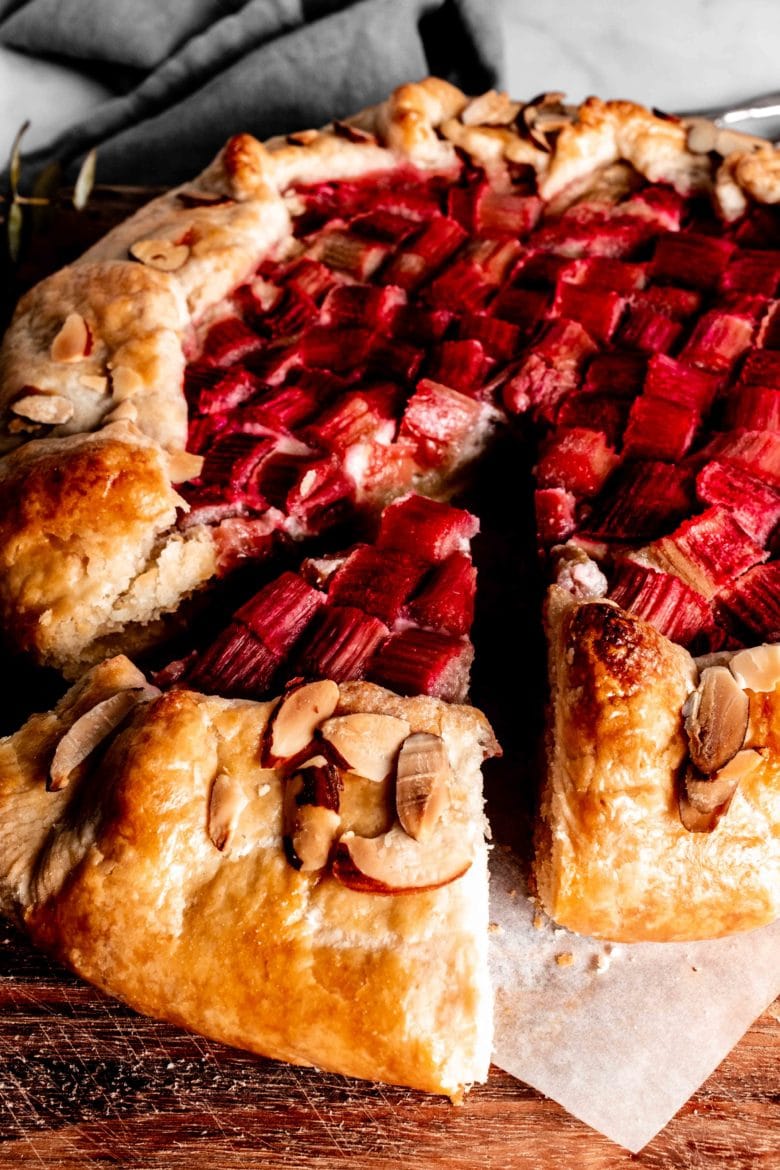
The first layer of this galette is frangipane. If you’re not familiar with frangipane, it’s an almond-flavored cream that can be made with just five ingredients: almond flour, almond extract, sugar, butter and egg. Just combine everything together in a food processor and blitz until smooth. I love frangipane in this recipe for two reasons: its sweetness perfectly balances out the tartness of the rhubarb and its custard-like consistency insulates the crust against any moisture from the fruit.
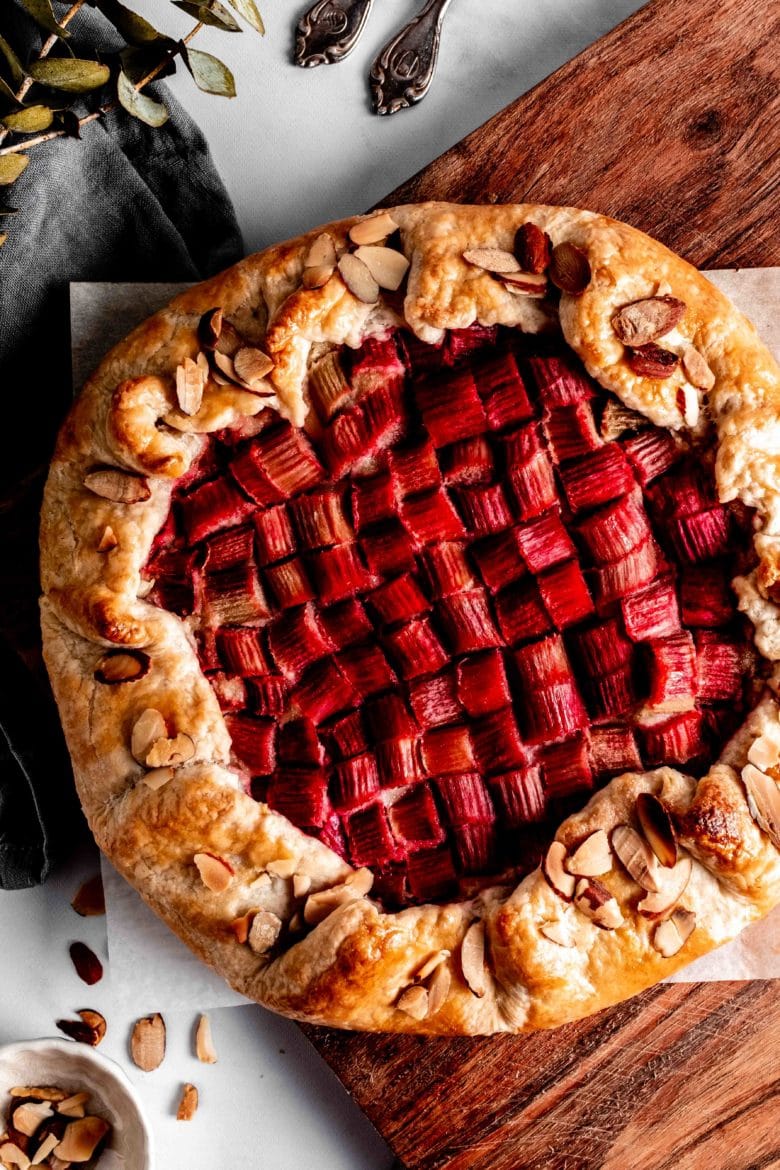
The second layer of the galette is, of course, the rhubarb! I’ve tested this recipe with both fresh and frozen rhubarb and both versions turned out well. You can arrange the rhubarb in any way you like on top of the frangipane — there are so many fun patterns you can make! But if you’re just looking to get the galette in the oven quickly, I definitely recommend cutting the rhubarb into square-like pieces and placing them in a single layer.
Expert Tips + Tricks
And lastly, here are a few tips to make sure your galette is a success:
- Roll out your dough directly on parchment paper to make it easier to transfer to your baking sheet.
- Once you roll out your dough it’s important to work quickly. If you’re attempting a more intricate rhubarb pattern, make sure to lay it out ahead of time so you can easily transfer it to the galette. Otherwise you run the risk of the dough becoming too warm, which will make it more difficult to work with and less flaky.
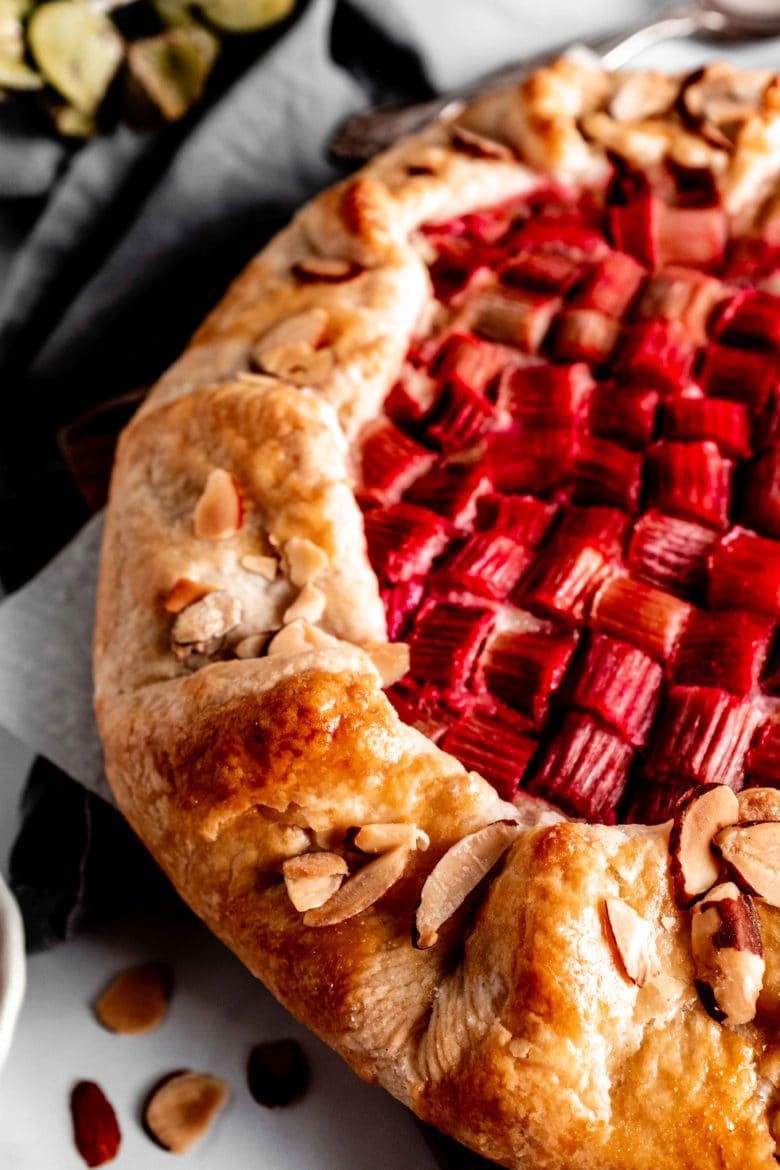
- If you want to garnish your crust with almond slices make sure to add them during the last 20-30 minutes of baking. While it’s a bit more difficult to add them at this point (as the dough is already partially cooked), it’s much better than burnt almonds!
For more summer dessert inspiration, make sure to give these recipes a try!
- Simple Strawberry Crumble
- Easy Mango Mousse Cake
- Lemon Blueberry Cookies
- Fruit Tartlets with Mascarpone Cream
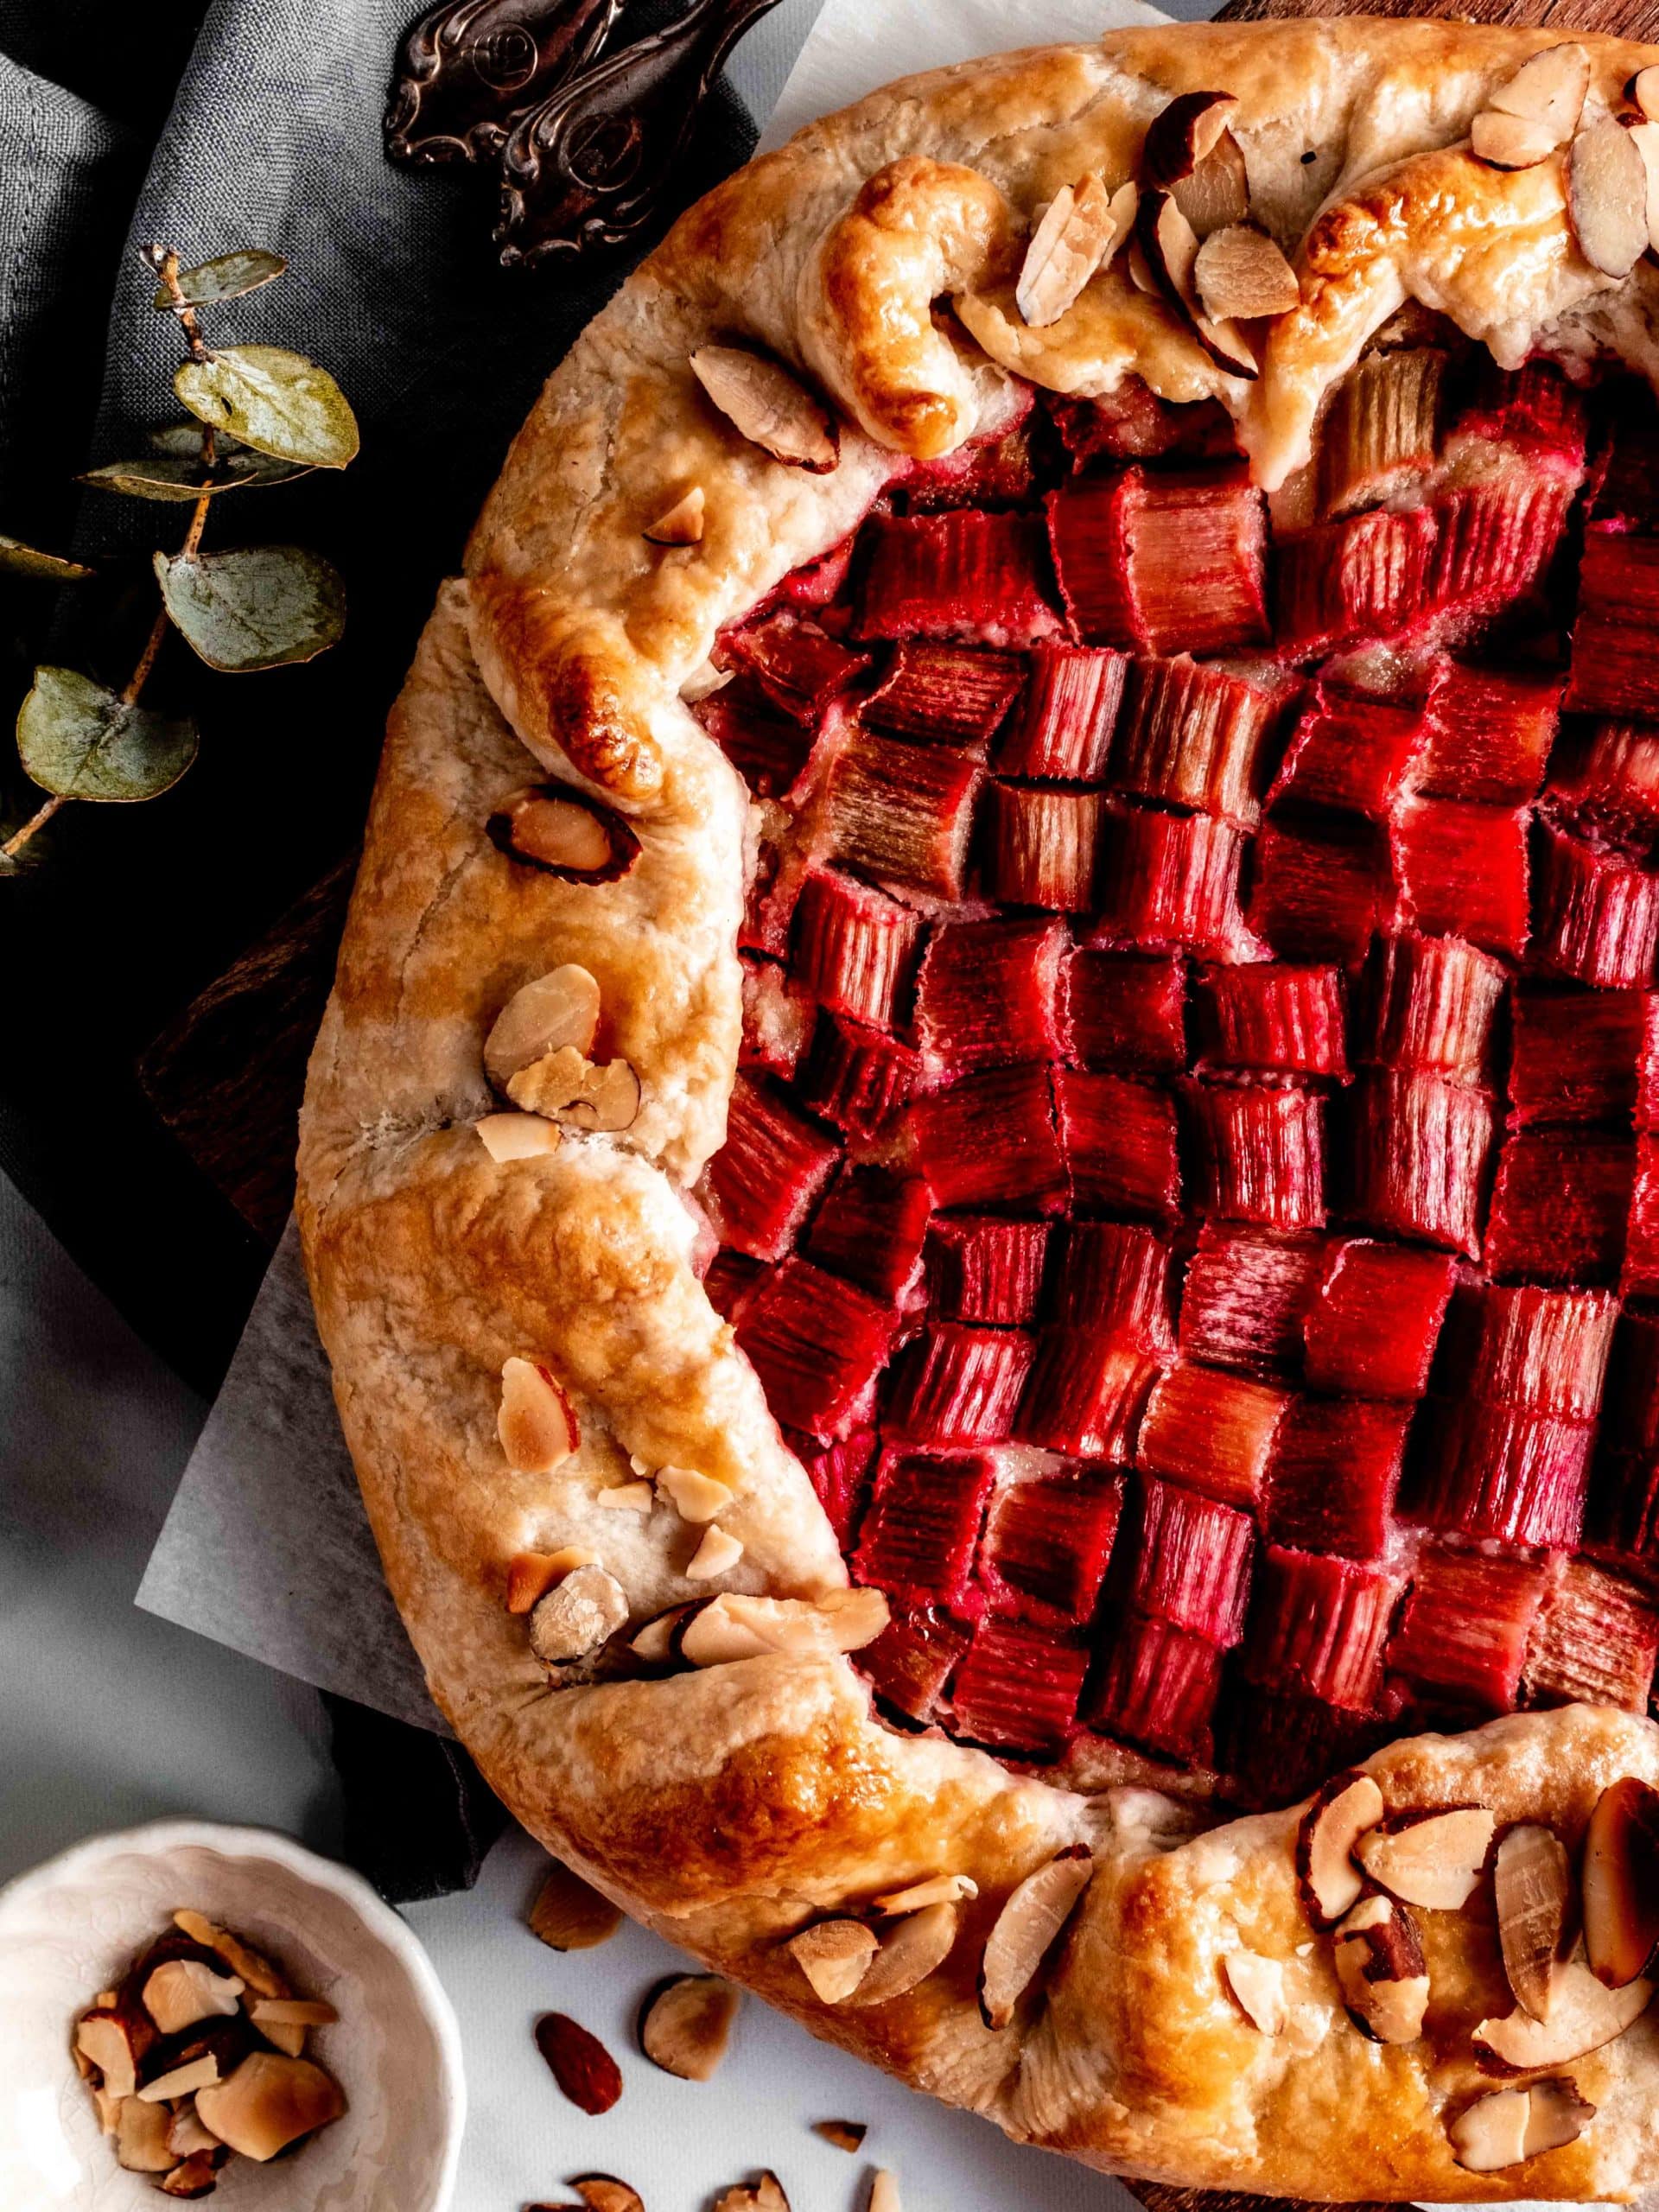
frangipane rhubarb galette
- Total Time: 1 hour 10 minutes
- Yield: 6
- Prep Time: 30 minutes
- Cook Time: 40 minutes
- Category: dessert
- Method: baking
- Cuisine: global
Ingredients
Galette Dough (or use ready-to-bake pie crust)
- 1 ¾ cups (210 grams) all purpose flour, spooned and leveled*
- 2 tablespoons (25 grams) granulated sugar
- ½ teaspoon kosher salt
- 10 tablespoons (140 grams) unsalted butter, very cold
- ⅓ cup (80ml) cold water
- 2 teaspoons apple cider vinegar
Frangipane
- 1 cup (100 grams) blanched almond flour
- ⅓ cup (65 grams) granulated sugar
- 2 tablespoons (30 grams) unsalted butter, softened
- 1 large egg
- ½ teaspoon almond extract
Frangipane Rhubarb Galette
- 5–6 stalks rhubarb, chopped
- 2 teaspoons granulated sugar
- 1 large egg, lightly beaten
- sliced almonds to garnish
Instructions
Galette Dough
- Mix together the flour, sugar and salt in a large bowl.
- Grate the cold butter or cut into small cubes and add to the bowl.
- Begin working the butter into the flour with a pastry cutter or a pair of forks, but do not incorporate entirely. The dough should resemble coarse crumbs and still have flecks of butter in it.
- Add half of the water and the apple cider vinegar. Begin mixing the dough. Gradually add the rest of the water as necessary until the dough begins to come together.
- Turn out the dough onto your counter and knead a few times until it comes together. Wrap in plastic wrap and chill for an hour in the refrigerator.
Frangipane
- Beat all ingredients together until soft and creamy. Alternatively, combine all ingredients in a food processor and pulse until smooth.
Frangipane Rhubarb Galette
- Roll out the dough on parchment paper into a rough circle approximately ⅛ inch (3 mm) thick.
- Spread the frangipane onto the dough in an even layer, leaving approximately 2 inches (5 cm) around the edges.
- Place the rhubarb on top of the frangipane in a single layer. Sprinkle 2 teaspoons of sugar over the rhubarb.
- Fold the edges of the dough over the rhubarb leaving the center exposed.
- Brush the dough with a lightly beaten egg and sprinkle with almonds if desired.
- Transfer the galette and parchment paper to a baking sheet. If using homemade dough and it seems to be quite warm, place the baking sheet in the fridge for 30 minutes before baking.
- Preheat oven to 400°F (200°C).
- Bake the galette for 35-45 minutes or until golden brown.
- Let cool for 10 minutes before serving.
Notes
Measuring Flour: We highly recommend using a kitchen scale to measure flour. If measuring by volume, use the spoon and level method to avoid over-measuring the flour. Lightly spoon flour into the measuring cup until it’s completely full. Then run the back of a knife over the cup to gently scrape off any excess.
This post may contain affiliate links through which we may earn a small commission at no additional cost to you. We only recommend products that we genuinely love and would use ourselves.