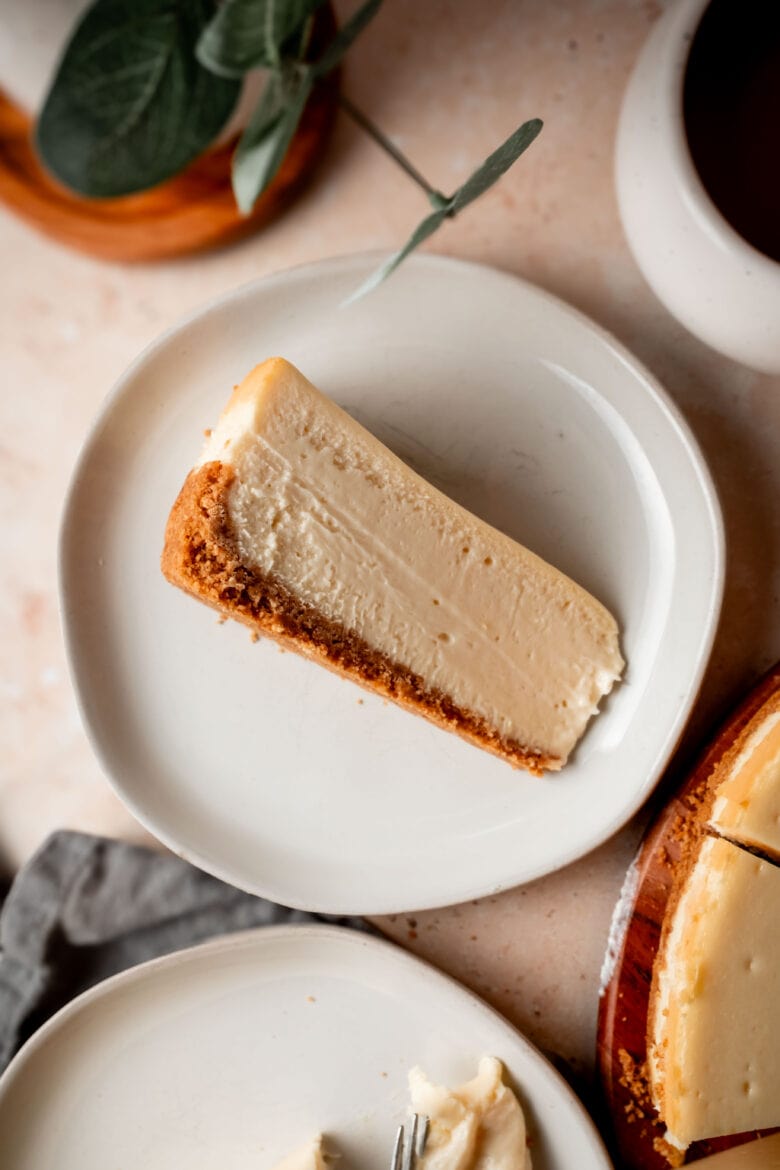
This classic New York cheesecake recipe features a buttery graham cracker crust and rich cheesecake filling with hints of lemon and vanilla!
Classic New York Cheesecake is, hands down, my favorite dessert. It can be whipped up relatively quickly, made in advance and easily customized with a variety of creative toppings! This easy-to-follow guide will teach you everything you need to know to create a decadent New York cheesecake with a perfectly creamy texture and no cracks — no water bath required!
Recipe ingredients
Crust ingredients
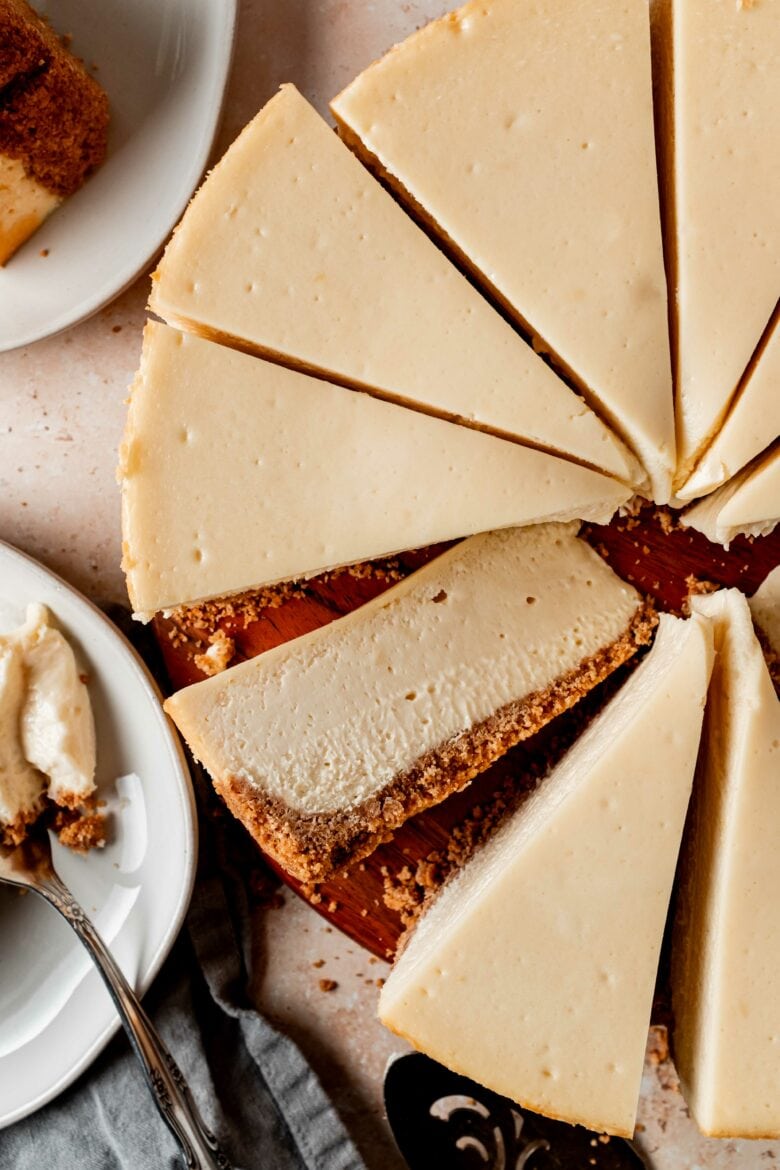
The crust is the canvas for your New York cheesecake and provides a crunchy contrast to the creamy filling!
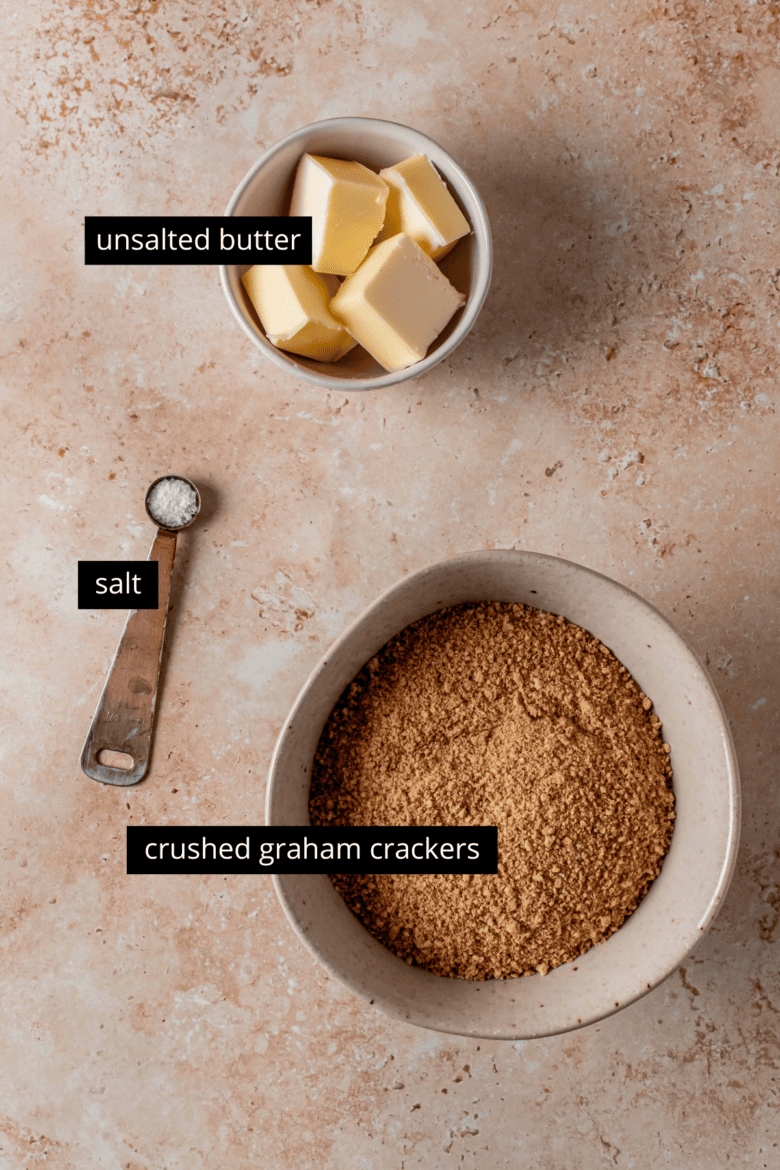
- Crushed graham crackers: You can crush whole graham crackers or buy pre-crushed graham cracker crumbs.
- Unsalted butter: If using salted butter, you can omit the salt in the crust.
- Salt: Just a pinch!
Filling ingredients
New York cheesecakes are basically baked custards, and rely on a relatively simply lineup of ingredients for that luxuriously taste and creamy texture.
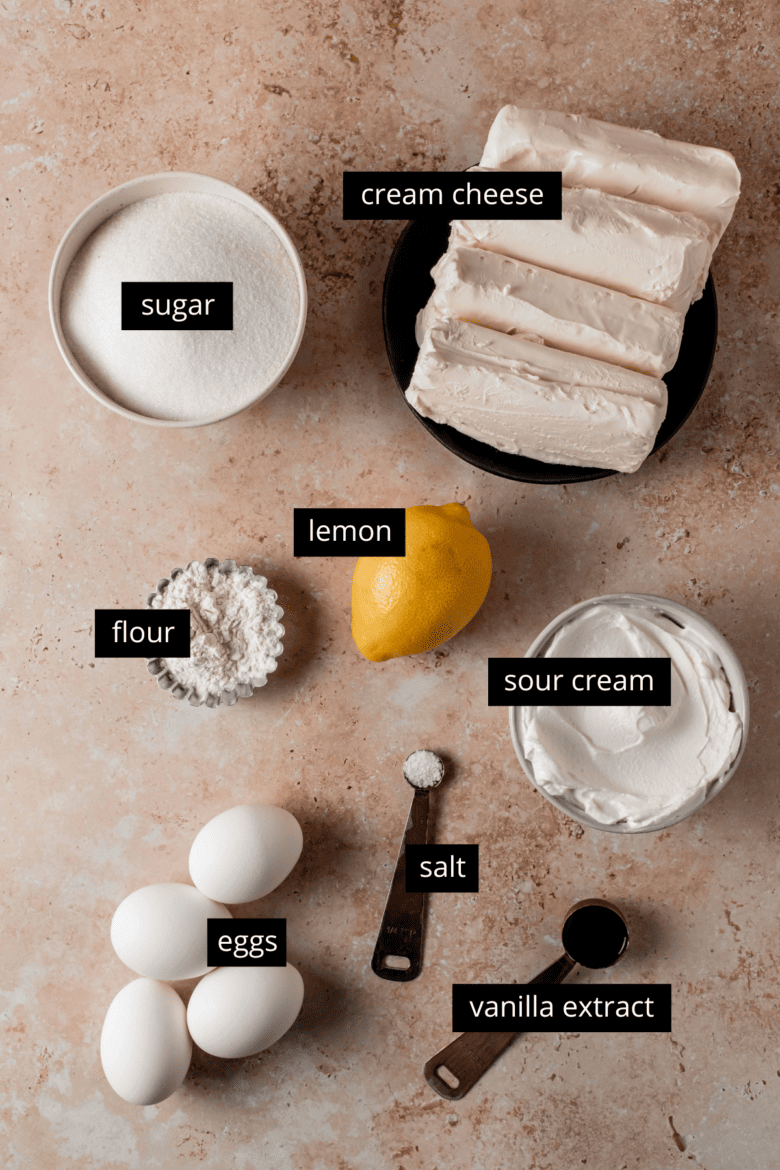
Our New York style cheesecake calls for the following ingredients:
- Cream cheese: The base for New York cheesecake is cream cheese. The high fat content contributes to a smooth and creamy texture, so make sure to avoid whipped, lower-fat and fat-free cream cheeses. You want full-fat cream cheese in brick form. Philadelphia is a great option, but I also often use Costco and ALDI brand cream cheeses with excellent results.
- Granulated Sugar: Sugar is the main sweetener in our cheesecake recipe. It not only sweetens the cheesecake, but also contributes to the structure and a beautiful light caramelization of the top.
- Flour: While not technically needed for structure, we love the slightly cake-like mouthfeel that flour provides.
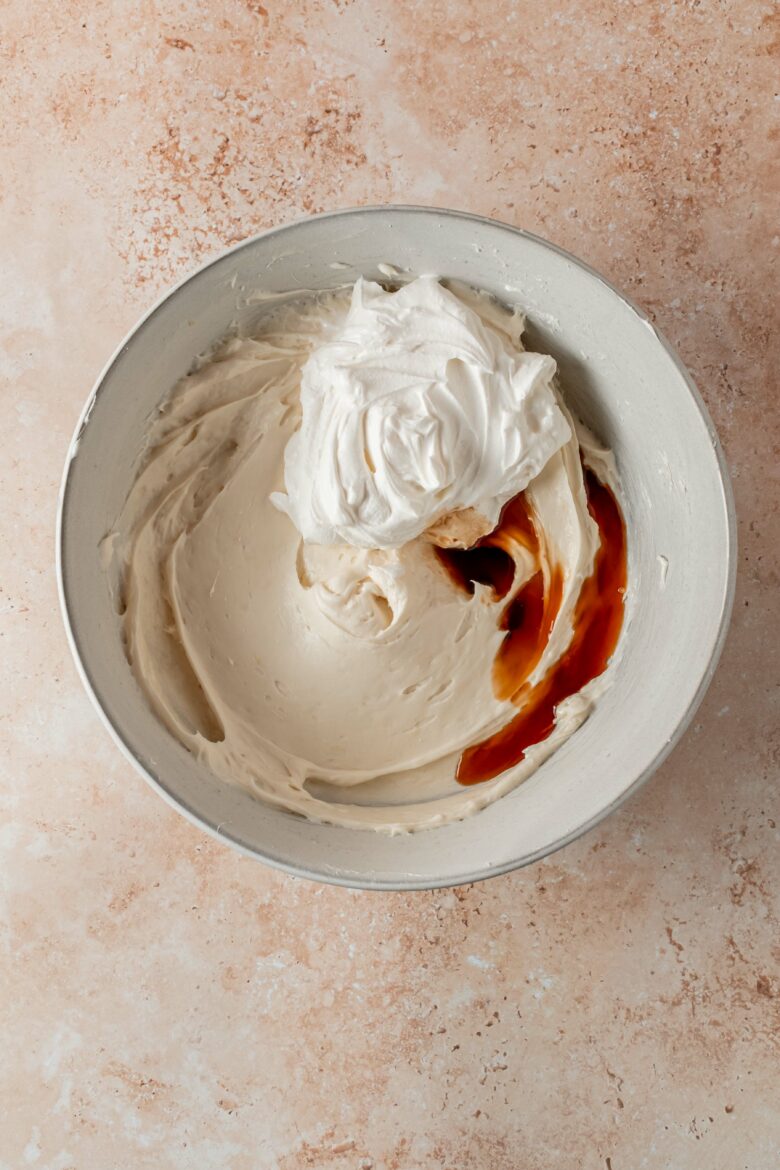
- Sour Cream: Sour cream adds a subtle tanginess to cheesecake that cuts through the richness of the other ingredients. For best results, use full-fat sour cream.
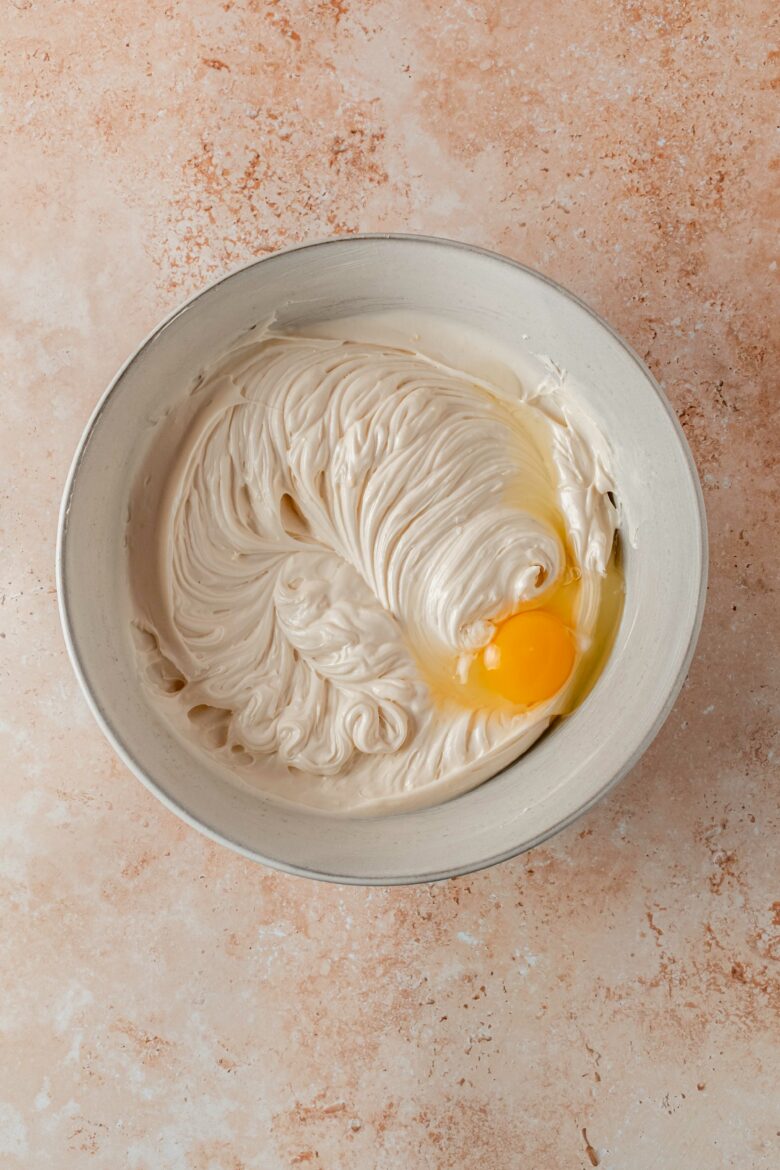
- Eggs: Eggs are a crucial ingredient. They help to bind the other ingredients, add structure and contribute to the richness of the cheesecake.
- Flavoring: Lemon zest, a whole tablespoon of vanilla extract and a pinch of salt bring balance and flavor to our New York cheesecake.
Expert tip: Use room temperature cream cheese, eggs and sour cream. If you don’t have time to bring your cream cheese to room temperature, I recommend warming it in the microwave at 50% power in 20 second increments. It’s okay if the cream cheese is a bit warm!
Equipment
Here’s a list of essential equipment to make baking the perfect New York cheesecake effortless:
- Springform pan: A typical springform pan consists of two pieces, a base and a circular ring with a latch that forms the sides of the pan. Springform pans are ideal for cheesecake, as the removable sides make releasing the cheesecake a breeze. My cheesecake recipes almost always call for a 9-inch (23 cm) springform pan.
- Digital kitchen scale: While measuring cups will also work, I prefer to use a kitchen scale for accuracy and easier cleanup!
- Rubber spatula: A good spatula is needed to scrape down the sides of the bowl and ensure you get every last drop of delicious cheesecake batter.
- Electric mixer: Either a stand mixer or electric mixer will work. I recommend a stand mixer with a paddle attachment for best results.
- Digital thermometer: It’s incredibly common to overbake cheesecakes. A digital thermometer will tell you when your cheesecake has reached its optimal internal temperature for the best texture.
Step by step instructions
Crust instructions
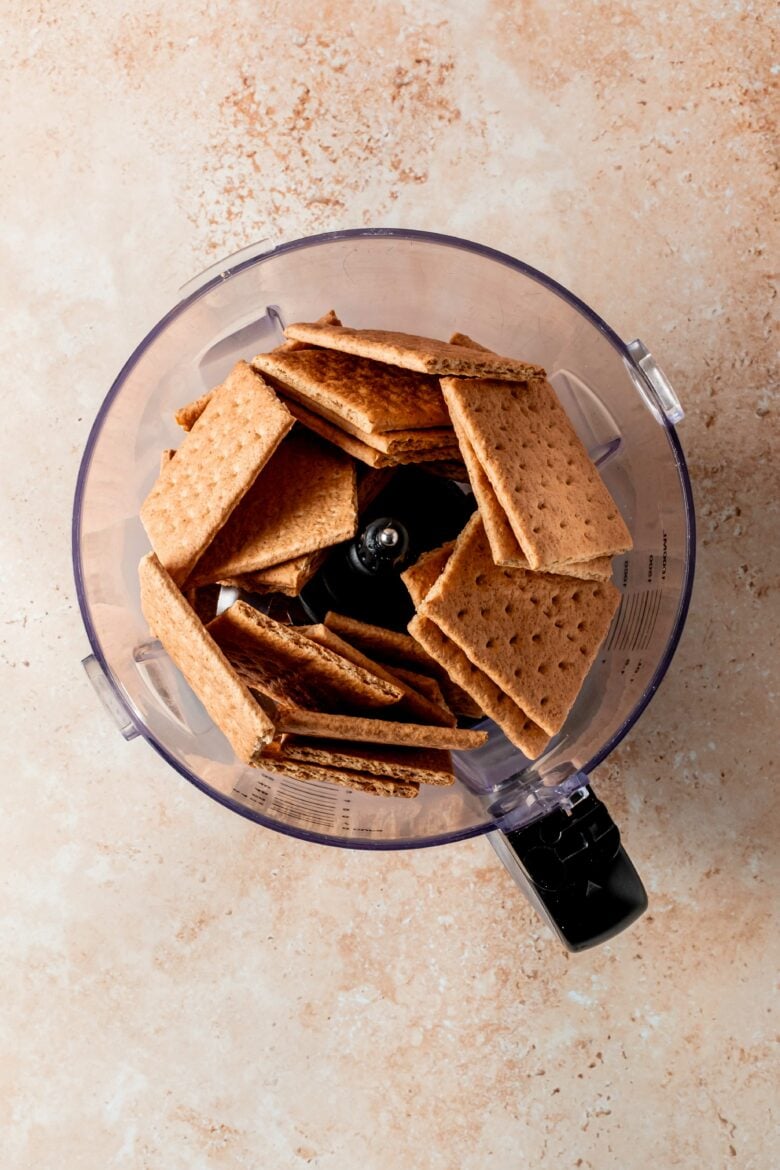
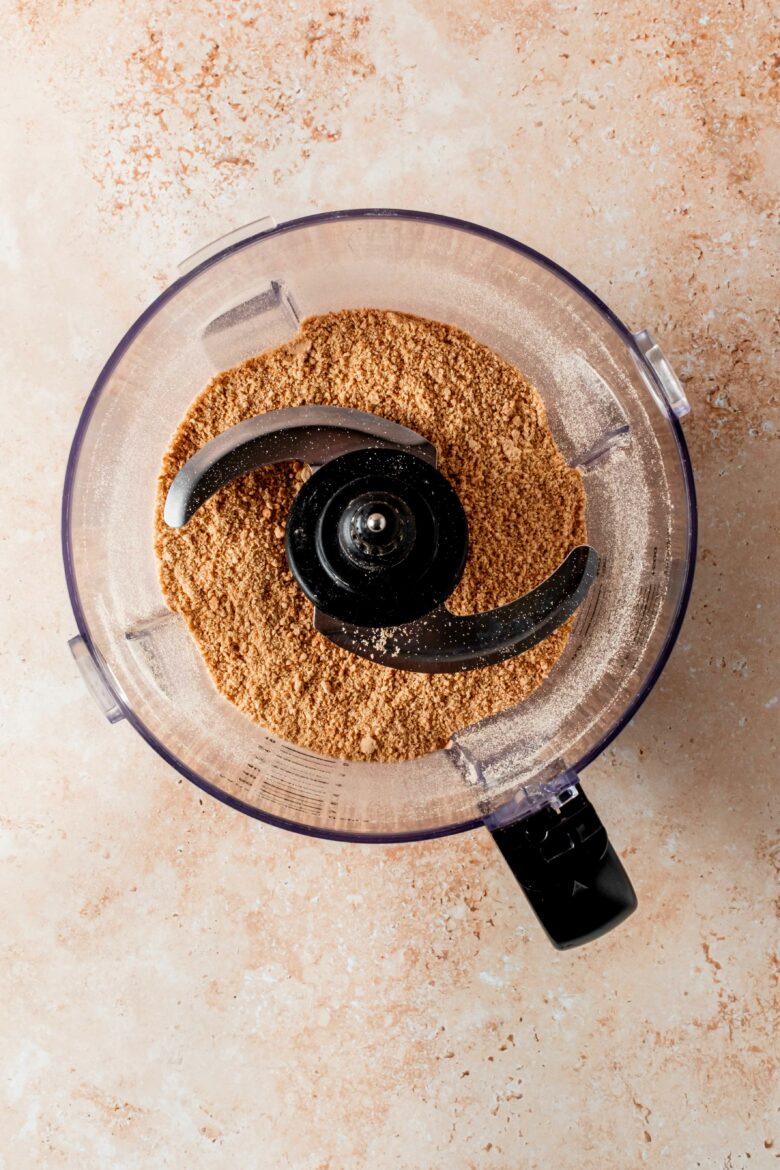
Step 1: If using whole graham crackers, use a food processor to crush them until fine crumbs form. Alternatively, you can place the graham crackers in a ziplock bag and crush them using rolling pin.
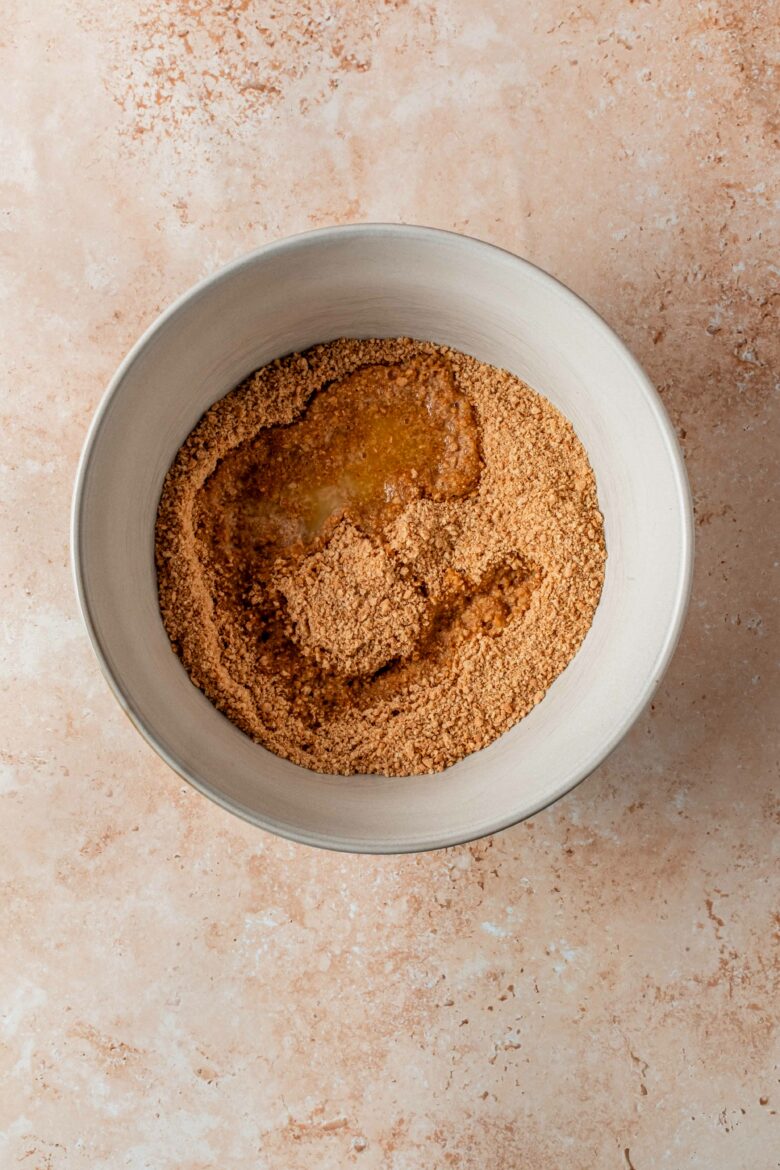
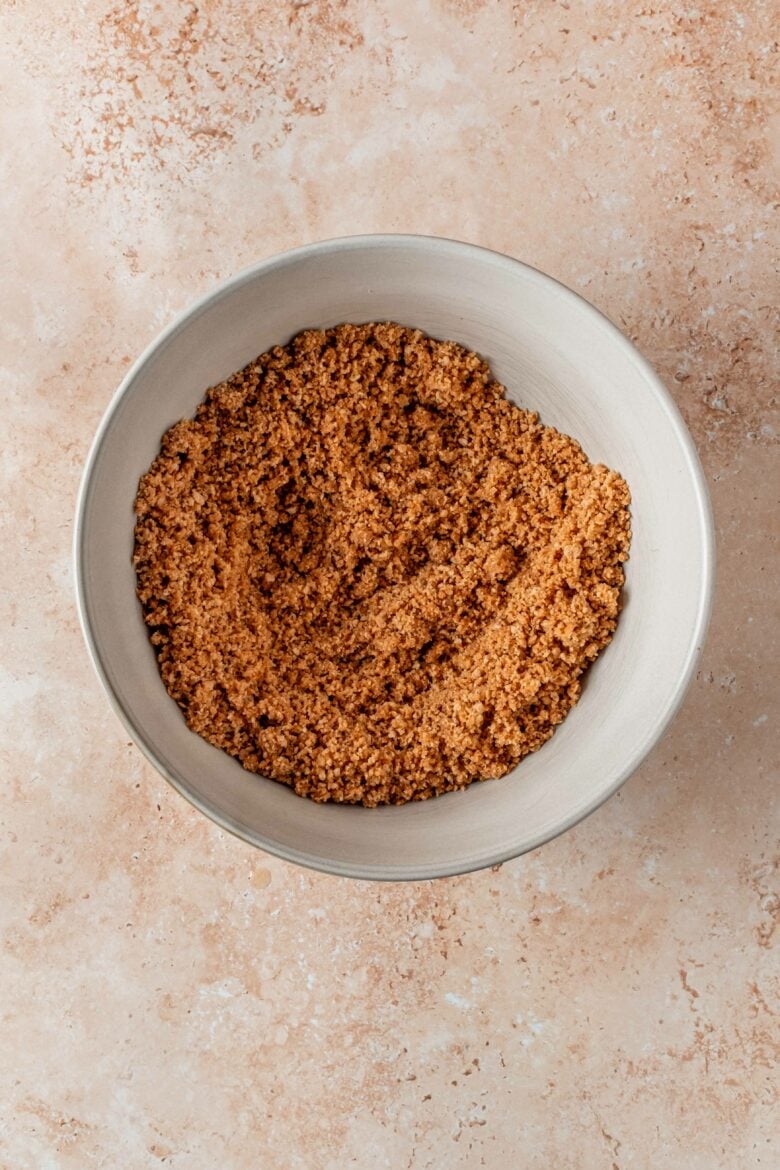
Step 2: Combine the graham cracker crumbs with melted butter and a pinch of salt. Mix together until the graham cracker crumbs are evenly coated.
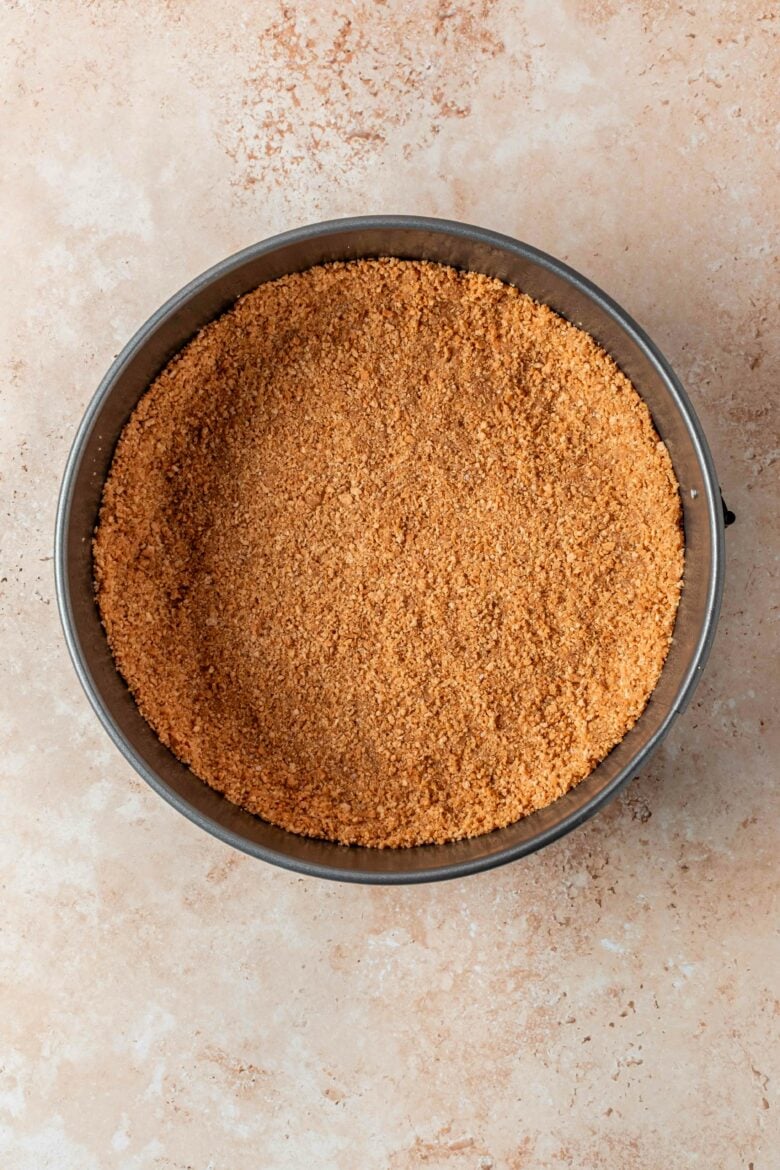
Step 3: Pour the crumb mixture into the bottom of a greased springform pan. Press the crumbs into the pan and slightly up the sides. Bake for 10 minutes at 325°F (160°C).
Do I need to pre-bake my cheesecake crust? Yes, pre-baking helps the crust to set and prevents it from becoming overly soggy when baking with the cheesecake filling.
Filling instructions
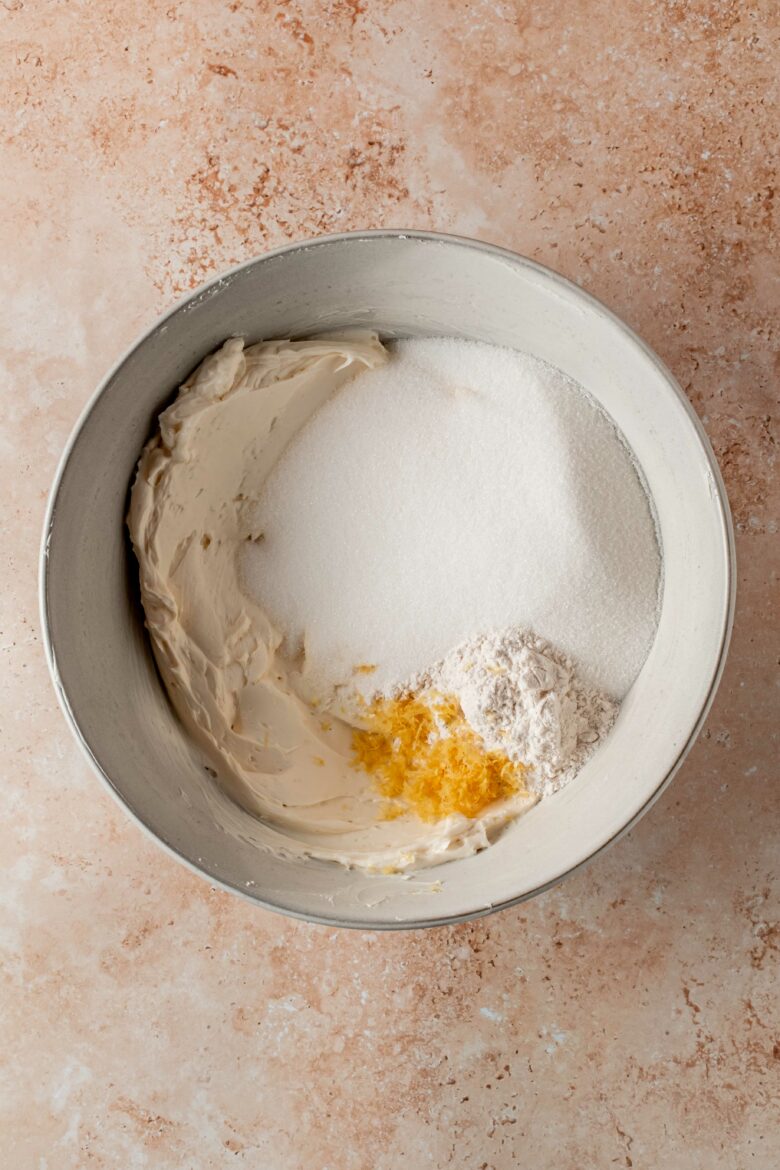
Step 1: Beat the room temperature cream cheese with an electric mixer until smooth, scraping down the sides of the bowl as needed. Mix in the sugar, flour, salt and lemon zest and continue beating until smooth.
Step 2: Add the sour cream and vanilla extract and continue mixing until fully incorporated.
Step 3: Add the eggs one at a time, beating after each addition until just combined.
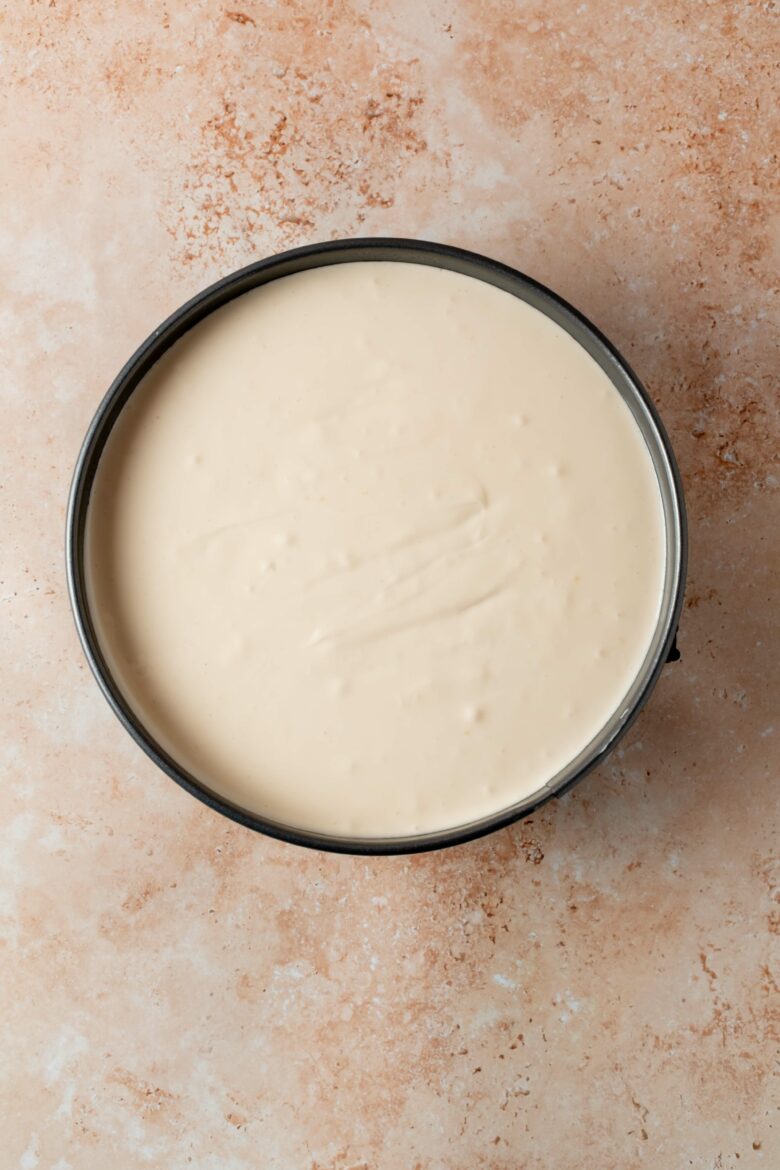
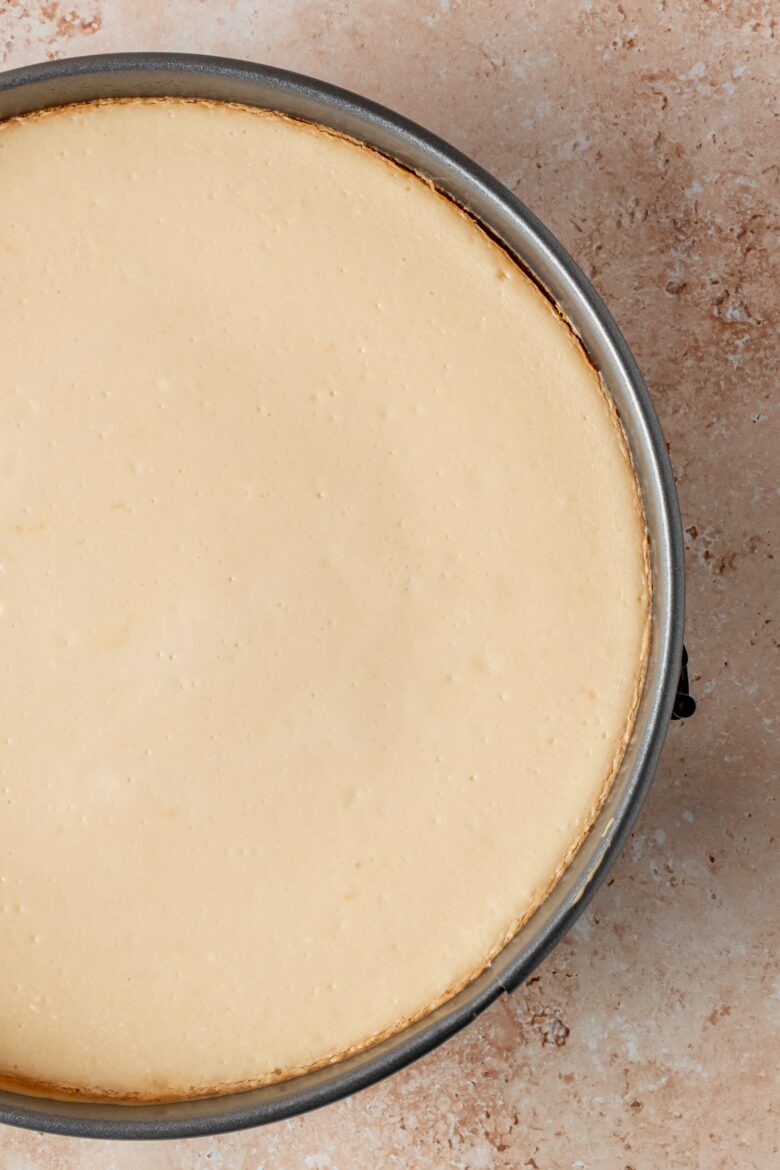
Step 4: Pour the batter into the cooled cheesecake crust.
Step 5: Bake at 325°F (160°C) for 30 minutes. Reduce heat to 250°F (120°C) for an additional 35-40 minutes. Turn off the oven, crack the door and let the cheesecake sit in the oven for an additional 30 minutes before removing from the oven.
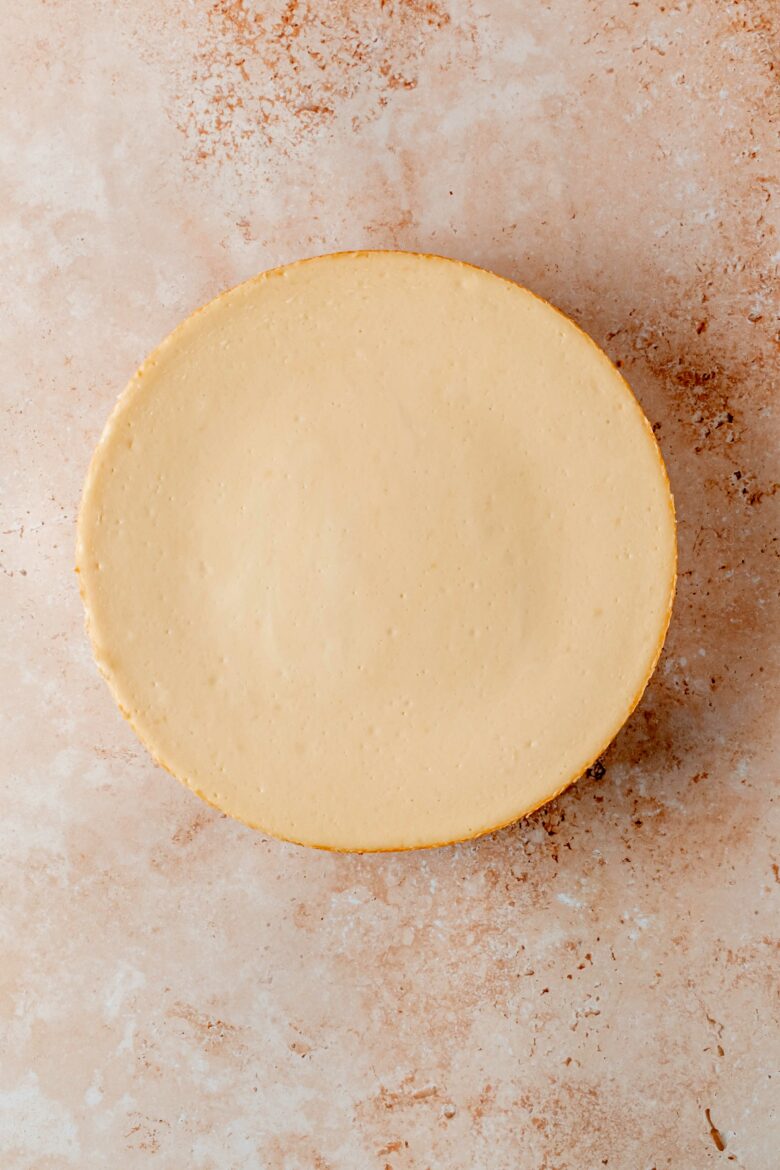
Step 6: Allow the cheesecake to come to room temperature, then transfer to the refrigerator for at least 6 hours before releasing from the springform pan.
Expert tip: The internal temperature of a perfectly cooked cheesecake is 150-160°F (66-71°C). I prefer to turn off the oven when my cheesecake reaches 145°F (63°C) with an instant read thermometer, as carryover heat will bring the temperature up the last few degrees.
Preventing common mistakes
Cracks in cheesecakes
There is a lot of misinformation about what causes a cracked cheesecake, so I’ll let you in on a little secret: Cracks in cheesecakes are simply caused by overbaking. That’s it.
A lot of people swear by water baths to mitigate the risk of overbaking a cheesecake. The cheesecake pan is generally wrapped in foil to prevent water seeping in, and then placed in a roasting pan filled with boiling water. The water bath provides gentle, even heat around the cheesecake, which prevents it from overcooking. You get a creamy, crack-free cheesecake… and almost zero caramelization of the top.
Wait, but caramelization is delicious! And is using a pan of sloshing hot water really the best way to bake a cheesecake? There has to be a better way, right?
Yes, we are firm believers that using a water bath is absolutely unnecessary for a beautifully creamy New York cheesecake with no cracks. It all comes down to temperature. We start by baking the cheesecake at 325°F (160°C) for 30 minutes, and then reduce the heat to 250°F (120°C) until the cheesecake is cooked to an internal temperature of 145°F (63°C).
Don’t be afraid to check the internal temperature with an instant read thermometer as needed. This won’t cause cracks and is essential to getting the perfect texture.
Lumpy batter
The second most common New York cheesecake complaint is a lumpy batter. Here are simple ways to prevent a lumpy texture.
- Bring the cream cheese, sour cream and eggs to room temperature before using.
- Don’t rush! Make sure the cream cheese is completely smooth before adding the remaining ingredients.
- Scrape down the sides of the bowl. Unmixed cream cheese can get stuck to the sides of the bowl and will form lumps when poured into the pan.
- Add the eggs one at a time and make sure they’re completely incorporated before each addition.
Recipe variations and substitutions
This classic New York cheesecake recipe is the perfect blank canvas for a variety of mix-ins and toppings. Here are some of our favorite variations and substitutions:
- Use your favorite cookies for the crust. I love making an Oreo cheesecake crust for a chocolatey twist. And I use Lotus Biscoff cookies when I want a bit more spice.
- Get creative with toppings. Whipped cream, salted caramel, strawberries, cherries — the options are endless!
- Use orange zest instead of lemon zest. Orange zest adds a slightly sweeter flavor, but still brings the bright citrusy freshness.
Serving and storing
When removing cheesecake from the springform pan, run a thin knife or offset spatula around the edge of the cheesecake to prevent any sticking.
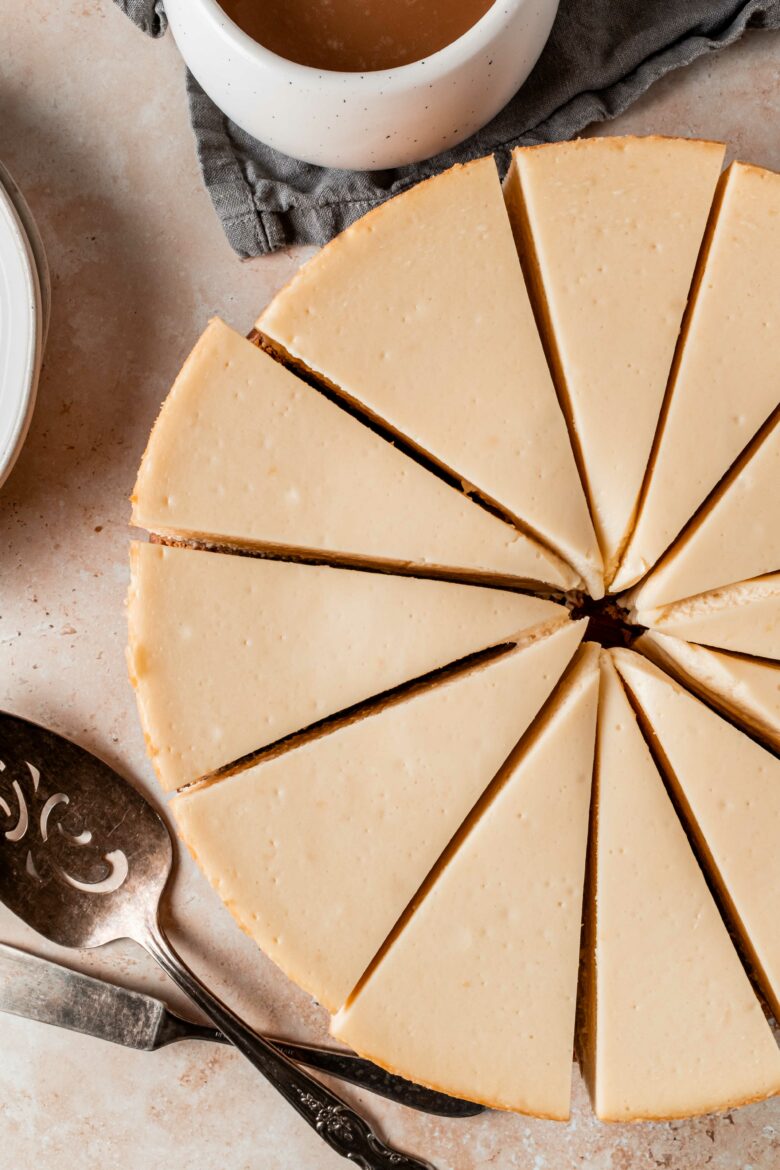
For professional looking cheesecake slices, run a sharp, non-serrated knife under hot water and wipe it dry before each cut. Pro Tip: The cheesecake will be easier to slice if you place it in the freezer for an hour or two before cutting.
New York cheesecake will keep well for about a week in the refrigerator. Make sure to keep it covered to prevent it from drying out.
Freezing cheesecake
Once your New York cheesecake is completely set and chilled, it can be frozen for up to three months. Wrap individual slices or the entire cheesecake in a layer of plastic wrap, followed by a layer of aluminum foil.
To thaw, place the cheesecake in the refrigerator for 24 hours. An hour or two before serving, unwrap the cheesecake and return to the refrigerator to finish defrosting.
When freezing cheesecake, I recommend waiting to add any decorations or garnishes until after defrosting.

FAQs
New York cheesecake tends to be denser and richer than other cheesecakes. It’s super indulgent and ultra creamy!
Nope! There are easier ways to achieve no cracks and a creamy texture. Make sure to follow our oven temperature guidelines and check the temperature of the cheesecake a bit early and you will have eliminated the need for a water bath!
I strongly recommend using an instant read thermometer so you can turn off the oven as soon as the cheesecake reaches 145°F (63°C). This will not cause the cheesecake to crack. The top of the cheesecake will appear mostly matte, but the center will still be quite wobbly.
Place the cream cheese in a heatproof bowl and microwave it on 50% power in 20 second increments. It’s okay if it’s a bit warm.
If you’re planning to transfer the cheesecake to another plate, I recommend lining the springform pan with a circle of parchment paper. This makes it easier to get a spatula between the cheesecake and base.

If you loved this classic New York cheesecake recipe, make sure to check out these favorites:
- Apple Crumble Cheesecake
- San Sebastian Cheesecake
- Strawberry White Chocolate Cheesecake
- Toblerone Cheesecake
- Matcha Cheesecake
- Chocolate Peppermint Cheesecake
- Chocolate Orange Cheesecake
Or visit our cheesecake recipe index for a full list of creamy delights!
Print
Classic New York Cheesecake Recipe
- Total Time: 1 hour 30 minutes
- Yield: 12
- Prep Time: 20 minutes
- Cook Time: 1 hour 10 minutes
- Category: Dessert
- Method: Baking
- Cuisine: American
Ingredients
Graham Cracker Crust
- 2 cups (215 grams) crushed graham crackers (about 14 graham crackers)
- 5 tablespoons (70 grams) unsalted butter, melted
- ⅛ teaspoon kosher salt
Cheesecake Filling
- 32 oz (900 grams) full-fat cream cheese, room temperature
- 1.5 cups (300 grams) granulated sugar
- 3 tablespoons (22 grams) all purpose flour
- ¼ teaspoon kosher salt
- 1.5 teaspoons lemon zest (from 1 lemon)
- 1 cup (240 grams) sour cream, room temperature
- 1 tablespoon vanilla extract
- 4 large eggs
Instructions
Crust
- Preheat oven to 325°F (160°C) and grease a 9-inch (23 cm) springform pan.
- In a small bowl, combine the finely crushed graham crackers, melted butter and salt. Mix until well combined. Firmly press the mixture into the bottom of the pan and slightly up the sides.
- Bake for 10 minutes. Set aside to cool.
Filling
- In the bowl of a stand mixer fitted with a paddle attachment, beat the cream cheese on medium-low speed for several minutes until smooth. Scrape down the sides and bottom of the bowl as needed.
- Add the sugar, flour, salt and lemon zest. Continue beating until smooth.
- Mix in the sour cream and vanilla extract until fully incorporated.
- Add the eggs one at a time, beating after each addition on low speed until just combined. Don’t overmix here!
- Pour the cheesecake batter into the cooled crust.
- With the oven still at 325°F (160°C), place the cheesecake on the center rack. To safeguard against any leakage, you can also place the cheesecake on a foil-lined pan. Bake for 30 minutes.
- Reduce heat to 250°F (120°C). Slightly crack the oven door for the first several minutes to help the oven cool more quickly. Bake for 35-40 minutes or until the internal temperature of the cheesecake reaches 145°F (63°F). The edges will be mostly set, but the center will still be quite wobbly.
- Turn off the oven and crack the oven door 2 inches (5 cm). Let the cheesecake sit in the warm oven for another 30 minutes. Remove the cheesecake from the oven and allow to cool at room temperature for 2 hours.
- Transfer to the refrigerator for at least 6 hours before releasing from the springform pan.
Notes
Thermometer: Using a thermometer is the easiest, most foolproof way to get a perfectly baked cheesecake. Because cracking is caused by overbaking, make sure to turn off your oven when the cheesecake reaches an internal temperature of 145°F (63°C). Feel free to check early and often – this won’t cause your cheesecake to crack!
Tips for easy removal: Lining your springform pan with a circle of parchment paper will make it easier to separate the cheesecake from the base when transfering to a serving platter. Before releasing the springform pan, run an offset spatula or thin knife around the edges of the cheesecake.
Storage: New York cheesecake will keep covered in the fridge for up to a week. You can also freeze the cheesecake for up to 3 months.
This post may contain affiliate links through which we may earn a small commission at no additional cost to you. We only recommend products that we genuinely love and would use ourselves.
4 comments
Thank you for giving very benefits information on preparing of the cheesecake. I like this cake very much.
Thank you so much, Ömer! 🙂