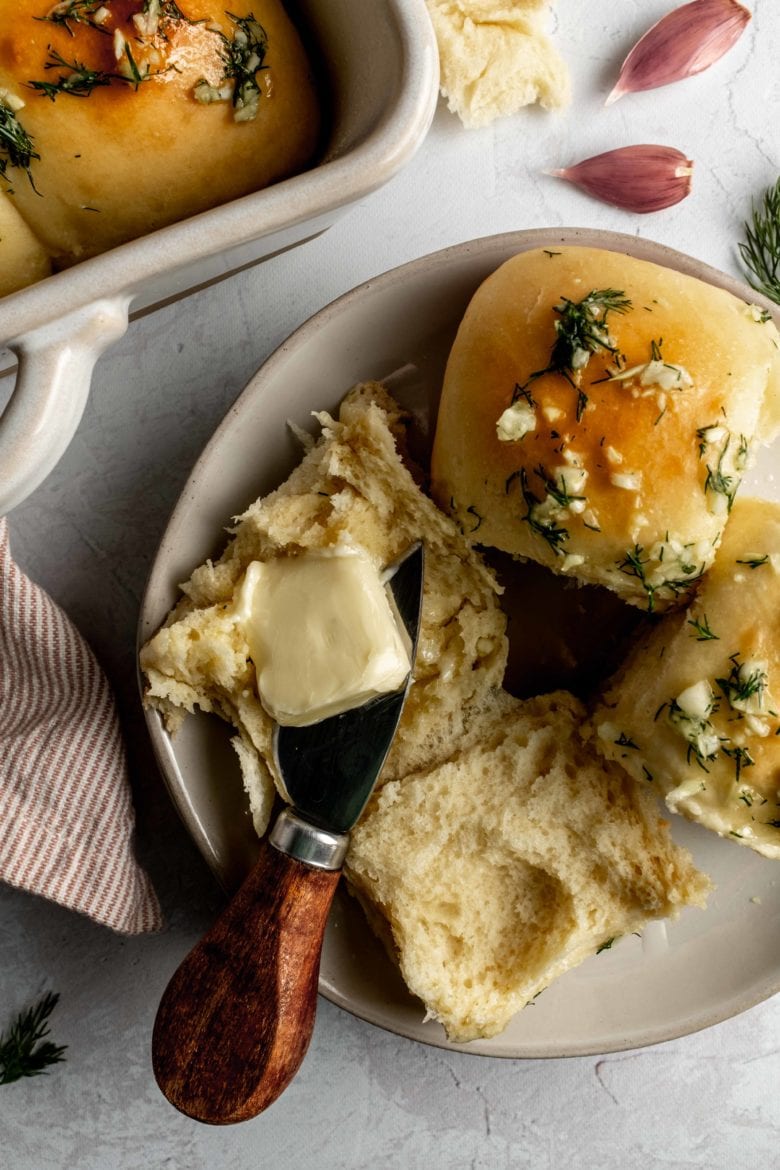
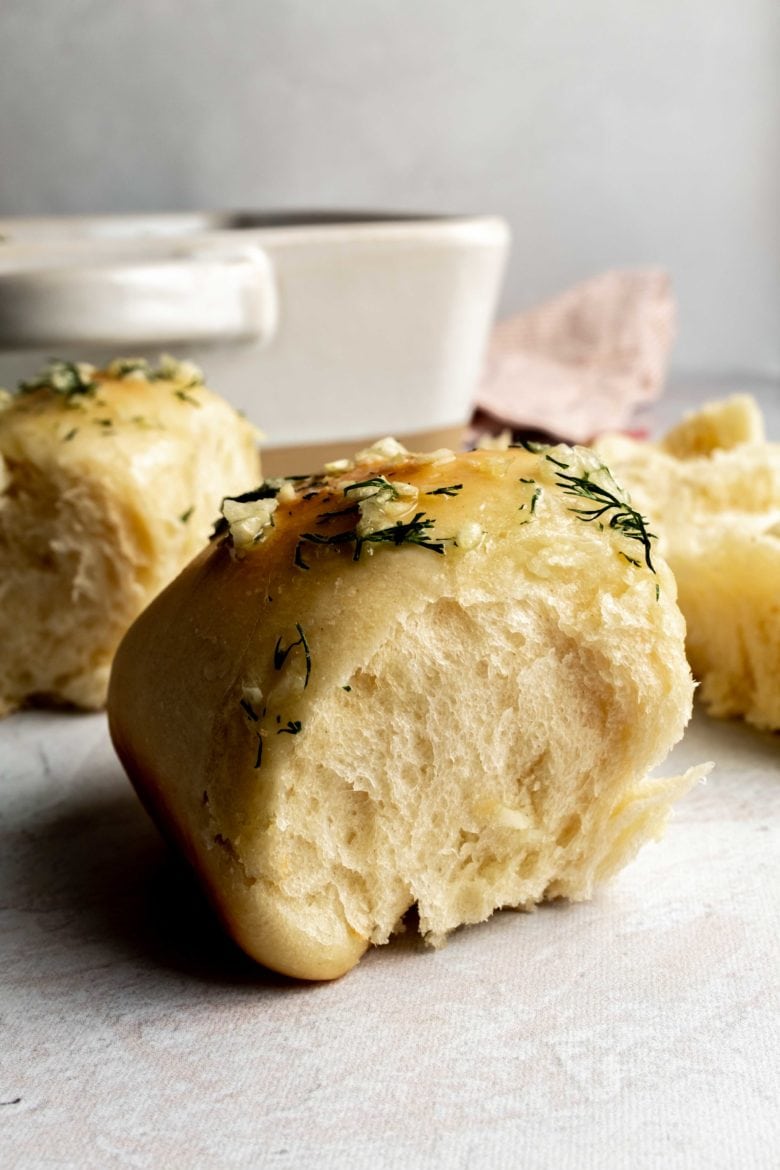
Pampushky (also sometimes spelled pampushki) are delicious Ukrainian garlic rolls. They are soft, fluffy and perfect served alongside a big bowl of beef borscht!
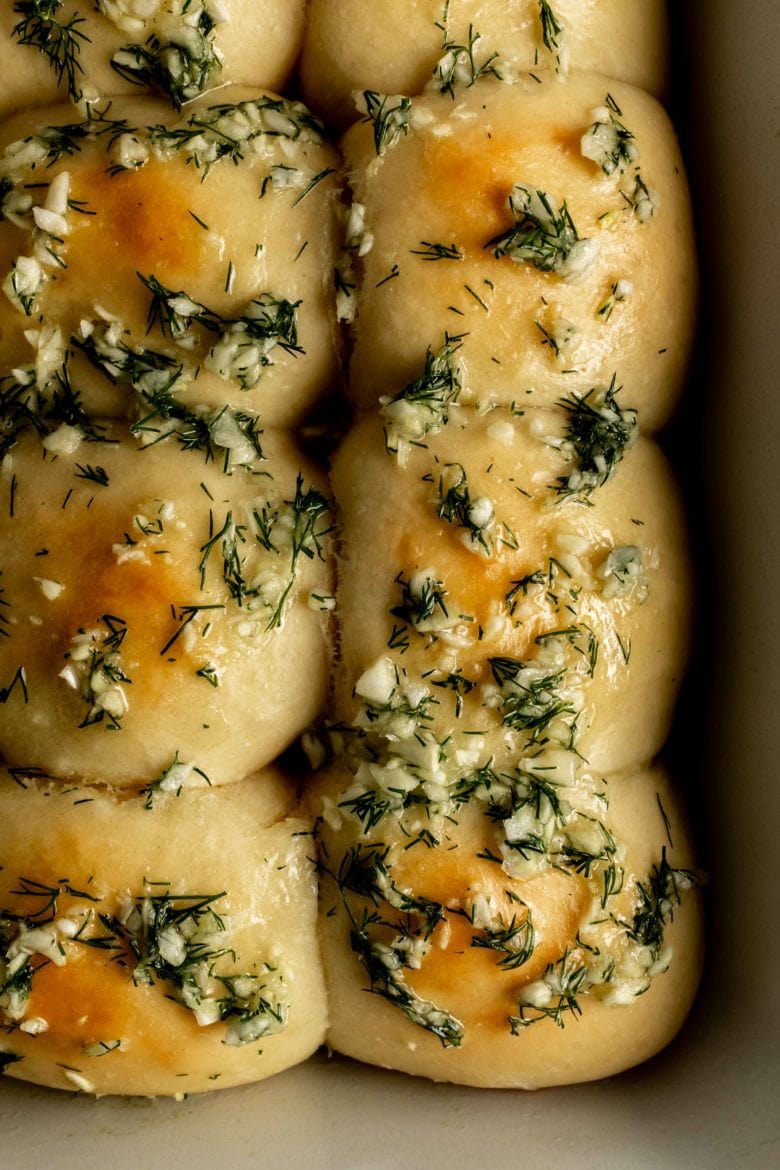
Freshly baked Pampushky (пампушки) brushed with a homemade garlic dill oil while still hot — these Ukrainian garlic rolls are exactly what you need for soup season. The little pull-apart rolls are made with a rich yeast dough that results in a wonderfully soft and pillowy texture — the perfect dinner rolls!
Recipe ingredients
You’ll need the following ingredients for your Pampushky dough:
- Active dry yeast: We opt for active dry yeast here, but you can substitute instant yeast if you’d like. Check the recipe notes for instructions on substituting instant yeast.
- Warm water: The water should be warm (but not hot!) to activate the yeast — about 110°F (43°C) if you want to get technical. Warm tap water will work just fine.
- Sugar: While not necessary to activate the yeast, we add sugar to the water-yeast mixture to make sure the yeast is still active. The sugar feeds the yeast, causing it to bubble up so you can be sure that your yeast hasn’t expired. A little sugar also enhances the flavor of the rolls so don’t skip it!
- Milk: Adding whole milk (instead of using solely water as the liquid) makes for a richer dough with more flavor.
- Bread flour: Bread flour produces chewier rolls, but you could use all-purpose flour in a pinch. You can start with the same amount of all-purpose flour, but may need to add just a tiny bit more if the dough is too wet.
- Eggs: The eggs also contribute to a richer, more tender dough.
- Unsalted butter: A few tablespoons of melted butter for even more flavor!
- Kosher salt: A necessary addition for flavor and texture.
Step by step instructions
Step 1: Activate the yeast. Mix together warm water and sugar and sprinkle the yeast over the top to activate.
Step 2: Make the dough. Once the yeast is foamy, combine it with the remaining ingredients and stir until the dough begins to form. Turn the dough out onto your counter and begin kneading. The dough should be quite soft, but if it’s incredibly sticky you can add additional flour as necessary. The dough is ready when it’s smooth and elastic — this usually takes about 10 minutes of kneading for me.
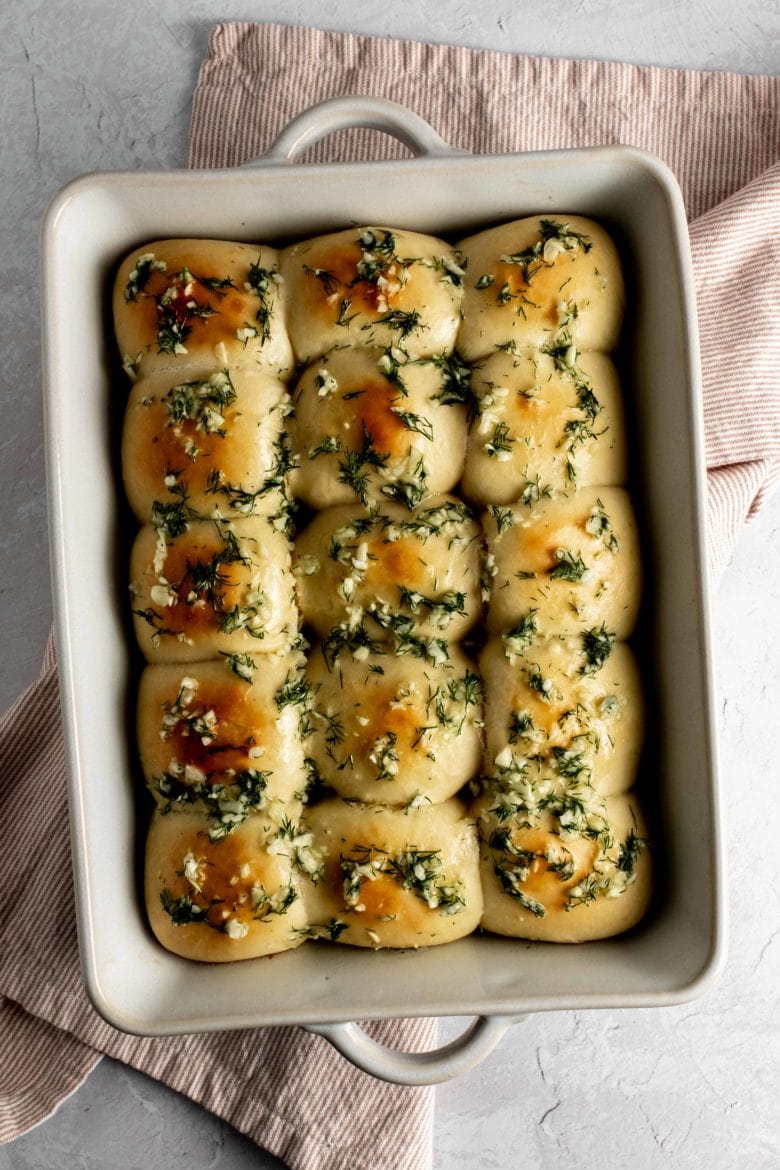
Step 3: Let the dough rise. Next is a bit of hands-off time while we let the dough rise for about an hour or until it doubles in size. Then separate your dough into 15 equal pieces, roll them into buns and place them in a greased pan. Cover with a kitchen towel and let them rise for another 30 minutes.
Step 4: Bake! Bake your Pampushky at 400°F (200°C) for about 20 minutes or until golden brown.
Expert Tip: If you’re not sure whether your Pampushky are ready, you can always check the internal temperature with an instant read thermometer. The temperature should be at about 200-210°F (93-99°C).
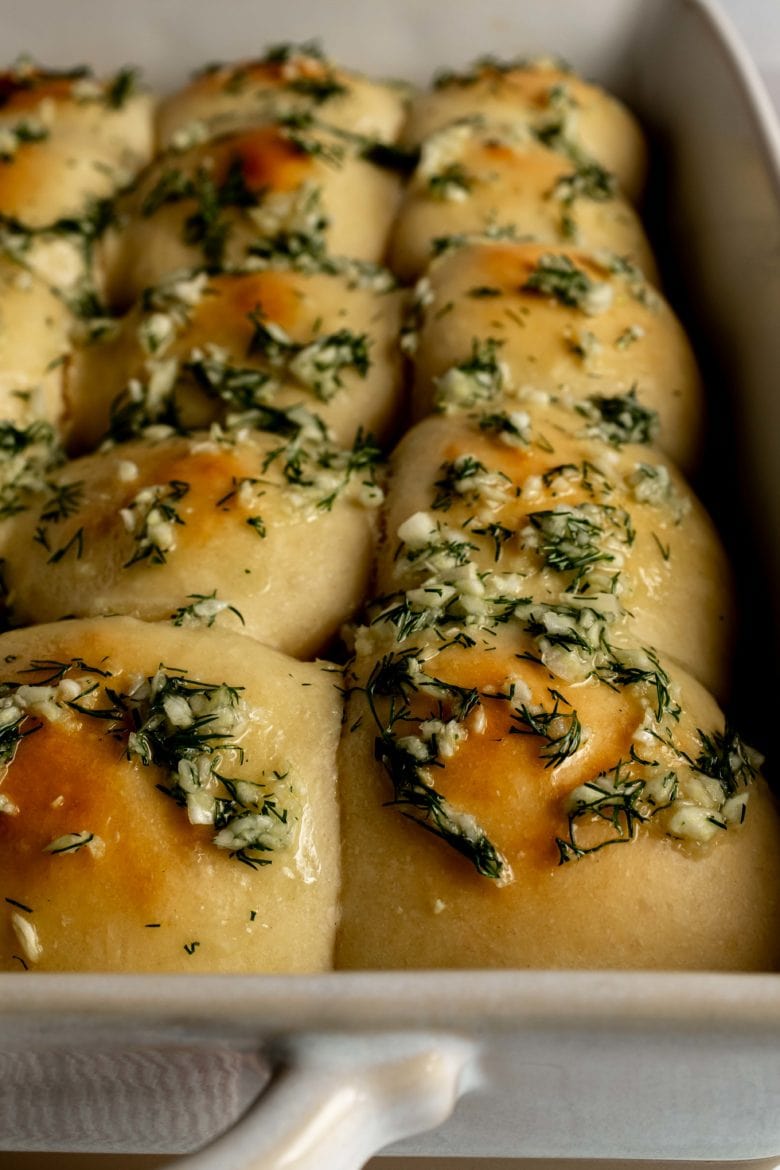
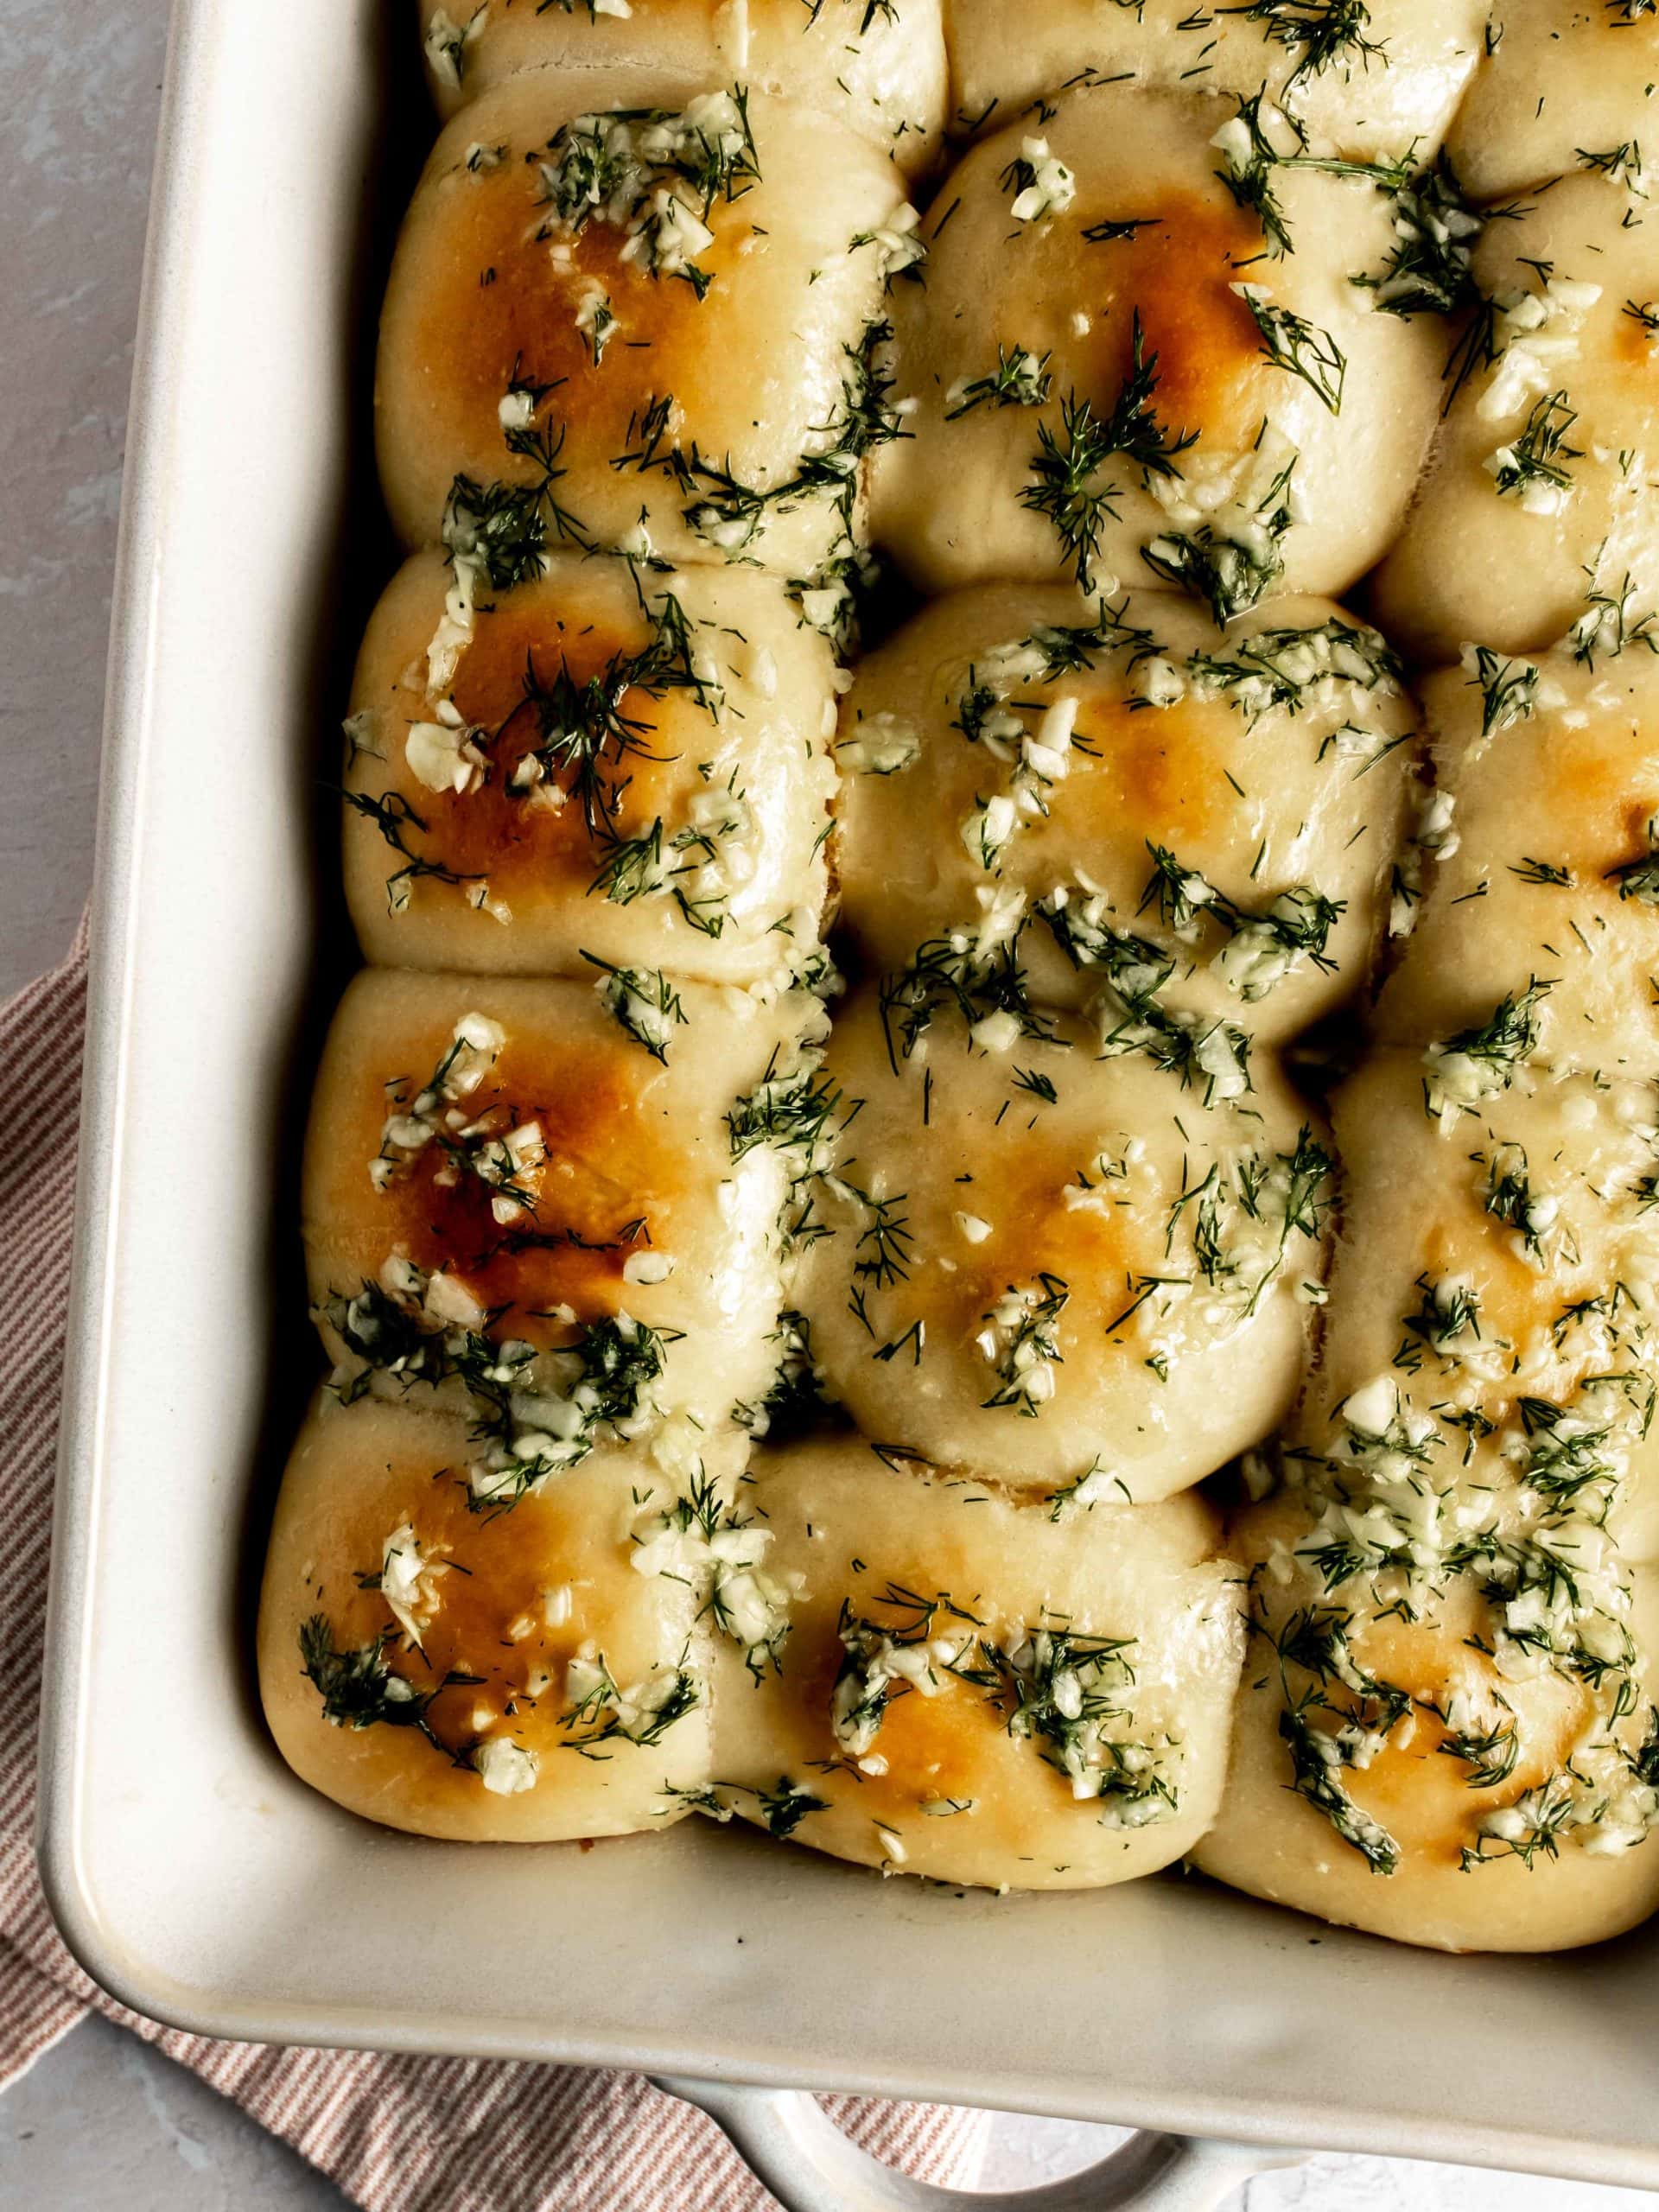
Step 5: Make the garlic dill topping. Mix together the topping: vegetable oil, water, fresh dill, garlic and a pinch of salt.
Step 6: As soon as the rolls come out of the oven, spoon the garlicky dill mixture all over the Pampushky. The wonderful aroma of fresh herbs and garlic will fill your kitchen and you’ll want to dive right in! But I highly recommend waiting just a bit and covering the Pampushky with plastic wrap or a kitchen towel for at least 15 minutes. This gives the topping a chance to really infuse the rolls with flavor!
Storage and freezing
Leftover Pampushky can be stored in an airtight container or zip-top bag for 2-3 days.
Freezing Instructions: Leave off the garlic dill topping and let the Pampushky cool completely. Wrap in plastic wrap and place in a freezer safe container or bag for up to one month. Thaw in the refrigerator overnight or at room temperature for several hours before reheating.
To reheat one or two rolls, you can pop them in the microwave for about 20-30 seconds. To reheat a whole batch of rolls, I recommend covering them with foil and baking them at 300°F (150°C) until warmed through.
Expert tips and tricks
- Give the buns enough time to rise. The rising time in the recipe card is approximate and will depend on factors such as temperature and humidity in your kitchen. If your dough needs extra time to double in size, it’s okay to let it rise a bit longer.
- Brush the rolls right away. Brushing the Pampushky with the garlic dill oil as soon as they come out of the oven will result in the best flavor and texture.
- Enjoy fresh: Pampushky are best enjoyed warm right out of the oven… well, almost. Make sure to cover your Pampushky with a kitchen towel after brushing on the oil and let them sit for 15 minutes to really soak up the flavored garlic oil. Then you can dive right in!
FAQs
Pampushky (singular: pampushka) are small Ukrainian buns made from yeast dough. Sweet Pampushky, which resemble filled doughnuts, also exist. But today we are making baked savory Pampushky to serve alongside borscht!
Yes, you can use all purpose flour. Start with the same amount of all-purpose flour as noted for bread flour. Add a bit more flour if the dough seems too wet. Using all purpose flour will result in less chewy buns.
Definitely! You can leave out the herbs all together and just make garlic buns, or try substituting parsley.
Sunflower oil is our favorite for these Pampushky, but any vegetable oil will work. You could even use olive oil or butter, although the flavor will be a bit different.
Yes, these Ukrainian garlic buns freeze beautifully! Leave off the garlic dill topping and allow to cool to room temperature. Then wrap in plastic wrap and place in a freezer safe bag or container for up to one month.
Loving this Pampushky recipe? Here are more Ukrainian and Russian-inspired recipes to round out your meal:
- Beef Borscht Recipe
- Russian Pelmeni (Meat Dumplings)
- Russian Honey Cake Medovik
- Russian Pryaniki (Honey Spice Cookies)
- Cranberry Mors Drink
Pampushky Recipe (Ukrainian Garlic Rolls)
- Total Time: 2 hours 20 minutes
- Yield: 15
- Prep Time: 30 minutes
- Rest Time: 1 hour 30 minutes
- Cook Time: 20 minutes
- Category: Side Dish
- Method: Oven
- Cuisine: Ukrainian
Ingredients
Pampushky
- ½ cup (120 ml) warm water
- ½ tablespoon granulated sugar
- ¼ ounce (7 grams) active dry yeast* (1 packet)
- 3.5–4 cups (450–500 grams) bread flour, spooned and leveled*
- 1.5 teaspoons kosher salt
- ½ cup (120 ml) milk, plus additional for brushing
- 2 large eggs, lightly beaten
- 3 tablespoons (40 grams) unsalted butter, melted
Garlic Dill Topping
- 1 tablespoon vegetable oil (I like sunflower oil)
- 1 tablespoon water
- 2–3 tablespoons fresh dill, chopped
- 5 cloves garlic, minced
- pinch of kosher salt
Instructions
- Make the Pampushky dough. Combine the warm water, sugar and active dry yeast in a small bowl. Set aside for 10 minutes or until foamy.
- Mix together the flour and salt in a separate bowl.
- Add the foamy yeast mixture to the flour and pour in the milk, eggs and melted butter. Mix the dough until it begins to form and then turn out onto your working surface and knead until smooth and elastic (about 10 minutes).
- Shape the dough into a ball and place in a greased bowl. Cover and set aside in a warm space for about one hour or until it doubles in size.
- Once the dough has doubled in size, punch it down several times with your hands. Divide into 15 pieces and roll each piece into a ball. Place the Pampushky in a greased 13×8 inch (32×20 cm) baking dish and cover with a kitchen towel. Set aside in a warm space for 30 minutes.
- Meanwhile, preheat the oven to 400°F (200°C).
- Brush the Pampushky with milk and bake for approximately 20 minutes or until golden brown.
- Make the topping. In a small bowl combine the oil, water, chopped dill, minced garlic and salt.
- Spoon the topping over the Pampushky as soon as they come out of the oven. Cover with a kitchen towel until ready to eat (this also gives the topping a chance to really infuse the Pampushky).
Notes
Substitute instant yeast: There’s no need to activate instant yeast, so you can just mix everything together! To make this substitution, I would recommend using a bit less instant yeast – about 1¾ teaspoons (5 g).
Spooned and leveled: Scooping a measuring cup into a flour container can result in much more flour than intended, which can affect the success of your rolls. To get a more accurate measurement, use a spoon to lightly scoop flour into the measuring cup until it’s completely full. Then run the back of a knife over the cup to gently scrape off any excess.
Storage and freezing: Leftover Pampushky can be kept in an airtight container or bag for 2-3 days. For freezing, omit the garlic dill topping and let the Pampushky cool completely. Wrap in plastic wrap and place in a freezer-safe container or bag for up to one month. Thaw in the refrigerator overnight or at room temperature for several hours before reheating.
Reheating: To reheat one or two rolls, microwave for about 20-30 seconds. To reheat a whole batch, cover with foil and bake at 300°F (150°C) until warmed through.
This post may contain affiliate links through which we may earn a small commission at no additional cost to you. We only recommend products that we genuinely love and would use ourselves.