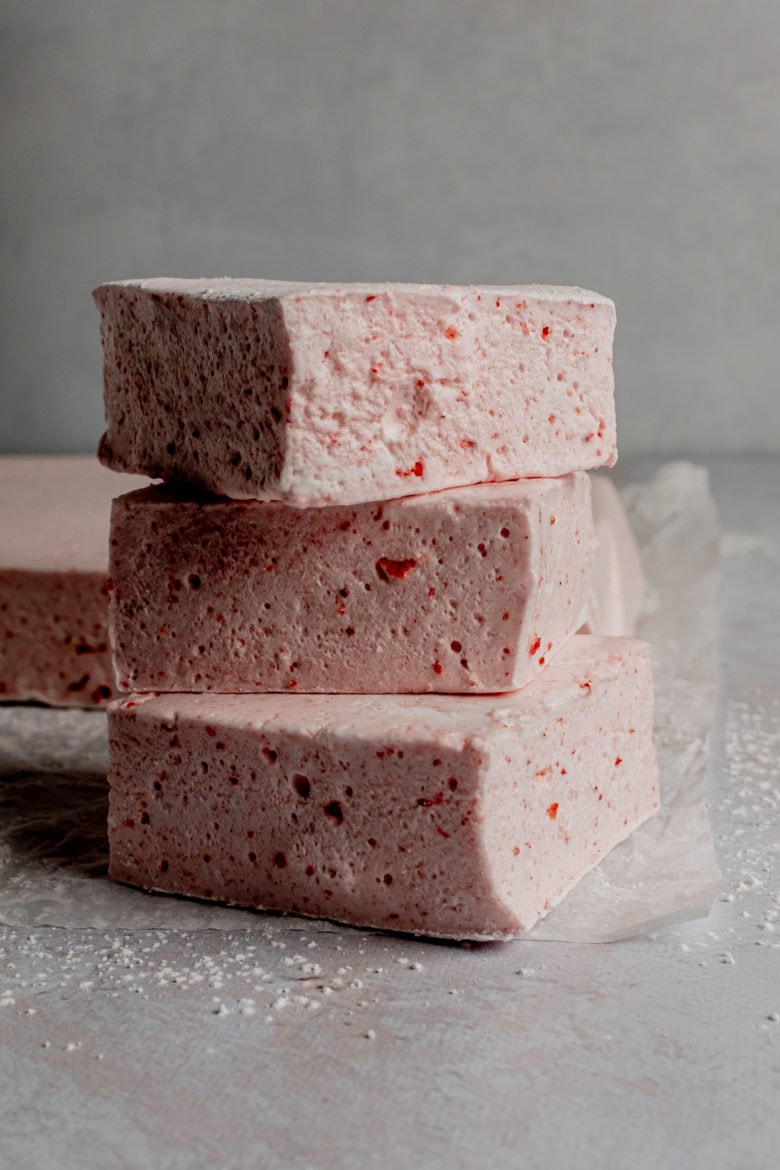
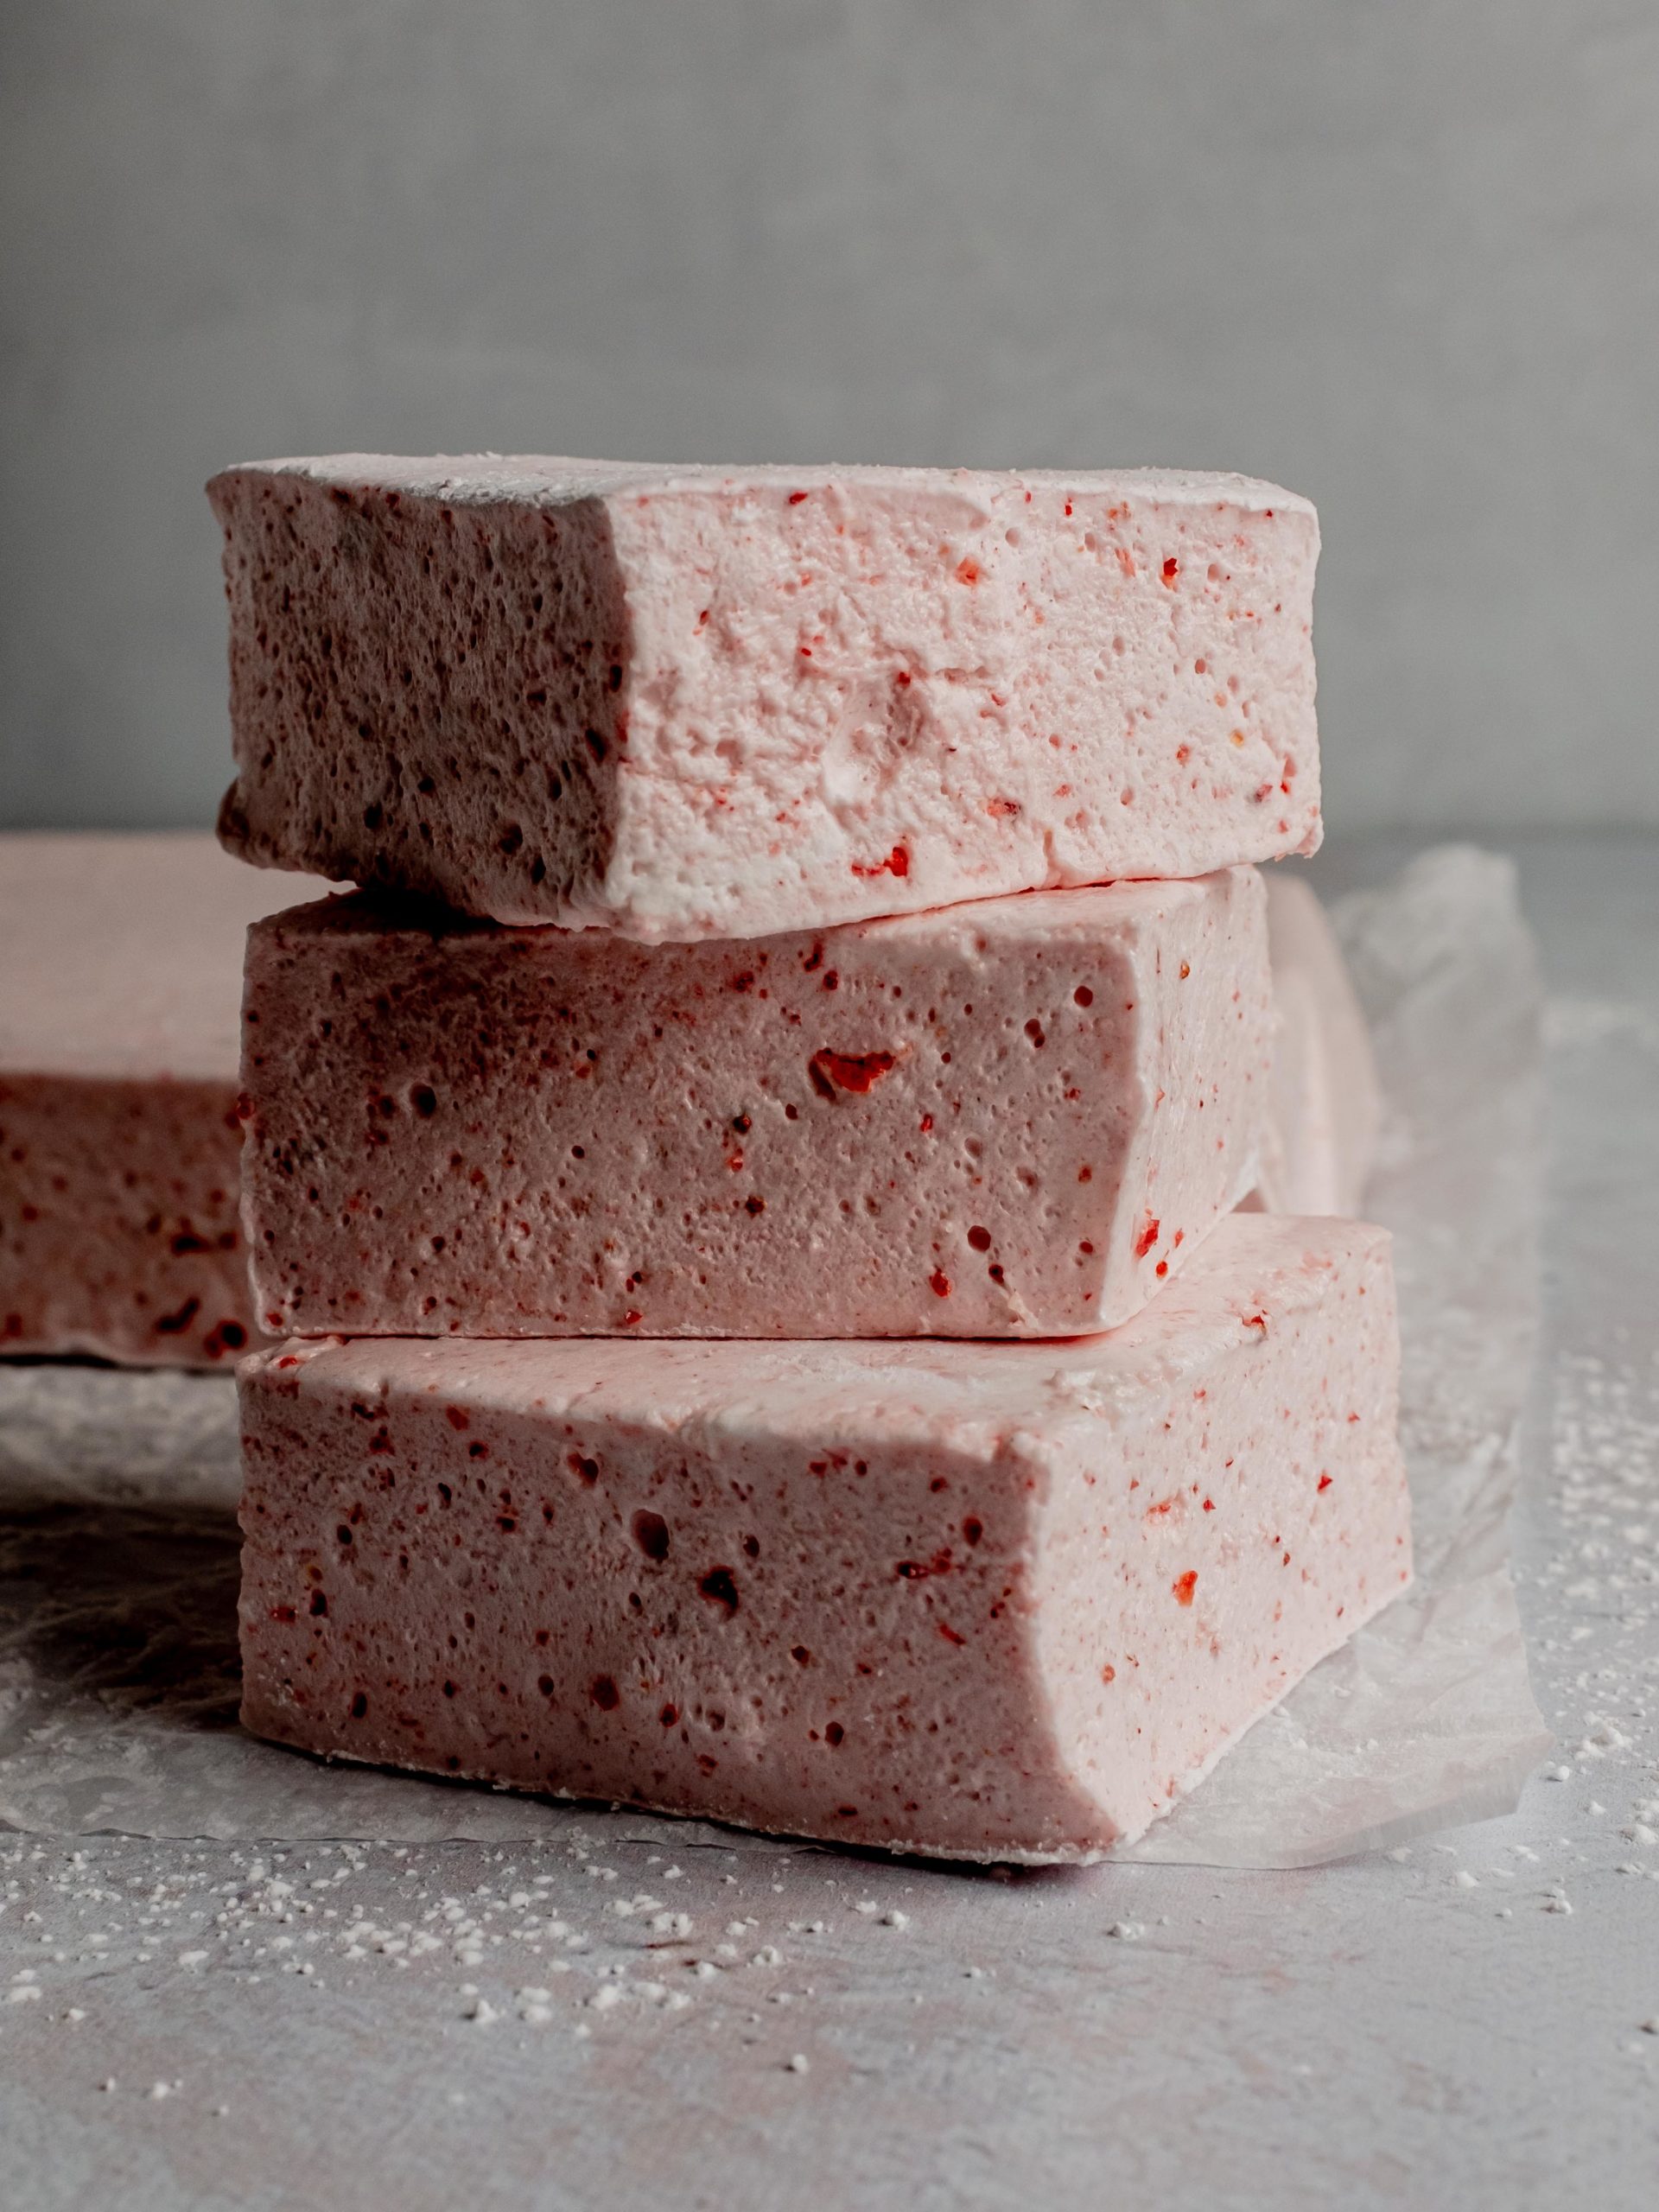
These homemade strawberry marshmallows are sure to steal your heart! Soft, fluffy and bursting with fresh strawberry flavor, our heart marshmallows are delicious on their own and especially wonderful in a big mug of hot cocoa!
I’ve never been a huge fan of store-bought marshmallows. They’re generally overly sweet and the texture isn’t exactly melt-in-your-mouth. But homemade marshmallows? Those are another story completely. Soft, pillowy and perfectly dreamy, a good homemade marshmallow is pure bliss! So today we’re sharing one of our favorite versions to make at home: heart marshmallows that get a fresh kick from freeze dried strawberries!
making strawberry marshmallows
While making homemade marshmallows is a somewhat technical process, it’s probably much easier than you think! Here’s what you’ll need to do broken down into four easy steps:
- Bloom the gelatin. Pour cold water in a large mixing bowl and sprinkle the gelatin over the top. This process is called blooming the gelatin. Essentially, we’re just softening the gelatin so that it will easily dissolve into the rest of our strawberry marshmallow mixture and give us a smooth texture.
- Make the sugar syrup. While your gelatin is blooming, make the sugar syrup. Heat corn syrup, sugar, water and a pinch of salt in a saucepan over medium heat. Cook until the mixture reaches 240 F (116 C).
- Mix it all together. First, use an electric mixer to break up the bloomed gelatin a bit. Then slowly (and carefully!) drizzle the sugar syrup into the mixing bowl with the mixer on low to medium-low speed. Once the syrup has been entirely incorporated, increase the speed to high and continue beating until the mixture becomes white and fluffy.
- Add the flavoring. Once your marshmallow mixture has almost tripled in size you can mix in your freeze dried strawberry powder. Continue beating until the mixture is very fluffy and the bowl is just lukewarm. Then immediately transfer to a baking dish and let set for four hours.
homemade marshmallow prep
One of the keys to success when making these strawberry marshmallows is prepping all of your ingredients and equipment before you begin cooking. The active portion of marshmallow making moves very quickly so make sure to complete the following steps before you begin:
- Line a baking dish with lightly greased parchment paper. As your strawberry marshmallow mixture cools it will begin to set, which is why we want to transfer it to the baking dish as soon as possible after it’s ready.
- Make the marshmallow dusting powder: equal parts cornstarch and powdered sugar. This is what you’ll use to coat the marshmallows to prevent them from sticking together.
- Prepare the freeze dried strawberries. Grind the freeze dried strawberries into a powder. For a super smooth texture, I recommend using something like a coffee or spice grinder. But no worries if a food processor is all you have — you might not get a super fine powder, but I actually don’t mind a few small pieces of strawberry in these heart marshmallows!
- Have your electric mixer ready and a candy thermometer handy. You’ll need the thermometer to check the temperature of the sugar syrup and you’ll want the mixer ready to go as soon as the syrup reaches its target temperature.
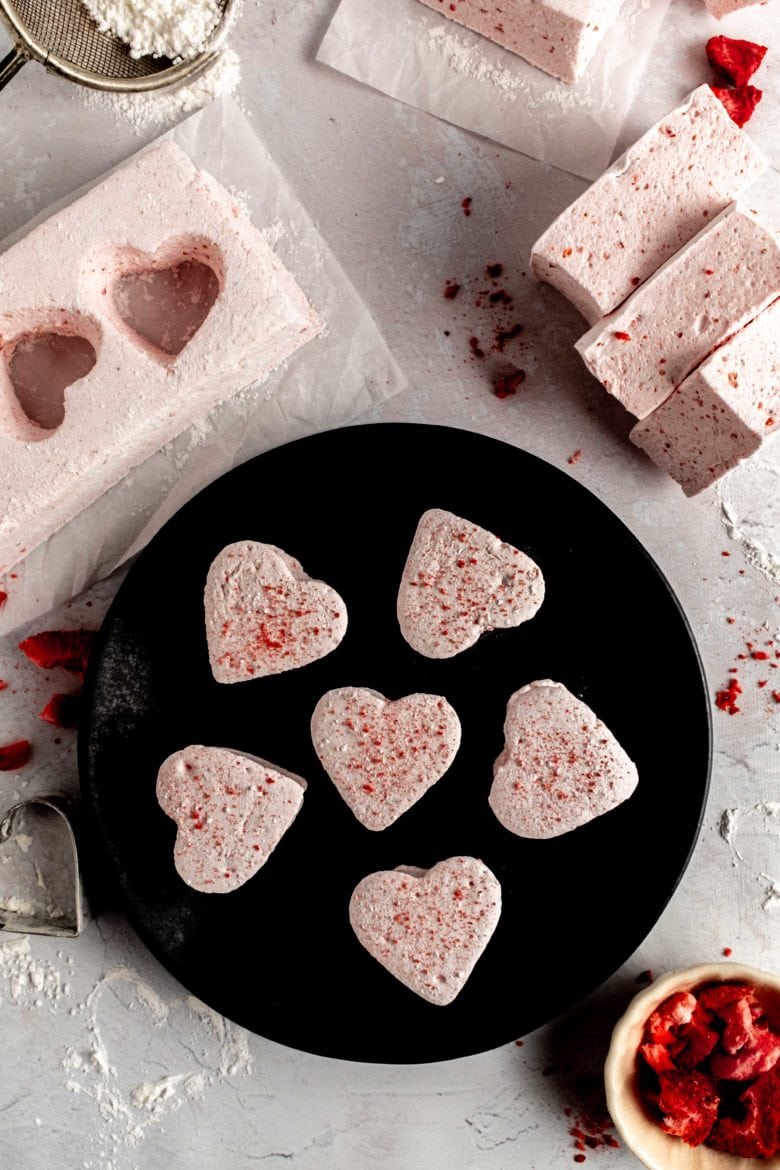
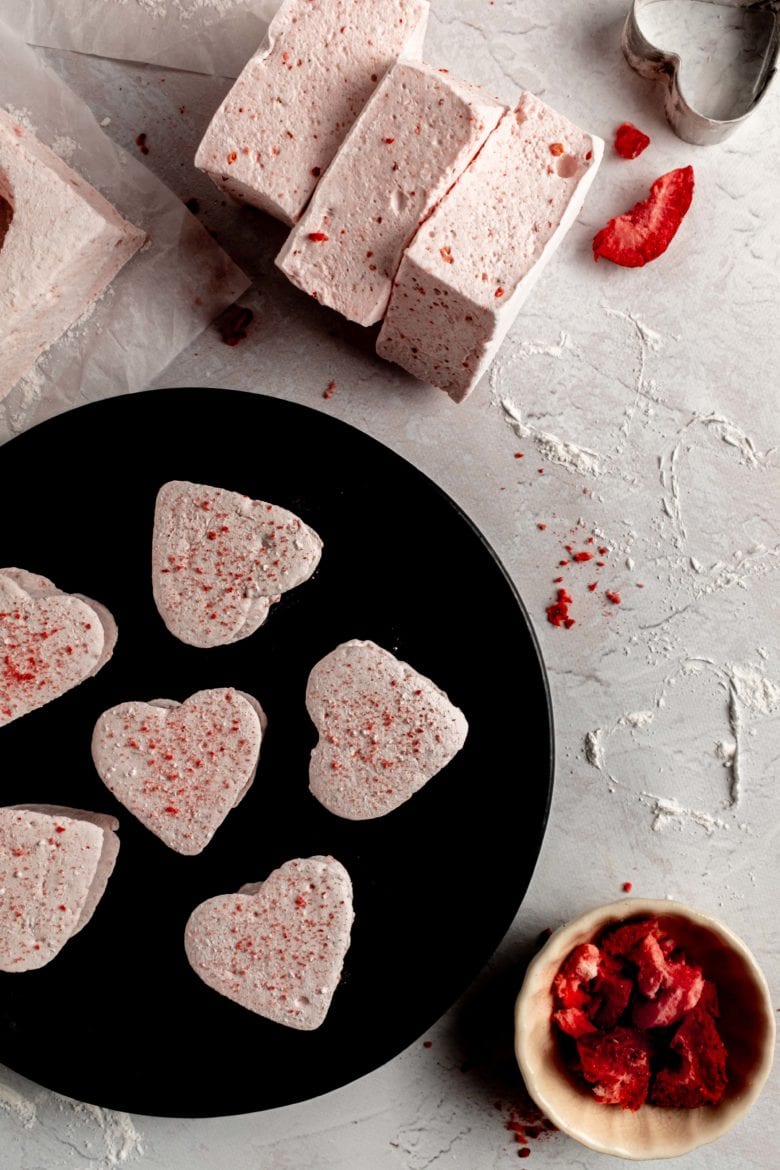
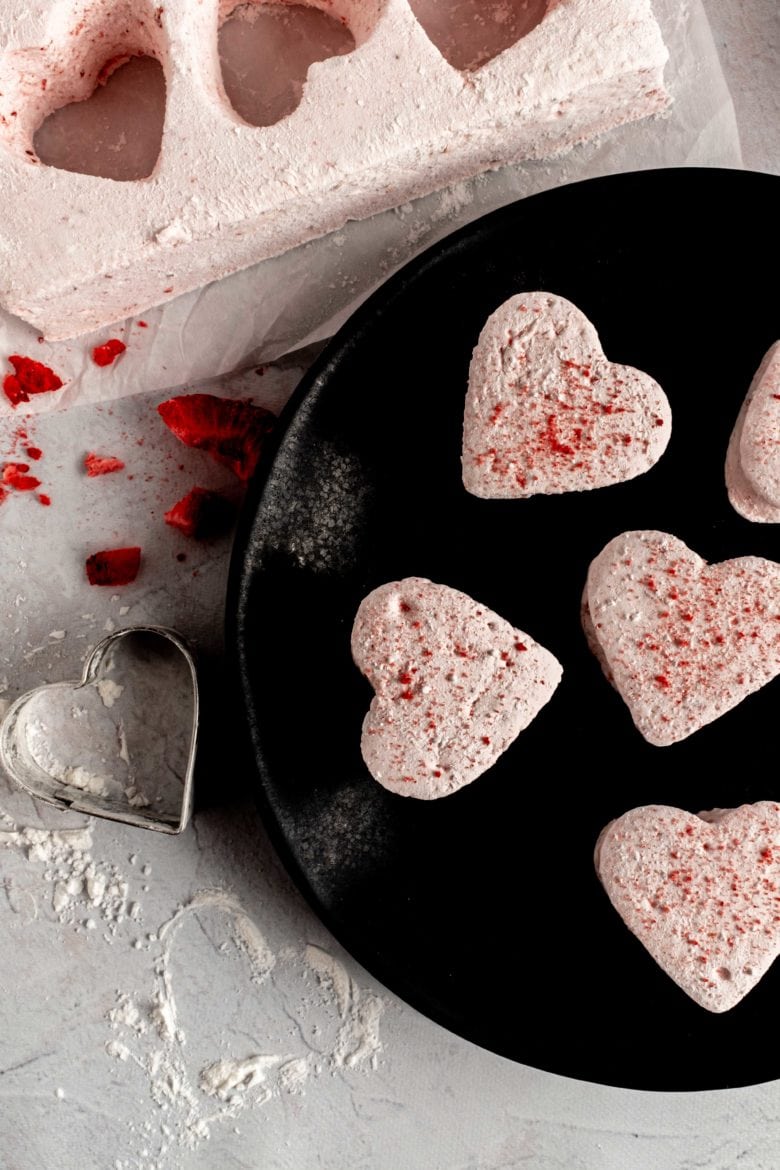
heart marshmallows
One of the great things about making homemade marshmallows is that you can cut them into whatever shapes you’d like! Since February is coming, I decided to use a heart-shaped cookie cutter to make cute marshmallows perfect for Valentine’s Day. But really you can use any shape you’d like or even just cut them into squares. Just make sure that your cookie cutter or knife is well oiled to prevent any sticking.
One quick note on the number of marshmallows you’ll get — if you cut your marshmallows into 1.5×1.5 inch (4×4 cm) squares you should get 36 marshmallows. Making heart marshmallows will give you quite a few less and you’ll also be left with a good amount of scrap marshmallow. That’s not an issue for us — we just cut the scrap marshmallows into odd shapes and enjoy them as is!
strawberry marshmallows FAQ
How long can I store strawberry marshmallows?
Marshmallows can be stored for up to several weeks at room temperature. They should be well coated in the dusting powder (a mixture of cornstarch and powdered sugar) and kept in an airtight container.
Can I freeze strawberry marshmallows?
Marshmallows are all about the texture, which is why I don’t generally recommend freezing them — they can take on a bit of a mushier texture as they thaw. But really it all depends on how you’ll be using your strawberry marshmallows. If you’re planning to toss them in some hot cocoa, a slight change in texture probably won’t be a huge deal breaker so go ahead and try freezing!
Besides freeze dried fruit powder, how can I add flavor to homemade marshmallows?
If you’re looking to mix it up, extracts are definitely the easiest option to add flavor. A few teaspoons of vanilla extract is perfect for classic marshmallows and about ¼ teaspoon of peppermint extract is all you’ll need for a minty version. Just make sure to add any flavoring to the marshmallows towards the end of mixing.
For more desserts perfect for your special someone, make sure to check out these recipes!
- spiced red wine roasted plums + mascarpone whipped cream
- strawberry champagne macarons
- chocolate dipped honeycomb candy
- vanilla bean coconut panna cotta + raspberry coulis
- marzipan fruit rolls
- strawberry crumble
strawberry marshmallows
- Total Time: 4 hours 45 minutes
- Yield: 36
- Prep Time: 30 minutes
- Setting Time: 4 hours
- Cook Time: 15 minutes
Ingredients
prep
- vegetable oil for greasing
dusting powder
- ½ cup (60 grams) powdered sugar
- ½ cup (60 grams) cornstarch
strawberry powder
- 1 ounce (28 grams) freeze dried strawberries (approximately ¼ cup powdered)
blooming the gelatin
- ¾ ounce (20 grams) powdered gelatin (3 envelopes – each envelope is ¼ oz)
- ½ cup (120 ml) cold water
sugar syrup
- 2 cups (400 grams) granulated sugar
- ⅔ cup (200 grams) light corn syrup
- ½ cup (120 ml) water
- ¼ teaspoon kosher salt
Instructions
- Prep: Line a 9×9 inch (23×23 cm) baking dish with parchment paper, making sure to leave an overhang. Very lightly brush the parchment paper with vegetable oil and set aside.
- Dusting powder: Combine the powdered sugar and cornstarch in a small bowl and set aside.
- Strawberry powder: Use a food processor (or spice or coffee grinder) to grind the freeze dried strawberries into a very fine powder. Set aside.
- Blooming the gelatin: Place ½ cup (120 ml) of cold water in a large mixing bowl and sprinkle the gelatin over the top. Allow to sit for at least 10 minutes.
- Sugar syrup: Place the sugar, corn syrup, water and salt in a heavy-bottomed saucepan over medium-low heat. Stir just until the sugar is dissolved. Increase to medium heat and cook until the mixture reaches 240 F (116 C) with a candy thermometer. After the sugar has dissolved, do not stir the mixture. You can swirl the pan occasionally.
- With an electric mixer on medium-low speed, slowly and carefully drizzle the sugar syrup into the gelatin.
- When all of the syrup has been incorporated, increase the speed to high and continue beating for about 8-10 minutes or until the mixture almost triples in size. The bowl will be barely warm and the mixture will be white and fluffy.
- Add the strawberry powder and beat until fully incorporated.
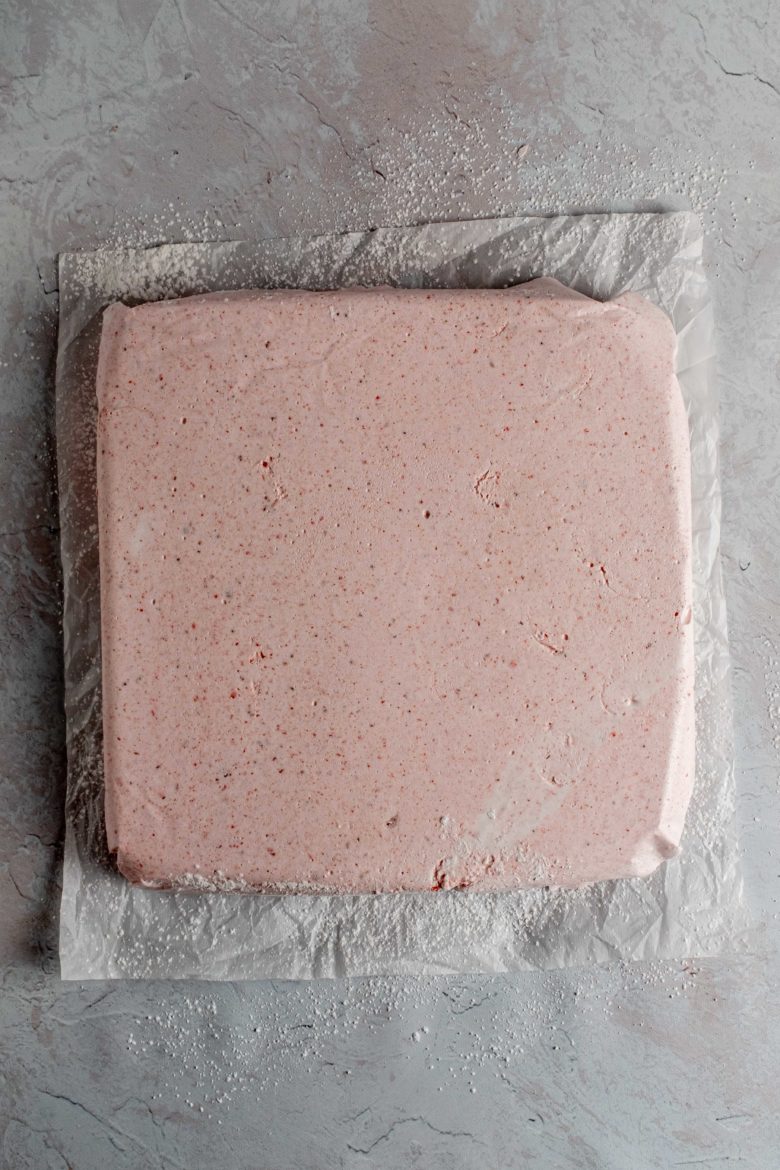
- Transfer the mixture to the prepared baking dish. Use a lightly greased spatula if needed, but don’t worry about getting every last bit.
- Sift a few tablespoons of the dusting powder on top of the marshmallow and reserve the rest for later. Let the marshmallow set for at least 4 hours.
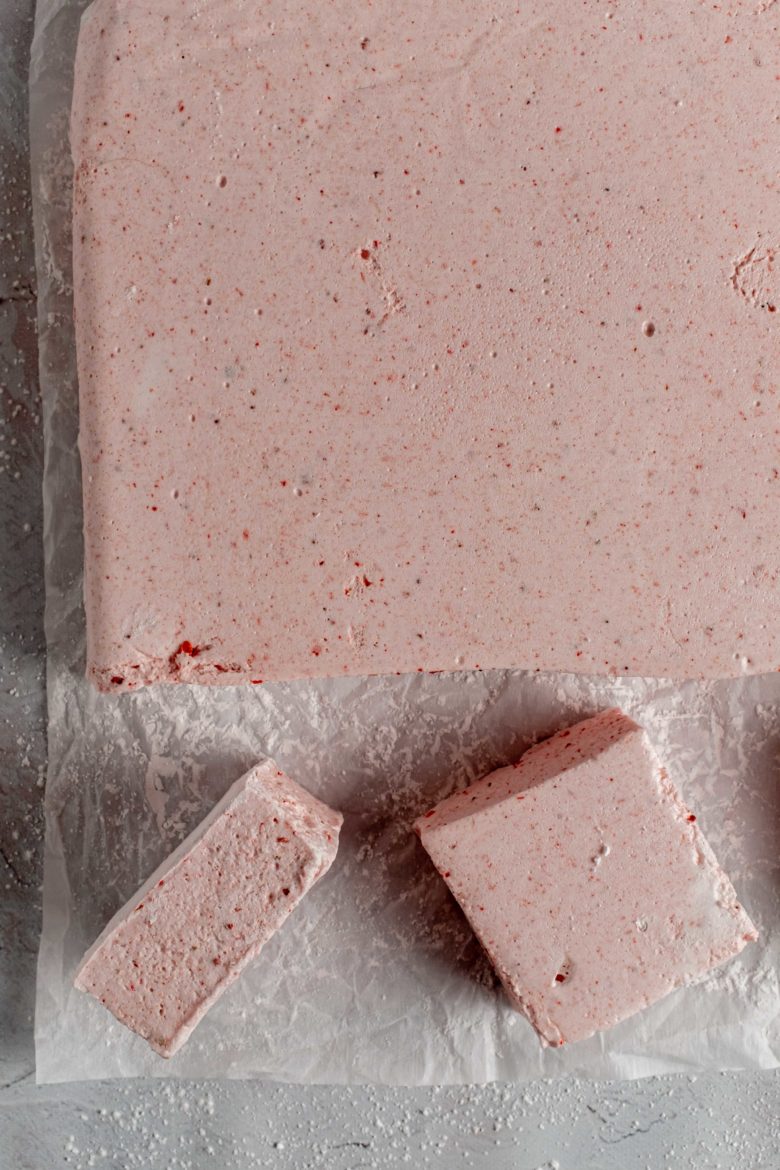
- Use oiled cookie cutters to cut the marshmallows into shapes or an oiled knife to cut into squares.
- Toss the individual marshmallows in the dusting powder. Store in an airtight container for up to several weeks at room temperature.
This post may contain affiliate links through which we may earn a small commission at no additional cost to you. We only recommend products that we genuinely love and would use ourselves.